

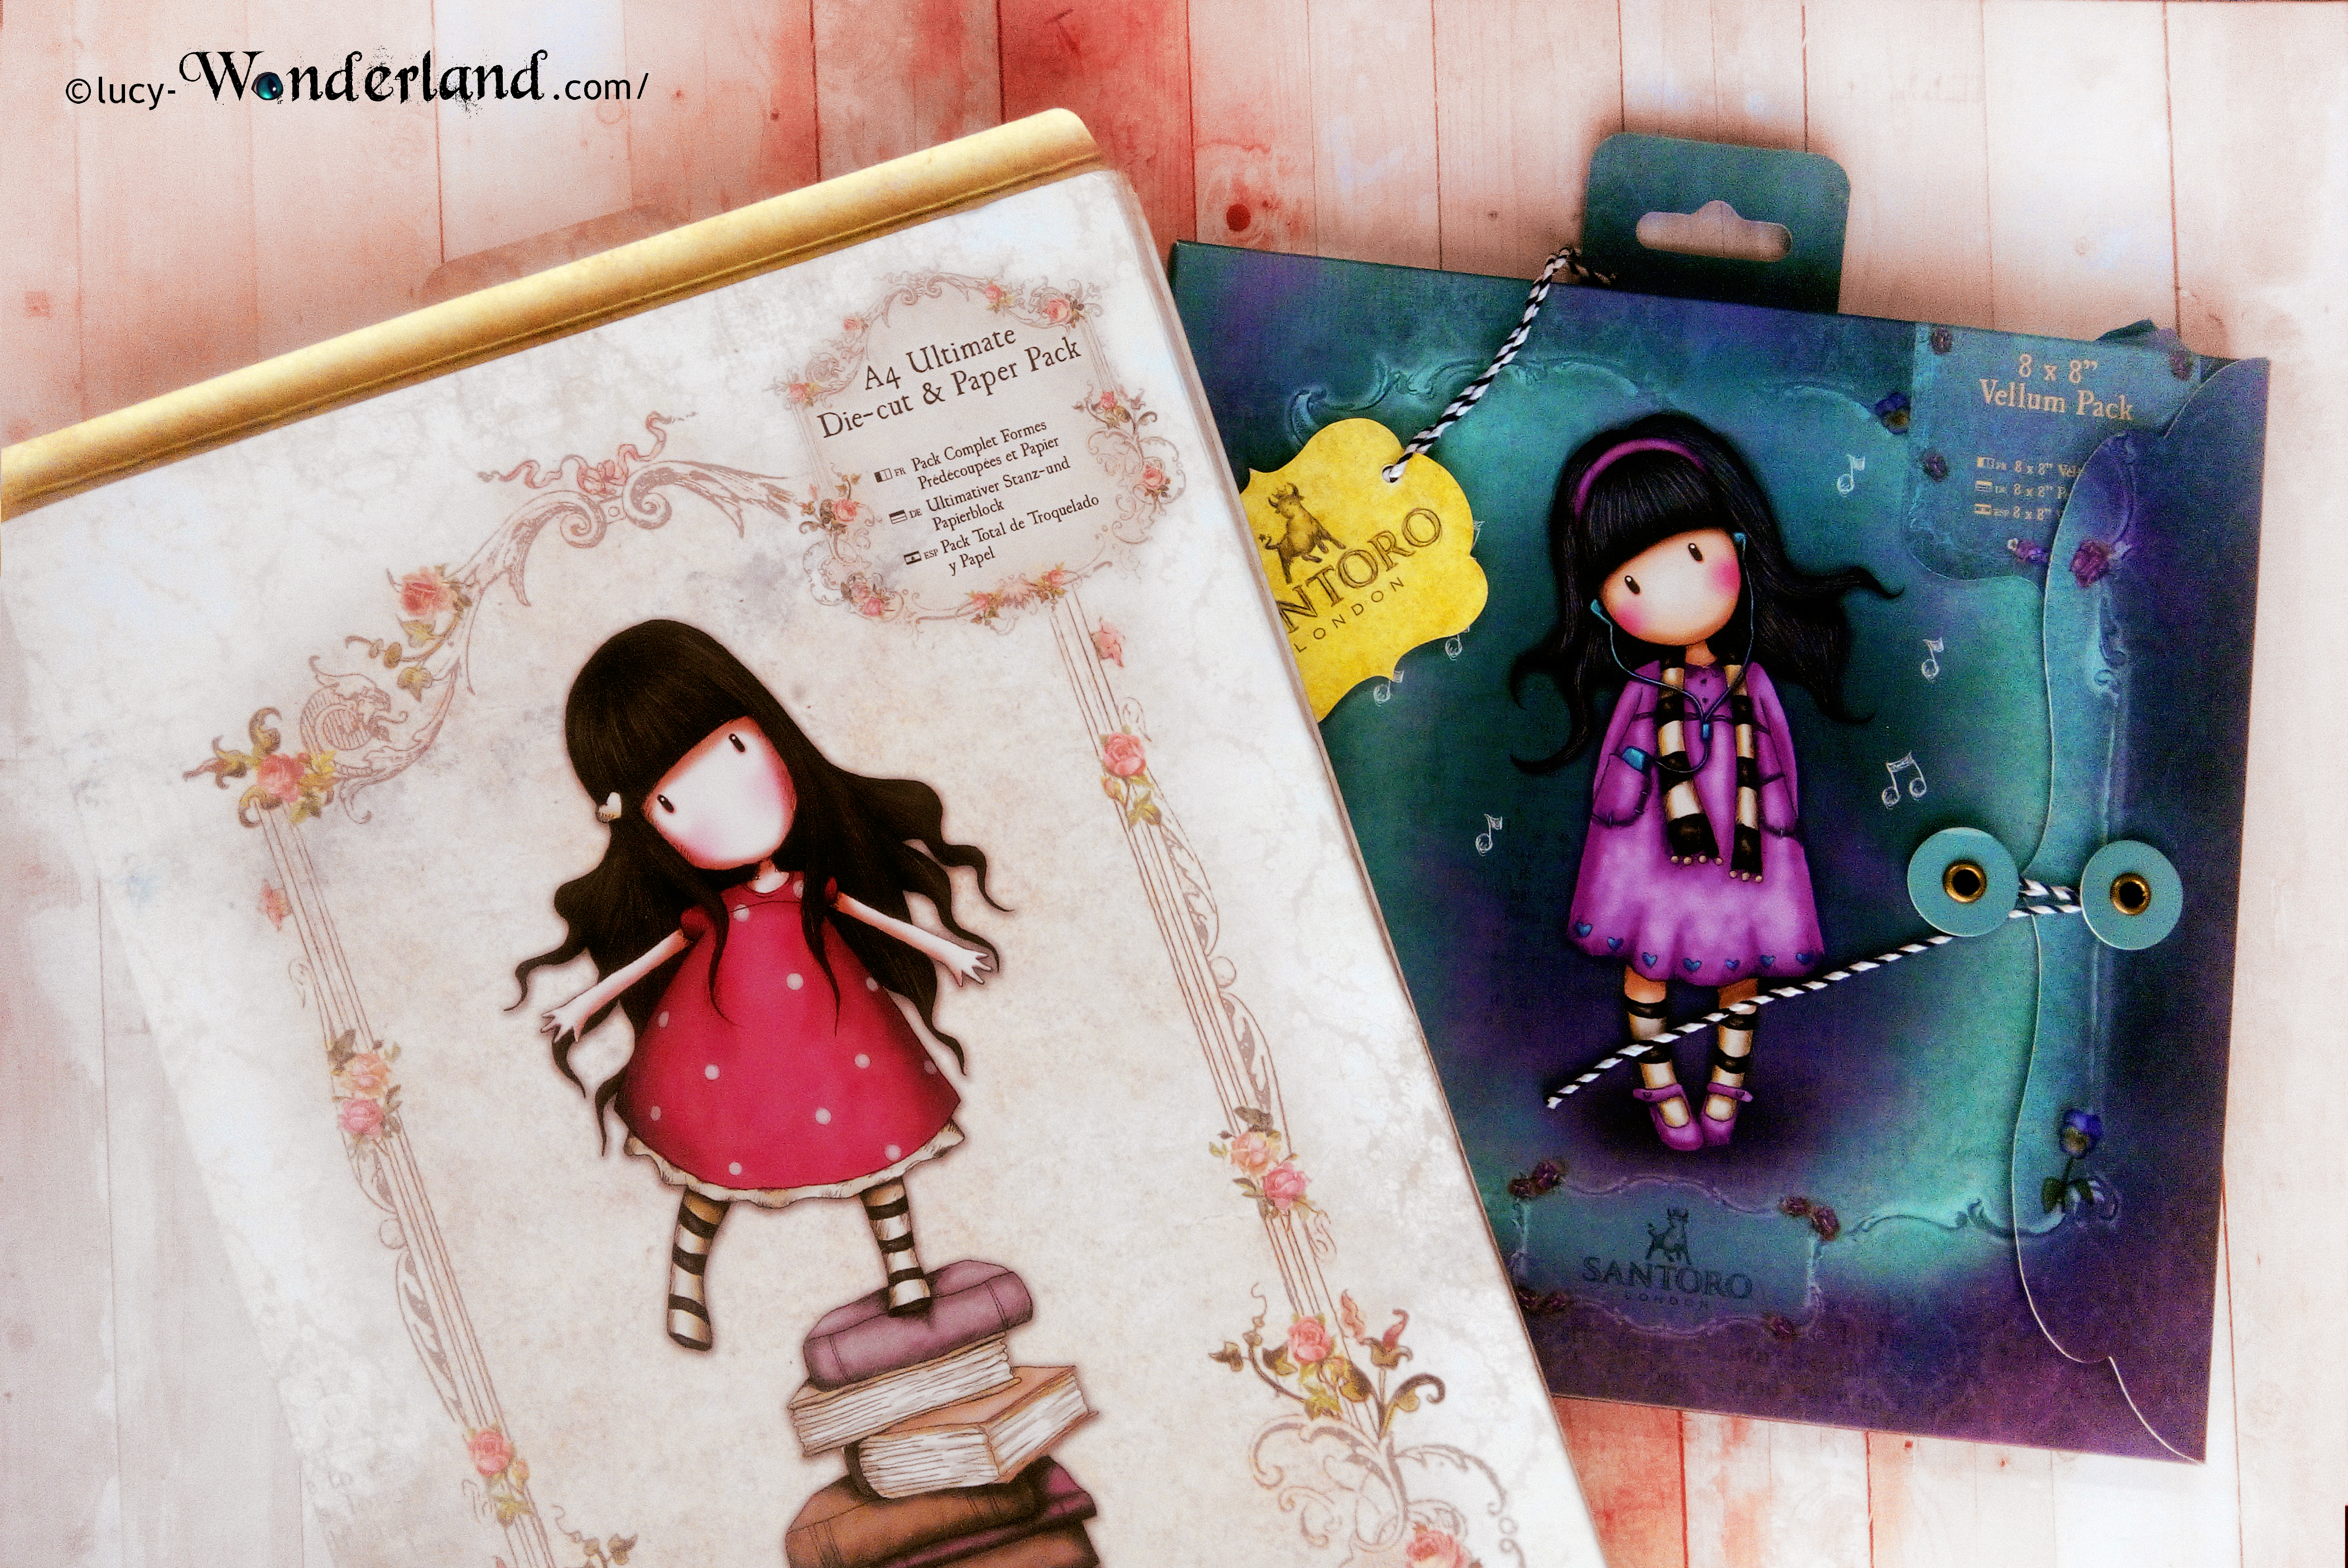
Hi there!! ^ - ^ Today I'd like to show you two products that I could luckly test in these days. they are the '' ultimate diecuts & paper Pack "and the" vellum pack "of the new Gorjuss collection named VINTAGE ROSE, produced by Docrafts company. At the end of the post there is the video where I show in detail all the contents you can find inside of these products.
L"ultimate diecut&paper Pack" è decisamente uno dei miei prodotti preferiti dell'intera collezione,infatti...
ne ho comprati tantissimi in passato. Io li trovo davvero utili per la nostra agenda, e non solo per lo scrapbooking, perchè all'interno contiene così tanti elementi per decorare le pagine e i divisori delle nostre agende, che c'è davvero l'imbarazzo della scelta.
Rispetto agli altri ultimate pack precedenti, sono stata piacevolmente sorpresa da alcune novità:
le bamboline sono leggermente più piccole, e quindi possiamo davvero inserirle con più facilità nelle nostre agende, magari come decorazione della settimana o, come vi mostrerò in seguito, come paperclip o come divisorio;
lo spessore della carta è superiore a quello dei pacchi precedenti;
il packaging, che a me già piaceva molto, adesso è ancora più carino!! Ma questo lo vedrete e apprezzerete meglio nel video alla fine dell'articolo
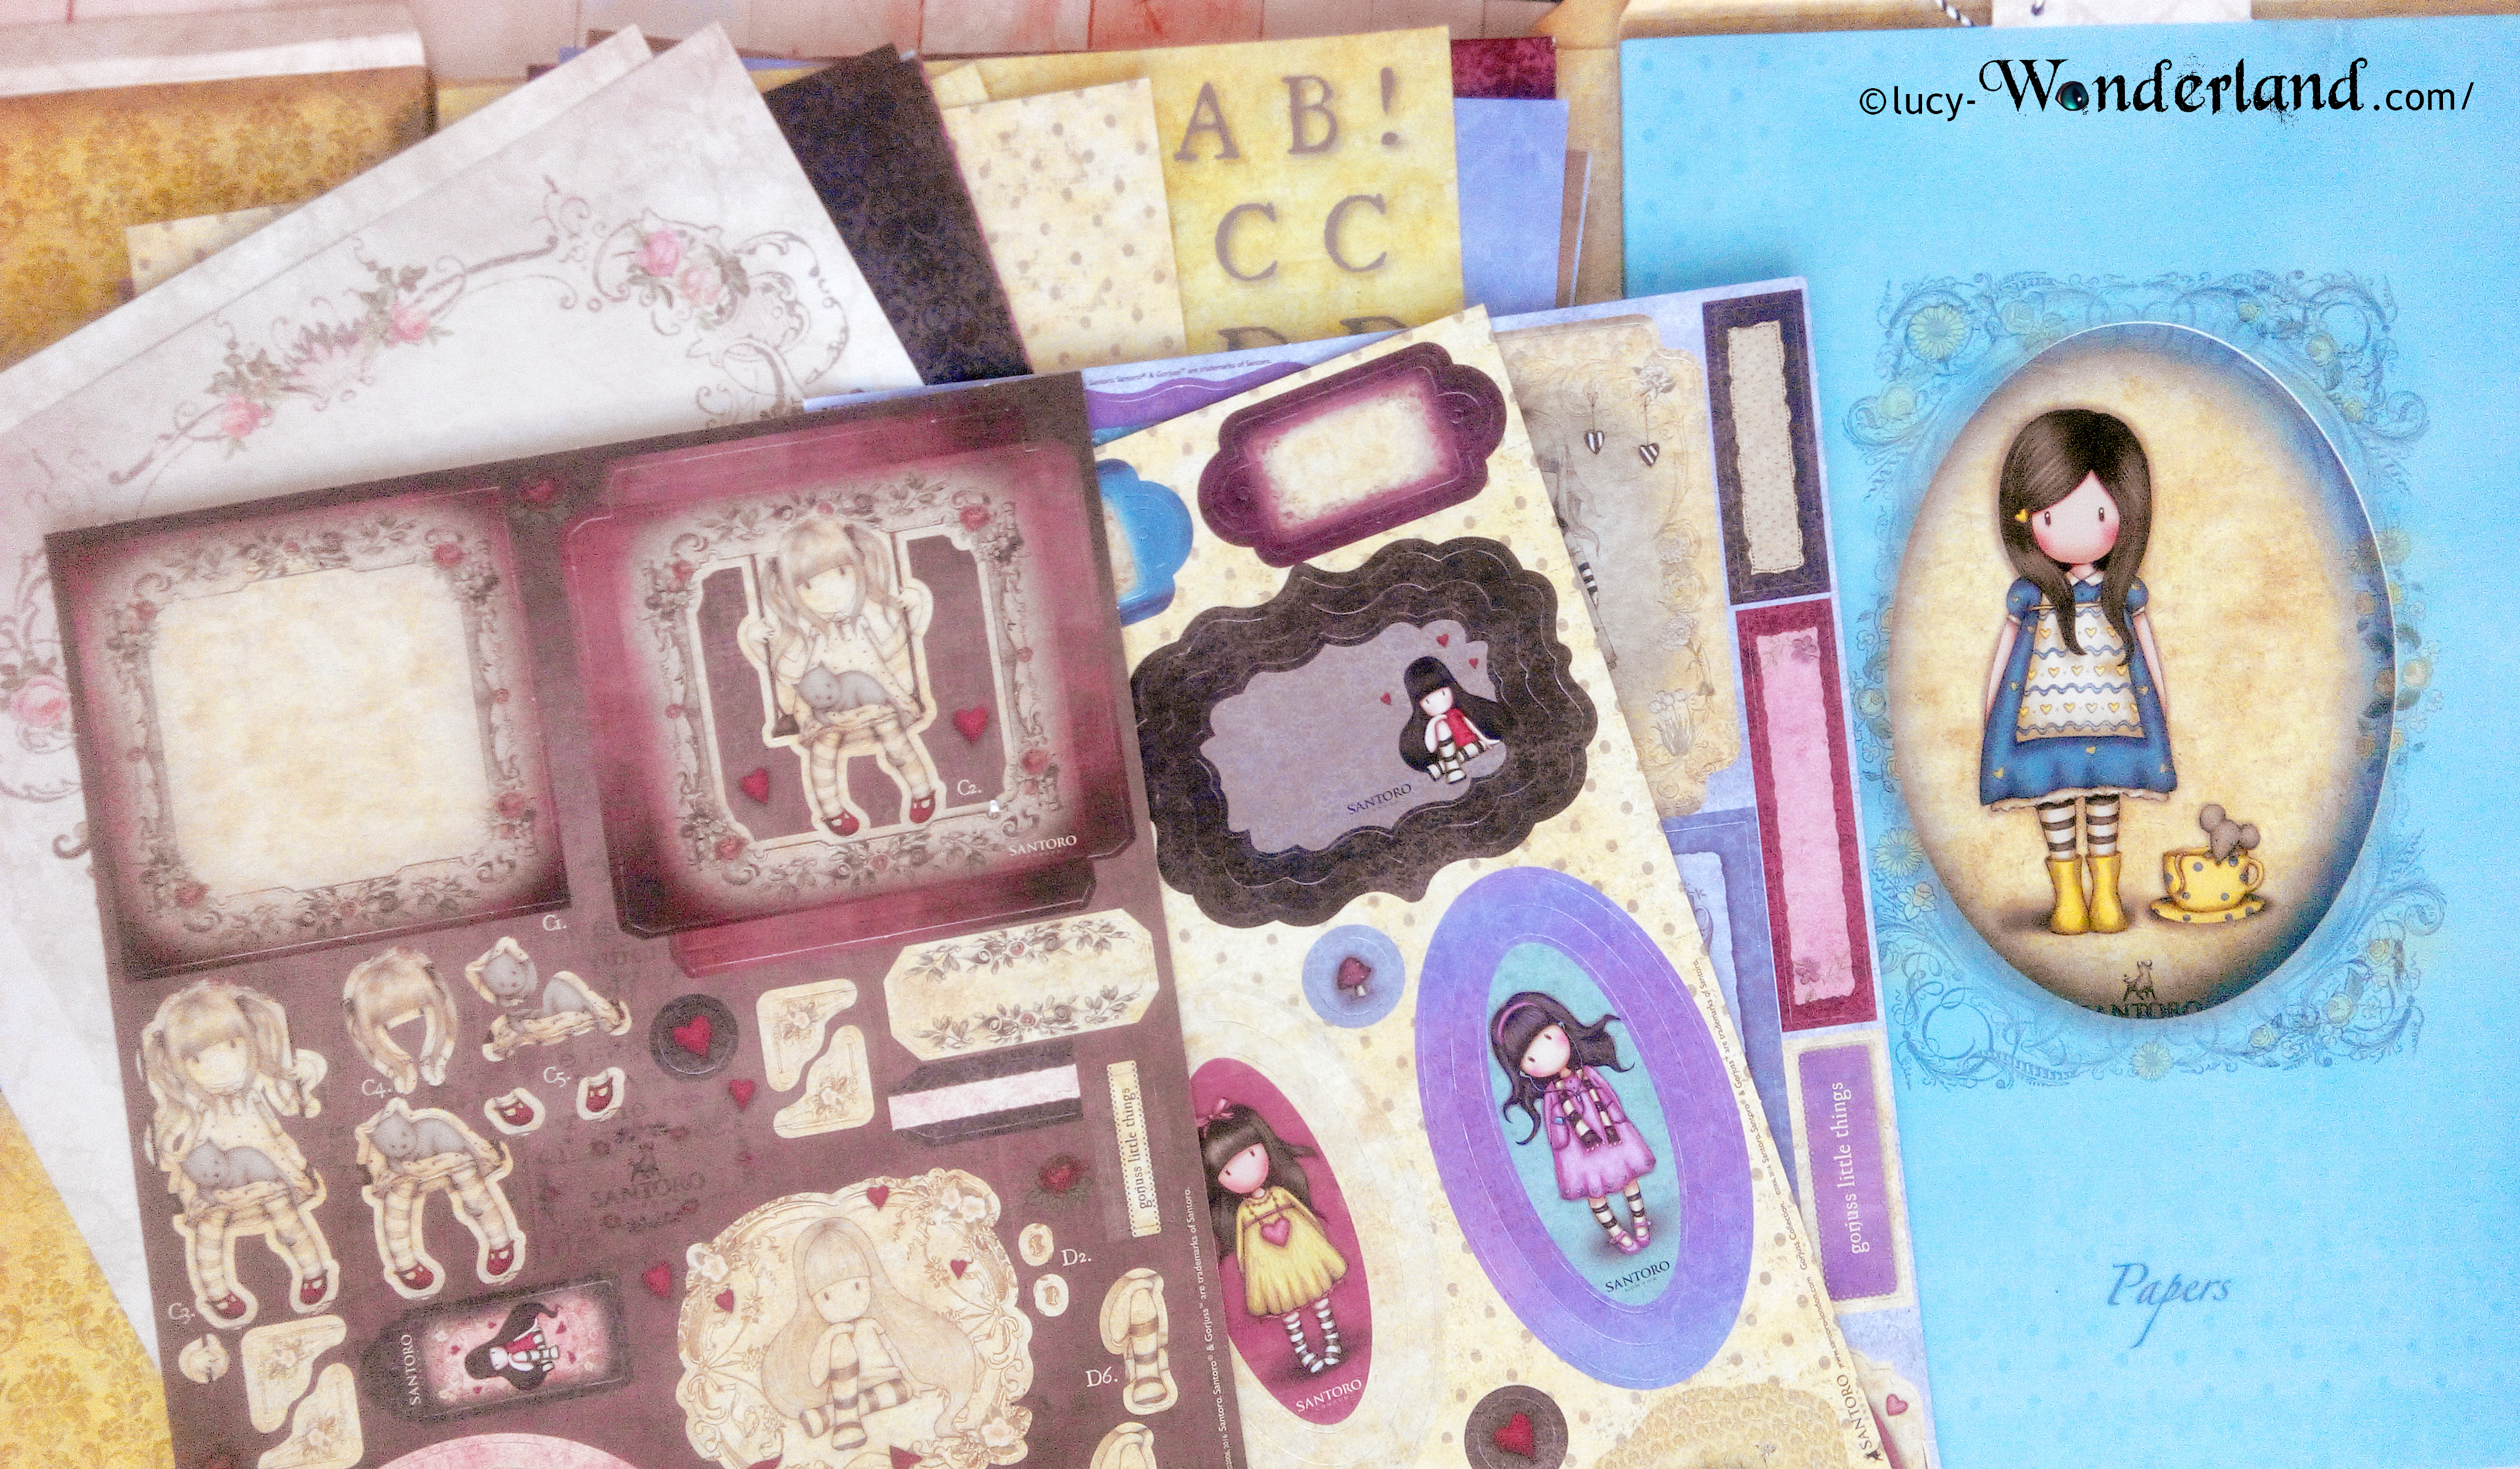
The "ultimate diecut & paper Pack" is definitely one of my favorite product of the entire collection, in fact I bought so many of them in the past. I find them really useful for our planners, and also for scrapbooking of course, because inside contains so many elements to decorate the pages and dividers, there is really spoiled for choice.
Compared to the other ultimate packs that I have, I was pleasantly surprised by some news:
the dolls are slightly smaller, and in this wau we can really insert them more easily in the planners, for example as a decoration of the week or, as I will show later, as a paperclip or again as a decoration for a divider;
the paper is thickest than that of the previous packs;
the packaging, that I liked so much, now it's even cuter!! But you'll see and appreciate it better in the video at end of article
Il "vellum pack" è una bellissima novità di questa collezione. La carta ha una bellissima consistenza, non me la aspettavo così spessa e piacevole ^-^ Non l'ho usata tantissimo in realtà perchè vorrei realizzare qualche progetto più particolare, ma devo studiarmi meglio le caratteristiche di questo tipo di carta. Al momento ho realizzato qualche dettaglio, come le ali delle varie farfalle, alcune ali aggiunte alle bamboline, diversi fiorellini sparsi all'interno della agenda, ed anche un paio di bustine di carta.
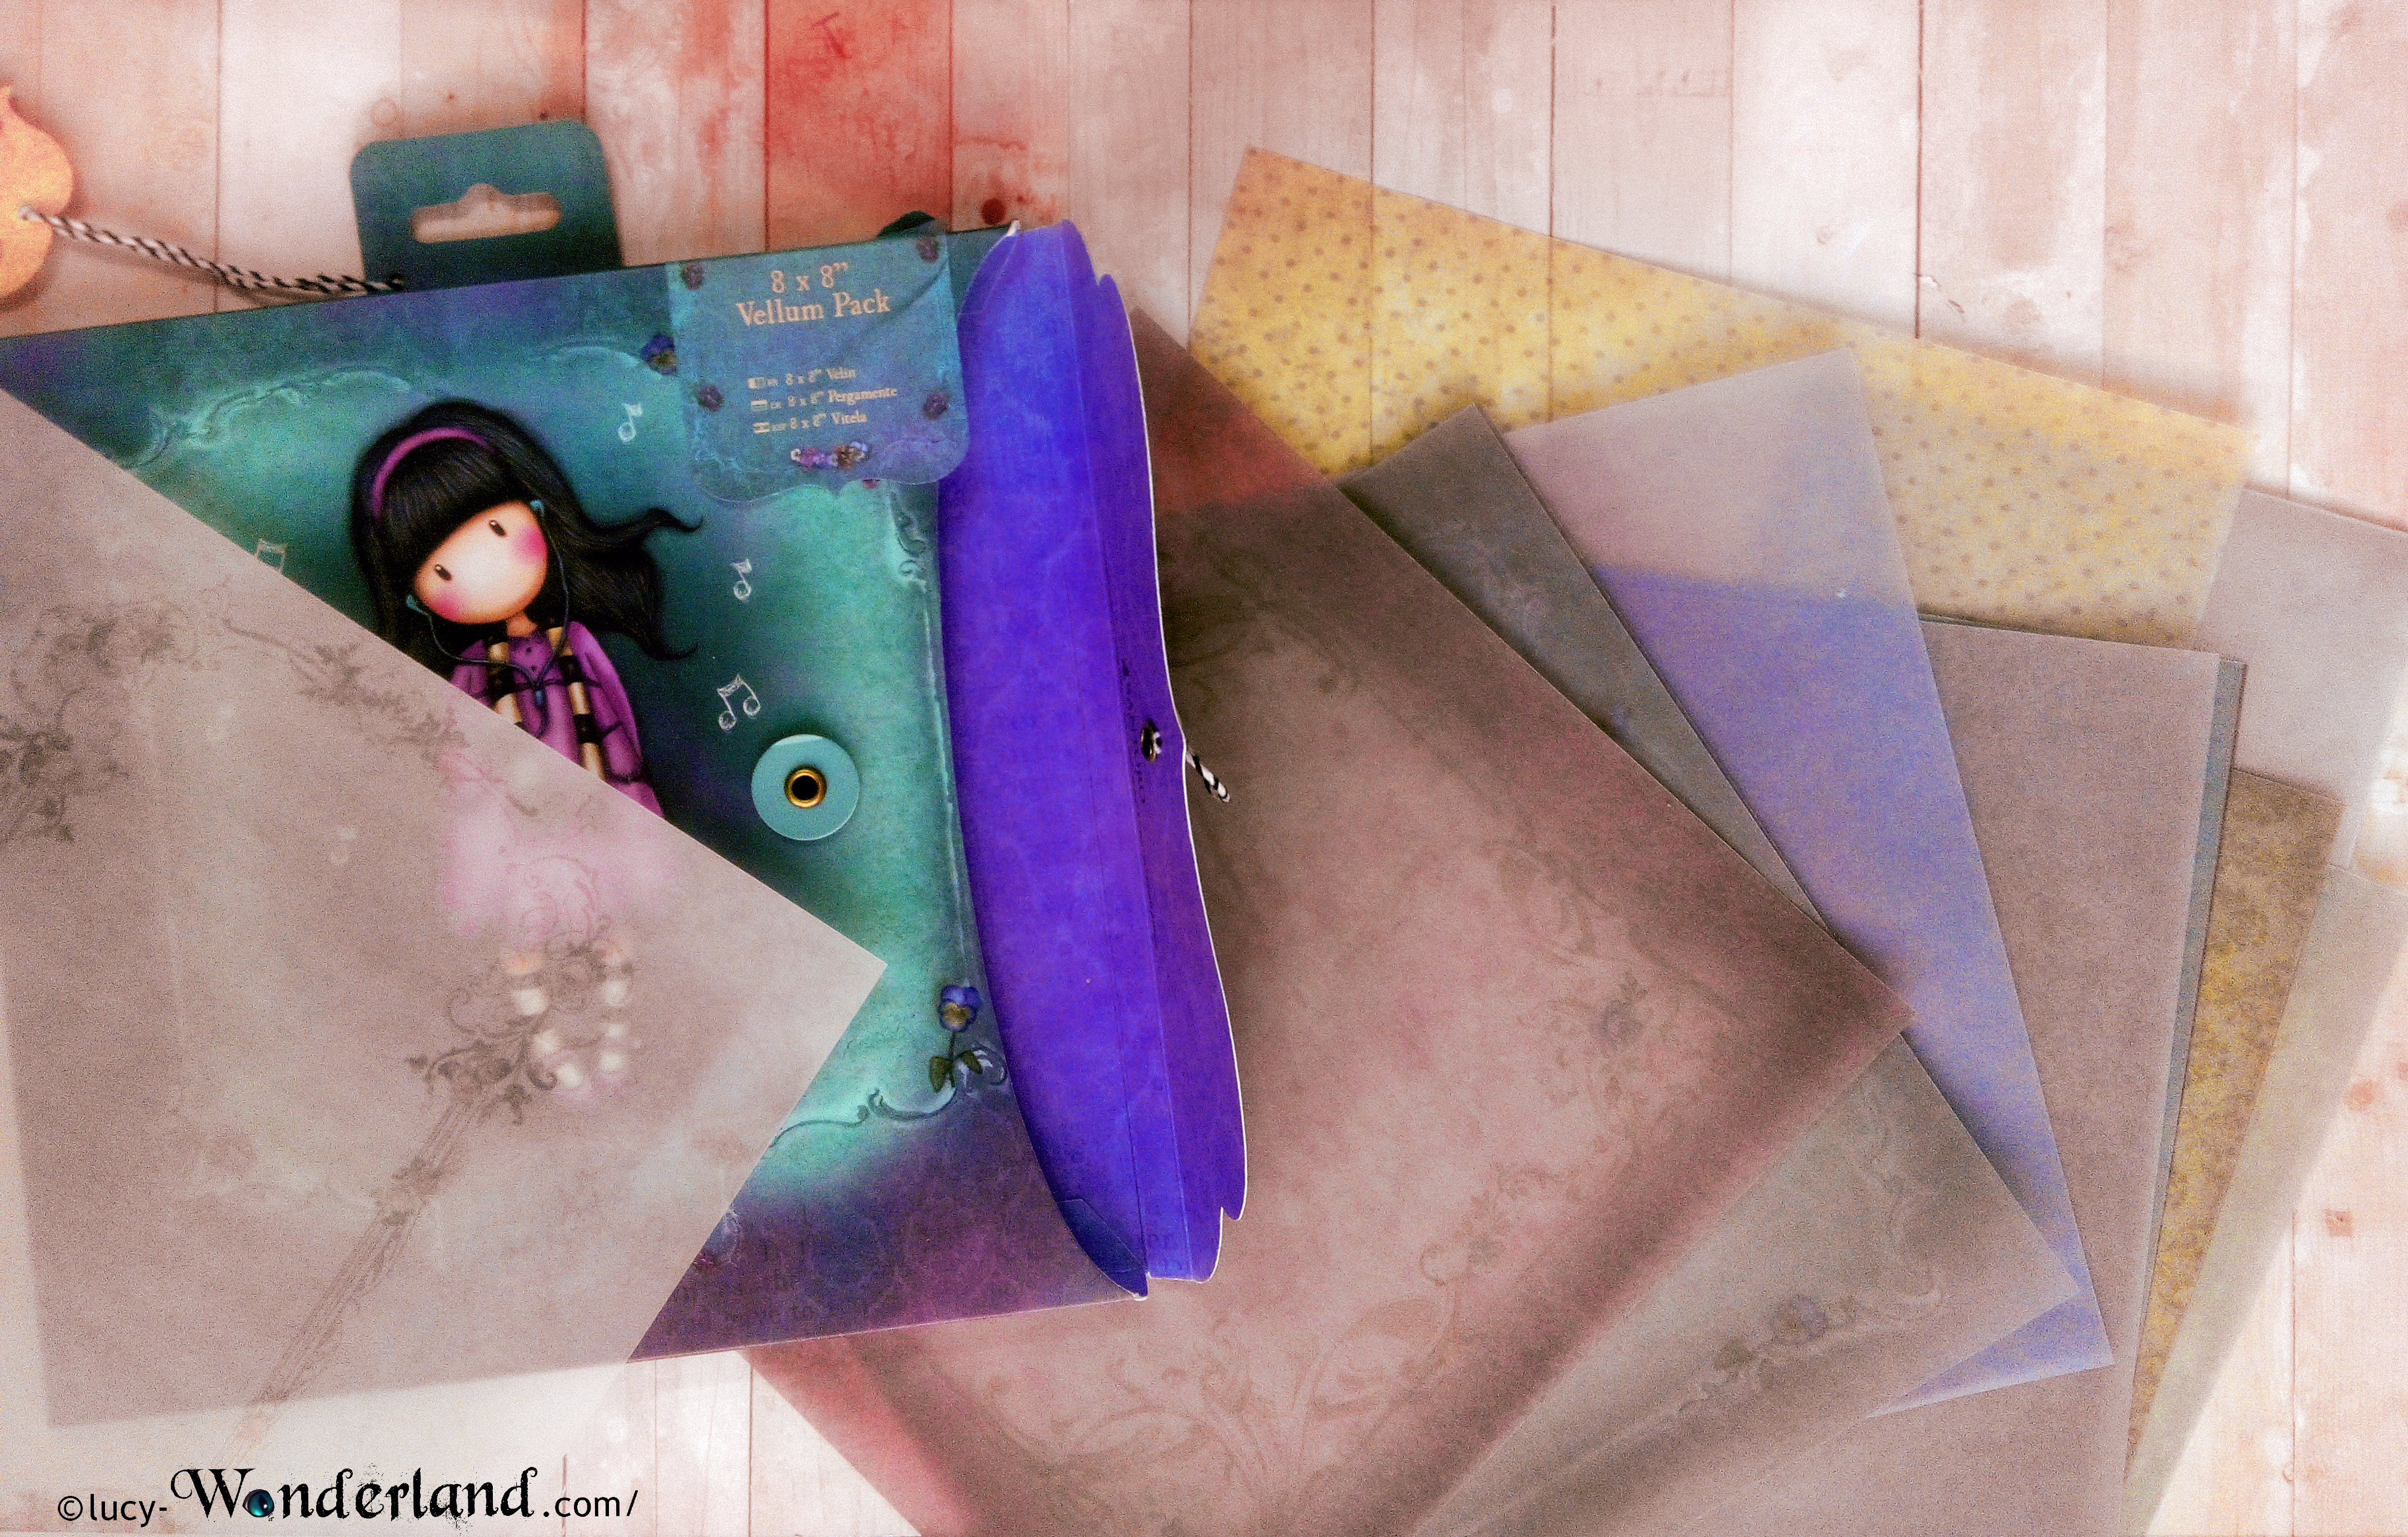
The "vellum pack" is a beautiful novelty of this collection. The paper has a beautiful texture and thickness, really I didn't expect so thick, so nice ^ - ^
I have not used a lot actually, because I'd like creating some more particular projects, but I have to study better the characteristics of this type of paper. At the moment I made some details, like the wings of different butterflies, some wings added to the dolls, different flowers scattered in the dividers, and also a couple of paper bags.
Ma ora vorrei mostrarvi invece i divisori e gli accessori per l'agenda che ho realizzato con questo materiale di partenza.
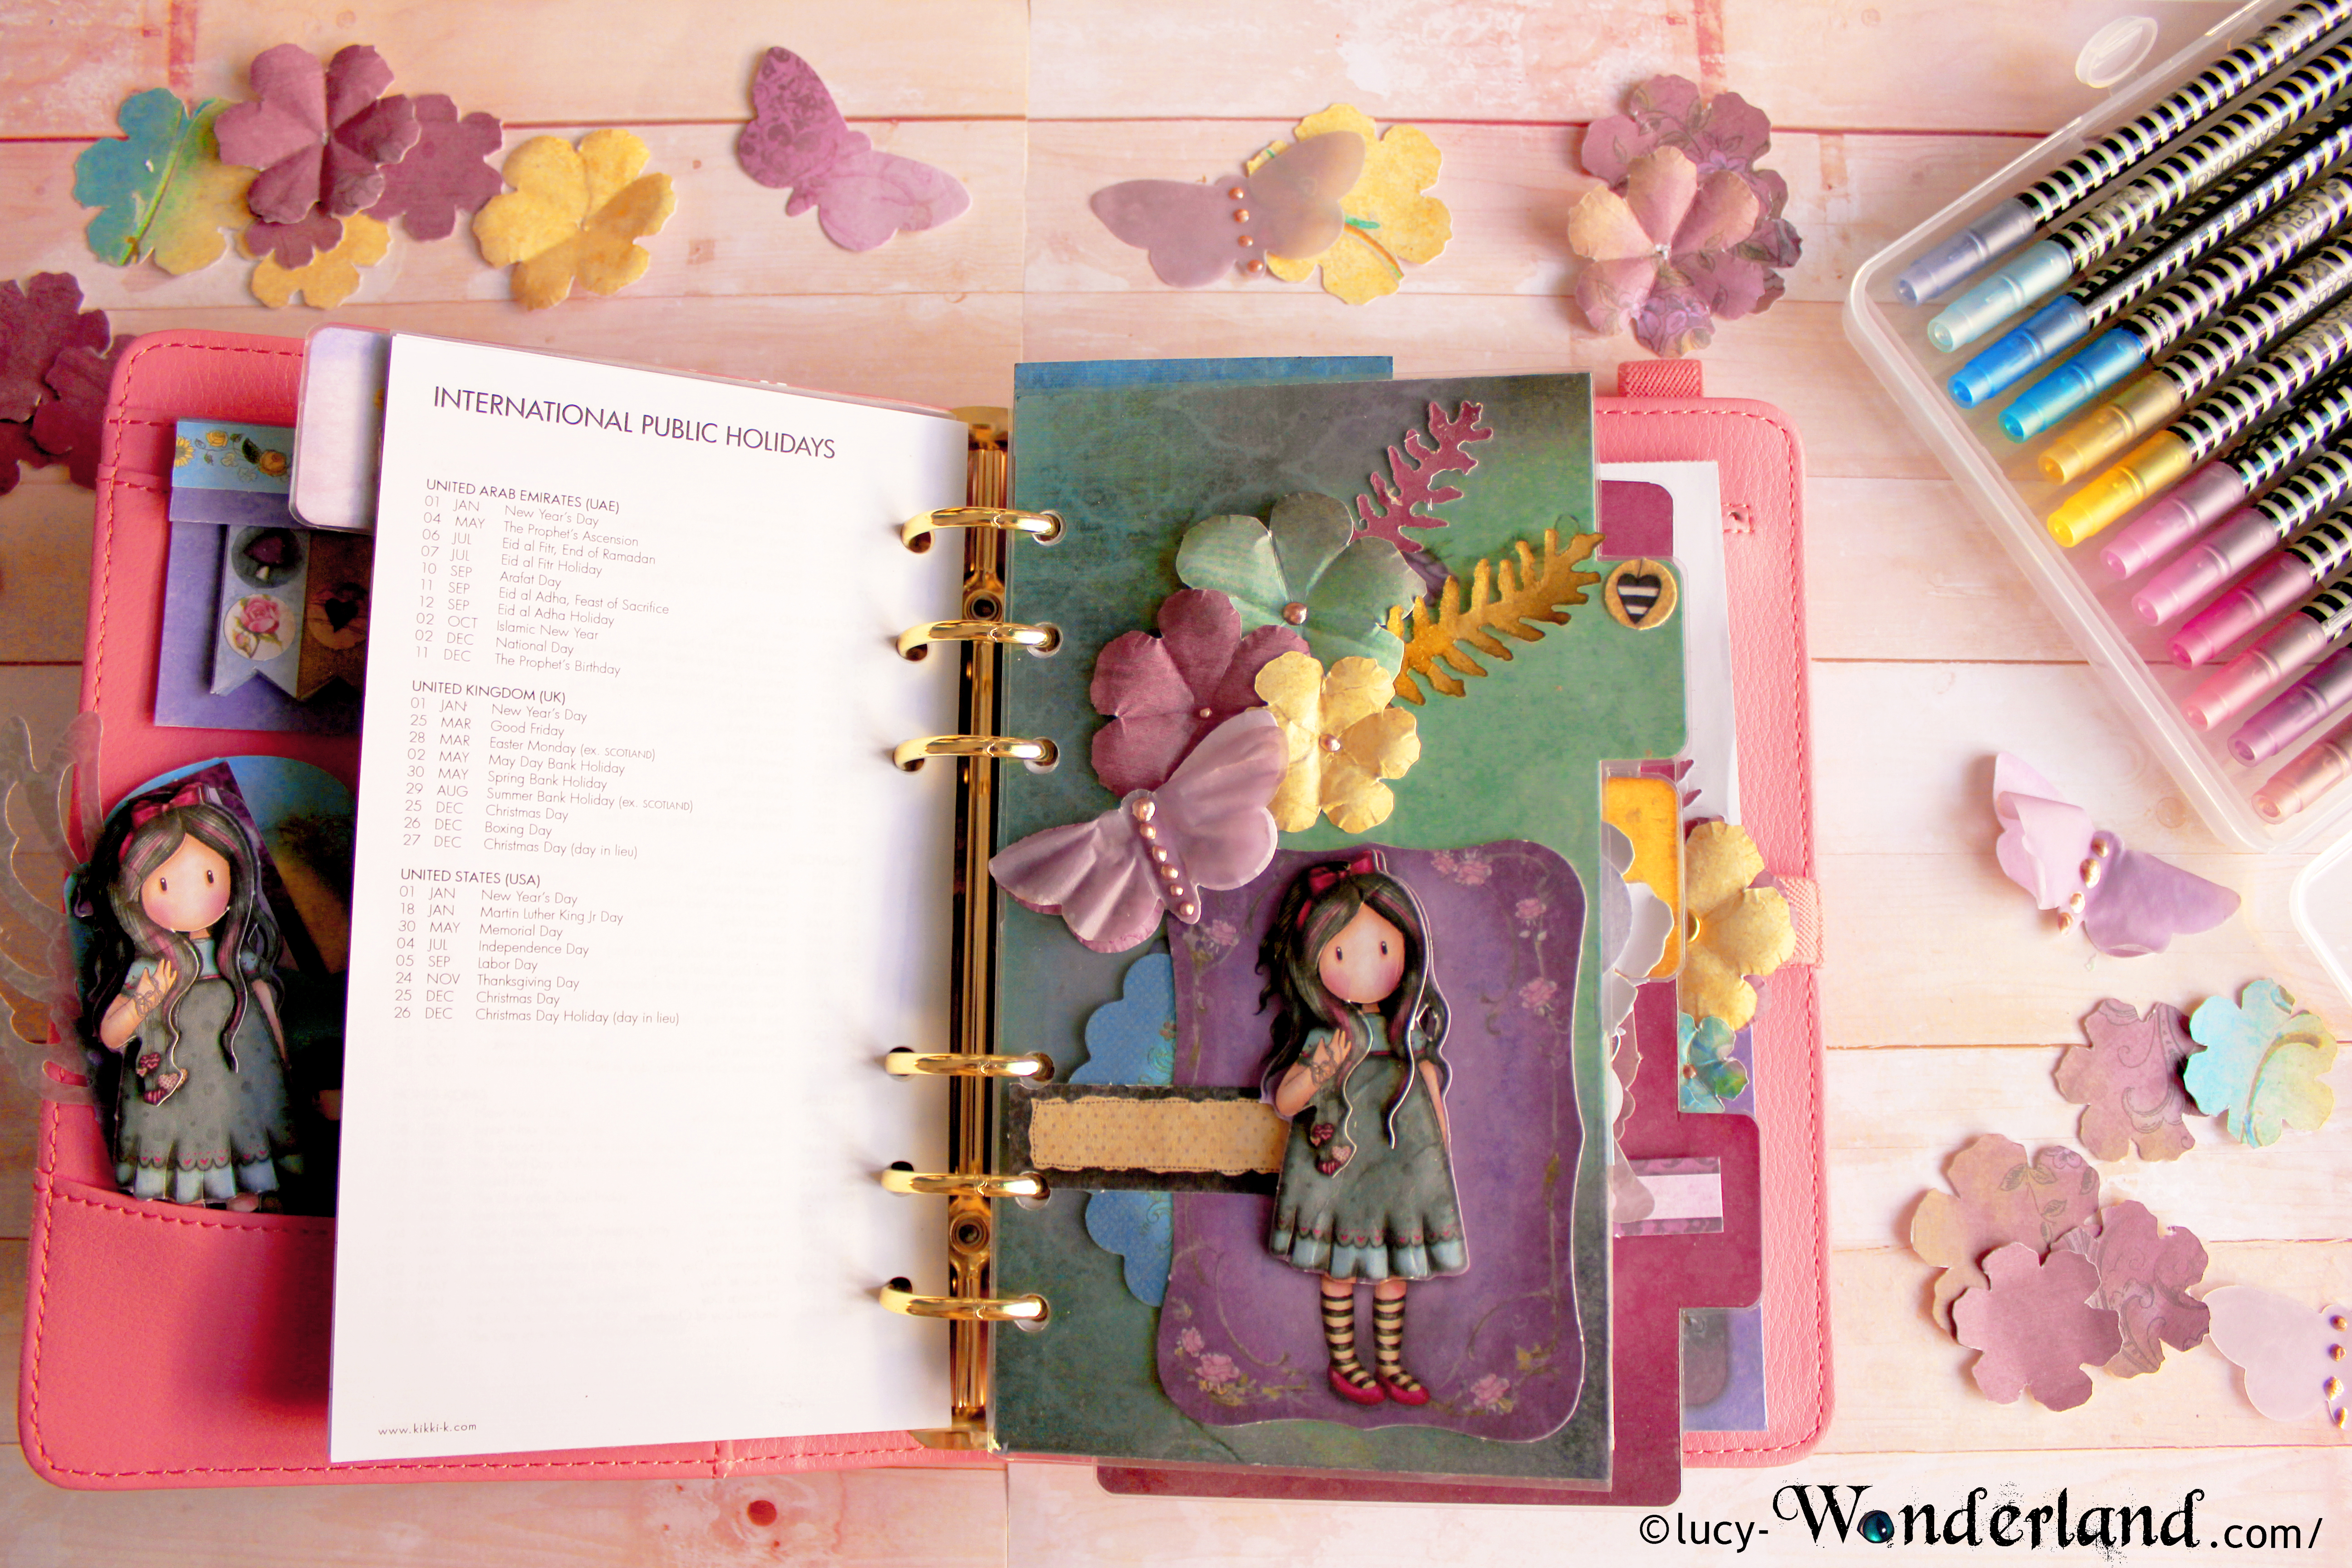
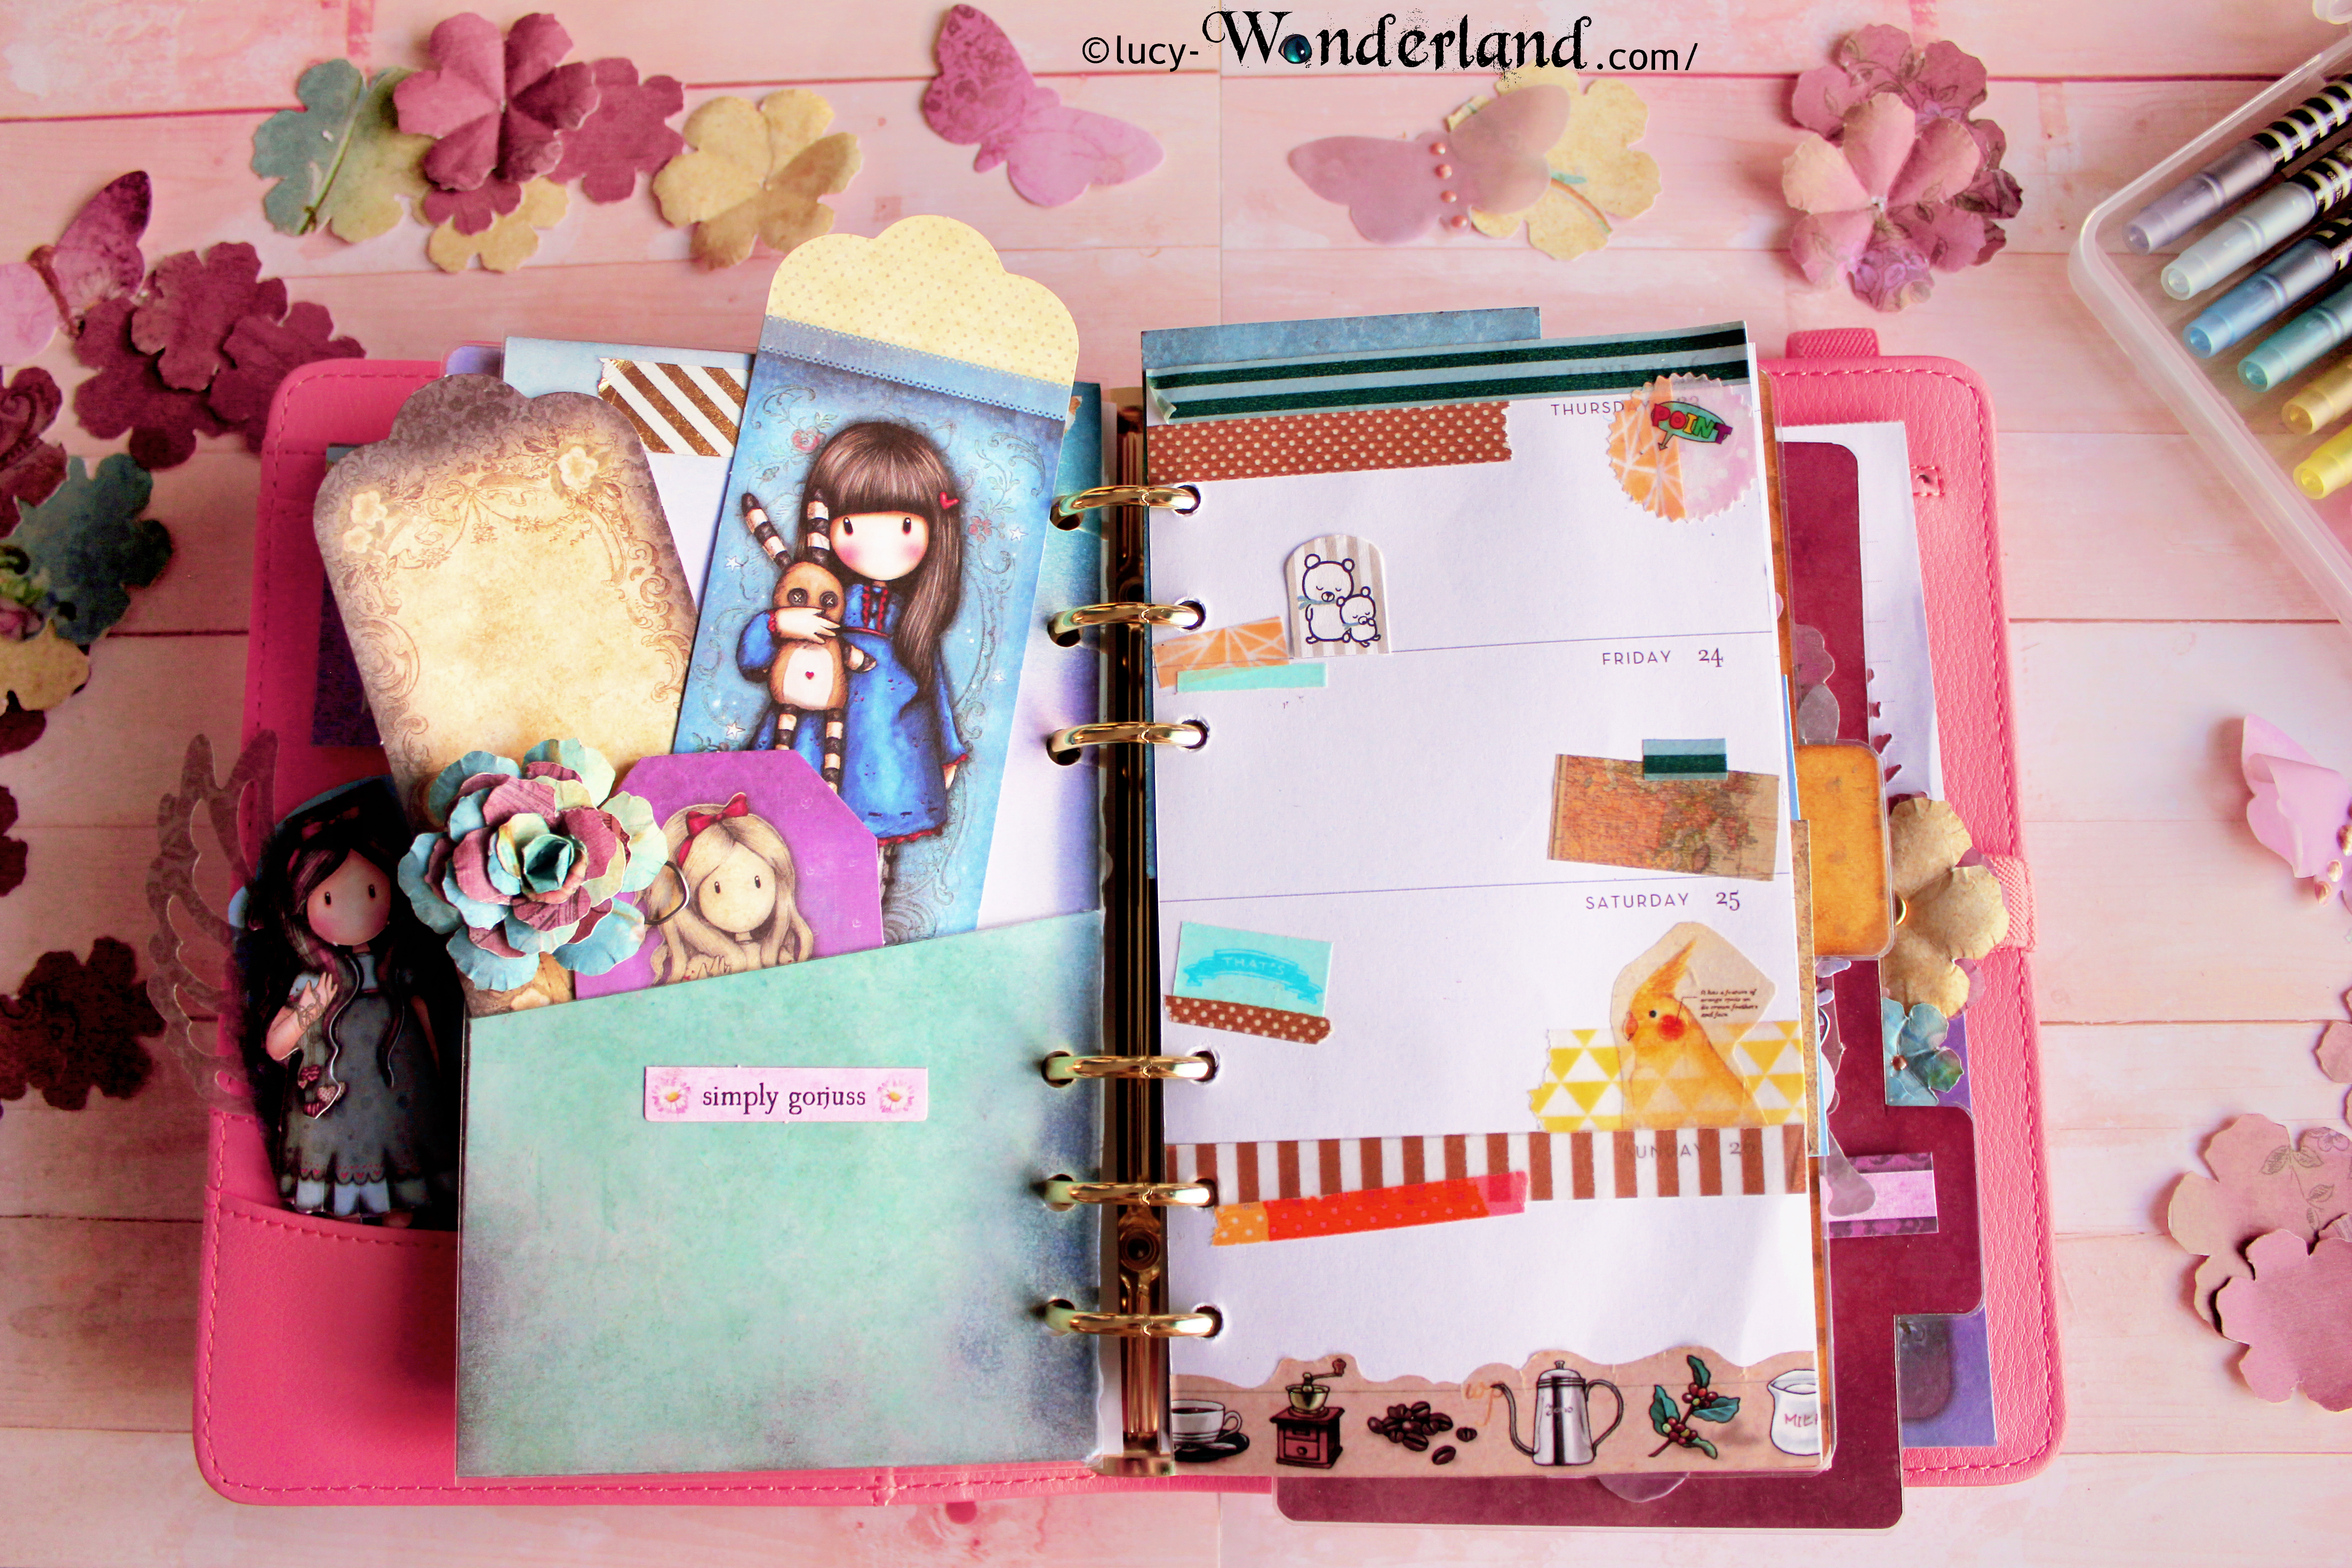
Ecco come appare la agenda appena aperta ^-^
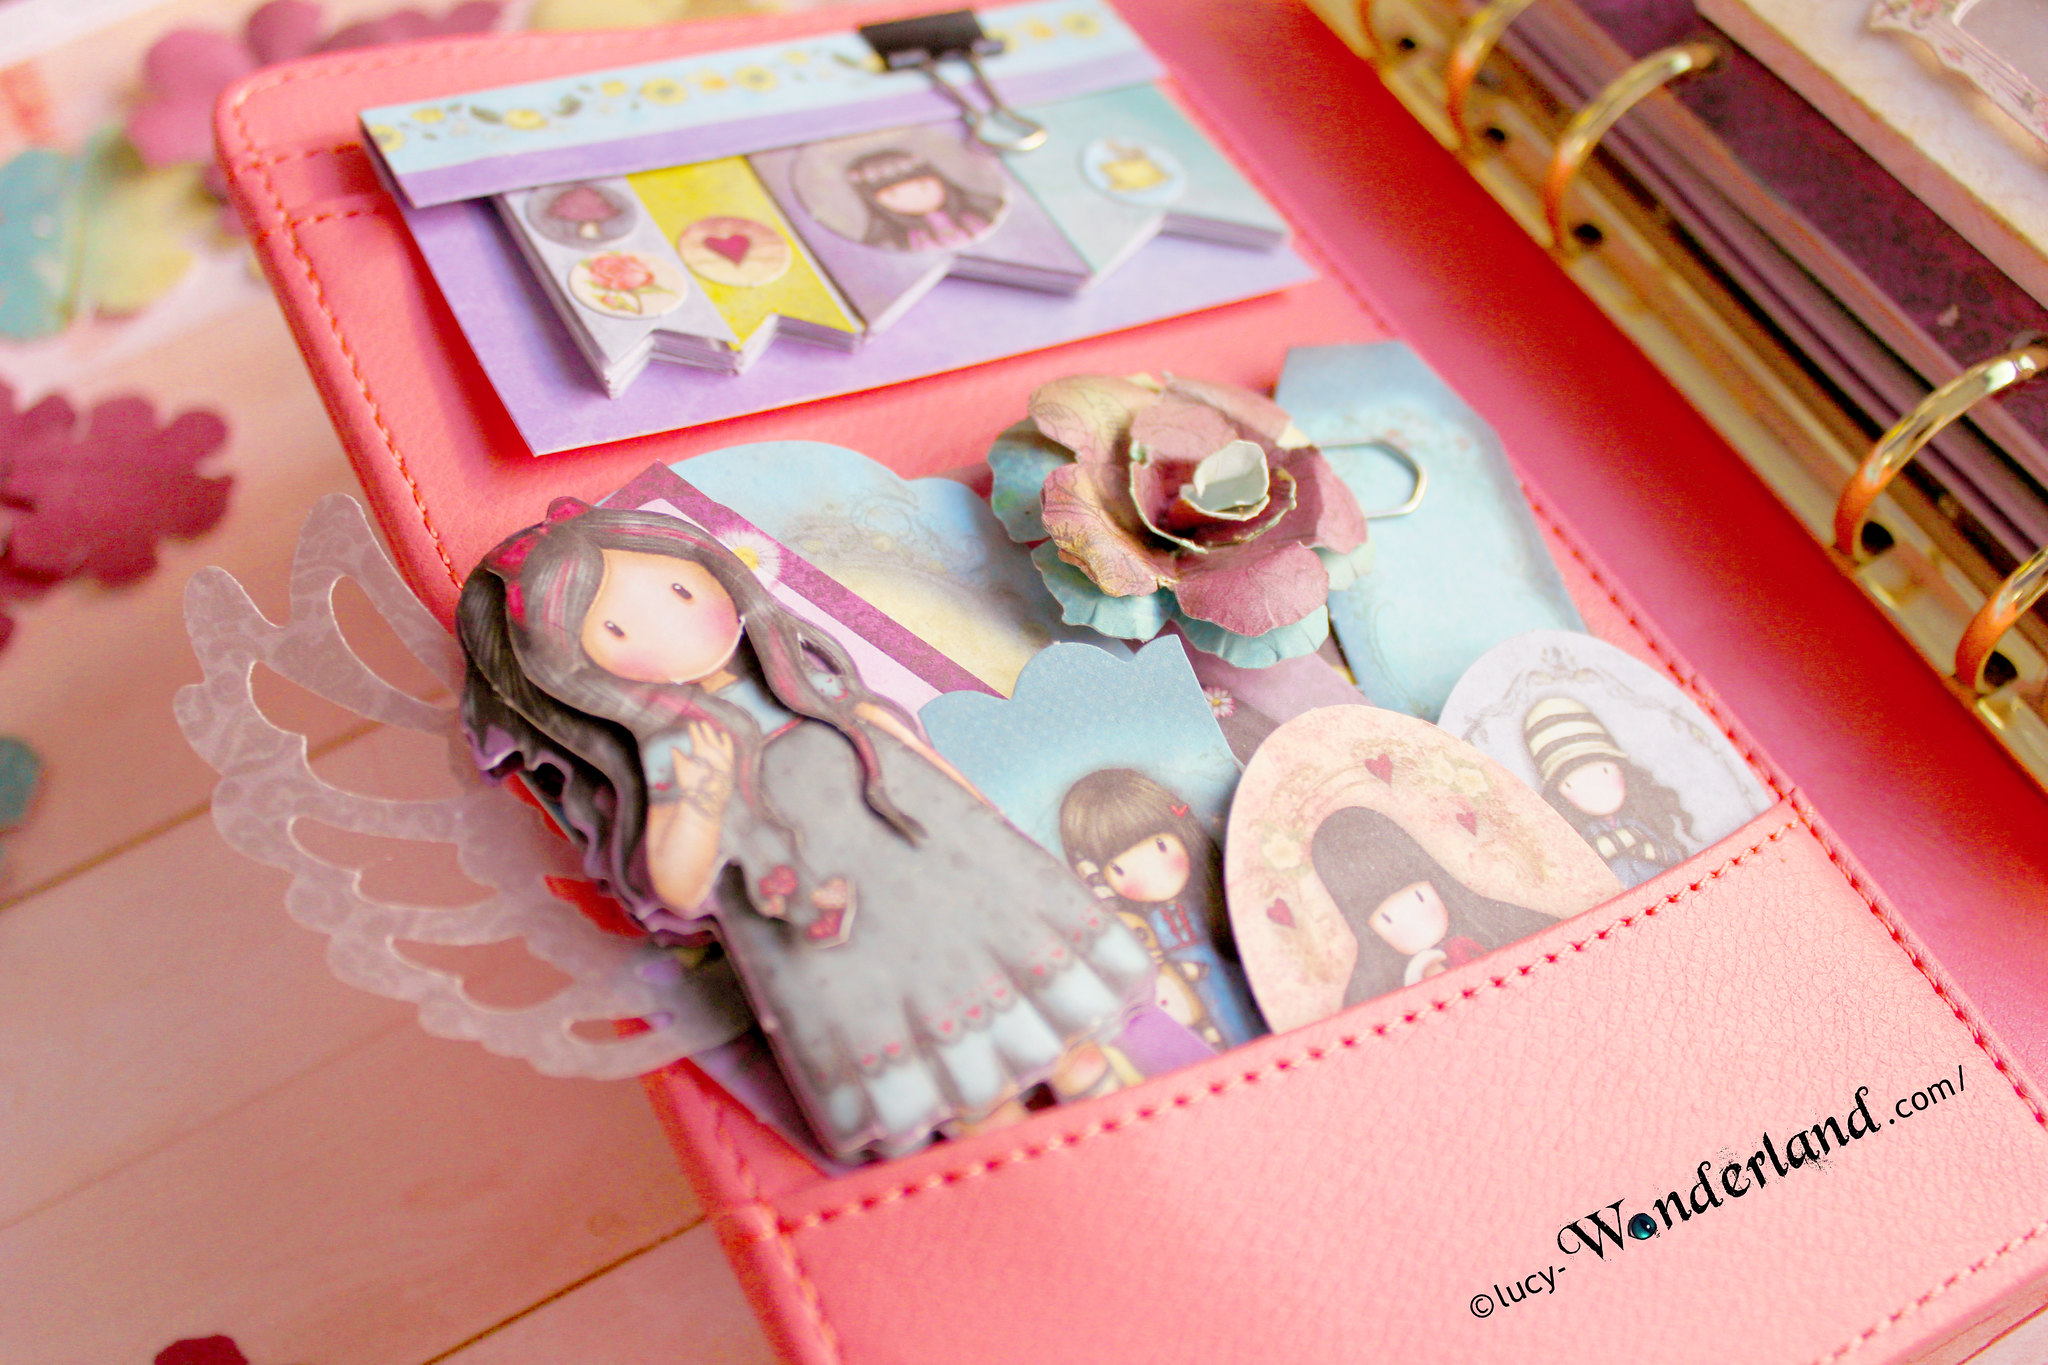
Nella tasca superiore, ho inserito delle pageflags, che ho ritagliato da alcuni pezzi di carta che erano avanzati dai divisori ( qui non si butta nulla, tutto si ricicla ^-^ )
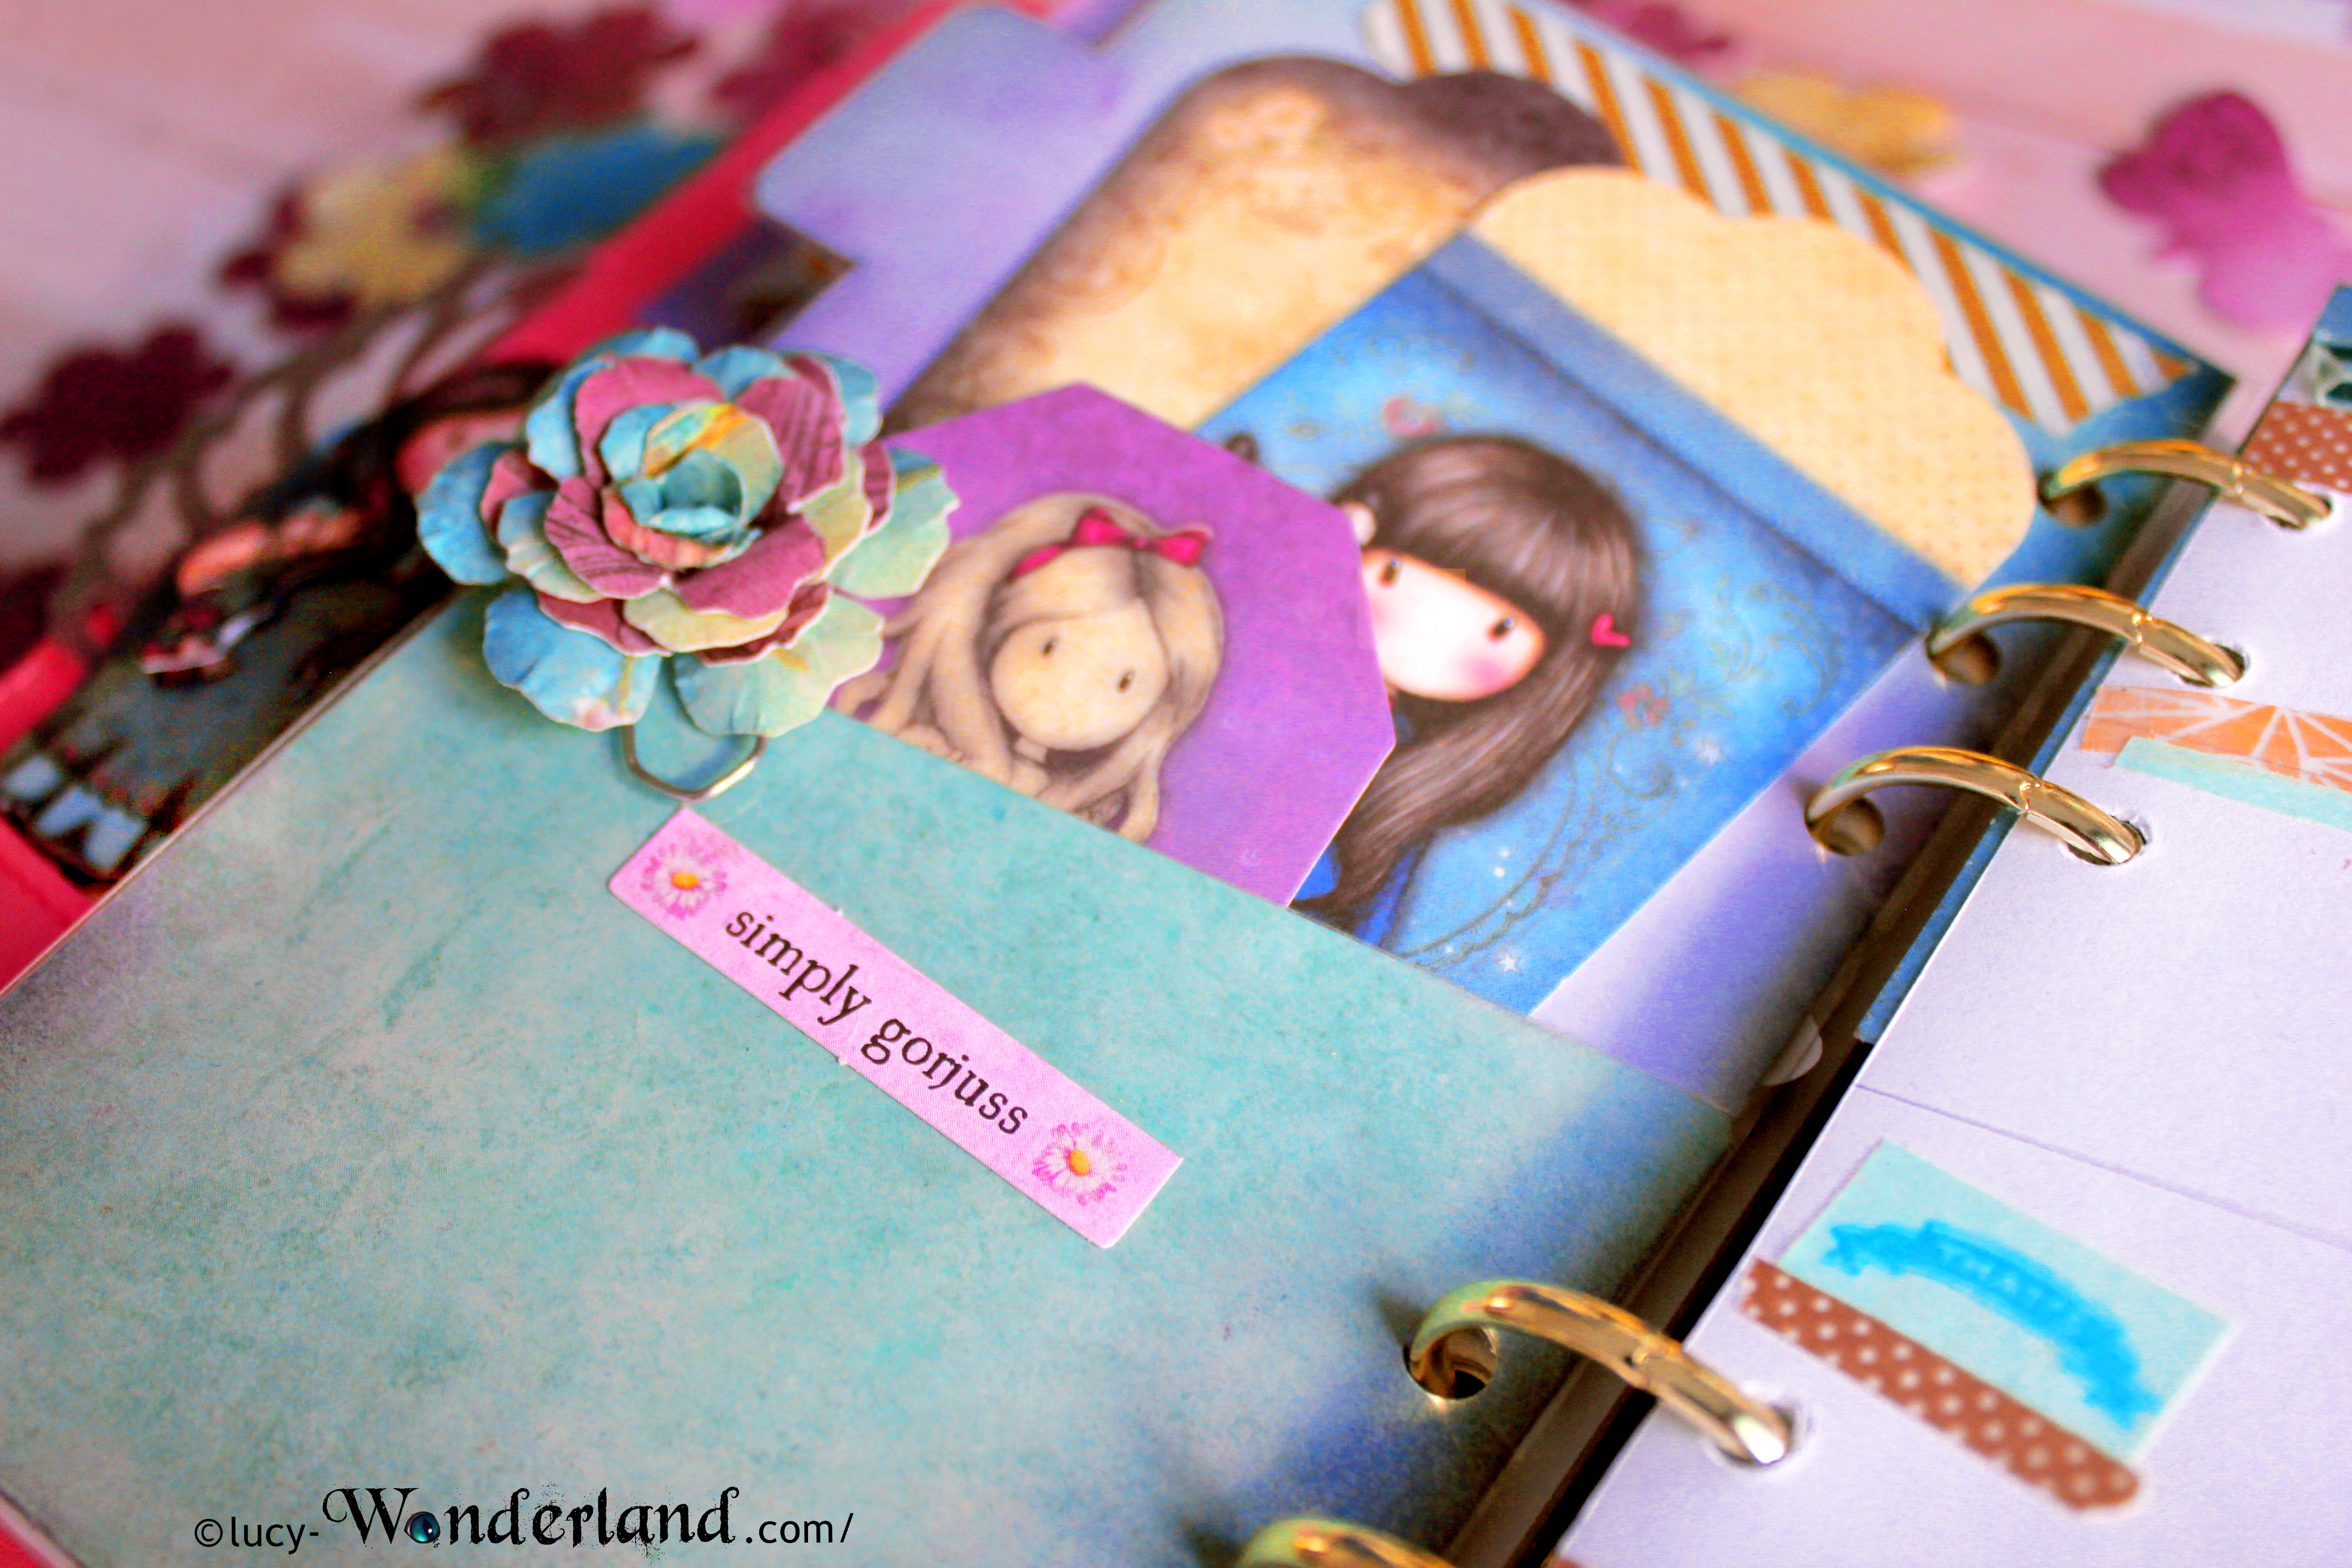
Nelle due tasche inferiori ho invece inserito alcune tags e bigliettini presenti sempre all'interno del pacco di carte, in modo da avere sempre a disposizione nella agenda dei bigliettini di varie forme e misure.
But now I'd like to show what I created for my planner with this starting material.
This is it the organizer just opened ^ - ^
In the top pocket, I put the pageflags, that I cut out from some few pieces of paper that were advanced by the dividers ( I don't throw anything, everything is recycled ^ - ^)
In the two lower pockets instead I added some tags and cards, take from the toppers
pages, so I always have in the planner cards of various shapes and sizes.
Ho poi inserito due paperclips. La prima è stata realizzata a partire da una bambolina tridimensionale, a cui ho poi aggiunto un retro di cartone più spesso ed una graffetta. La seconda è invece un fiorellino di carta che ho realizzato ritagliando sempre alcuni pezzi di carta avanzata dal lavoro dei divisori.
then I added two paperclips. I made the first one from one of the three-dimensional dolls, to which I added a cardboard back and a metal pink paper clip. The second one is a paper flower that I created from some pieces of papers advanced by the dividers.
Alla scatolina di carta ho attaccato, dall'interno, un pezzo di acetato trasparente, in modo da evitare che all'interno potessero finirci della sporcizia, come residui di gomma o pezzettini carta.
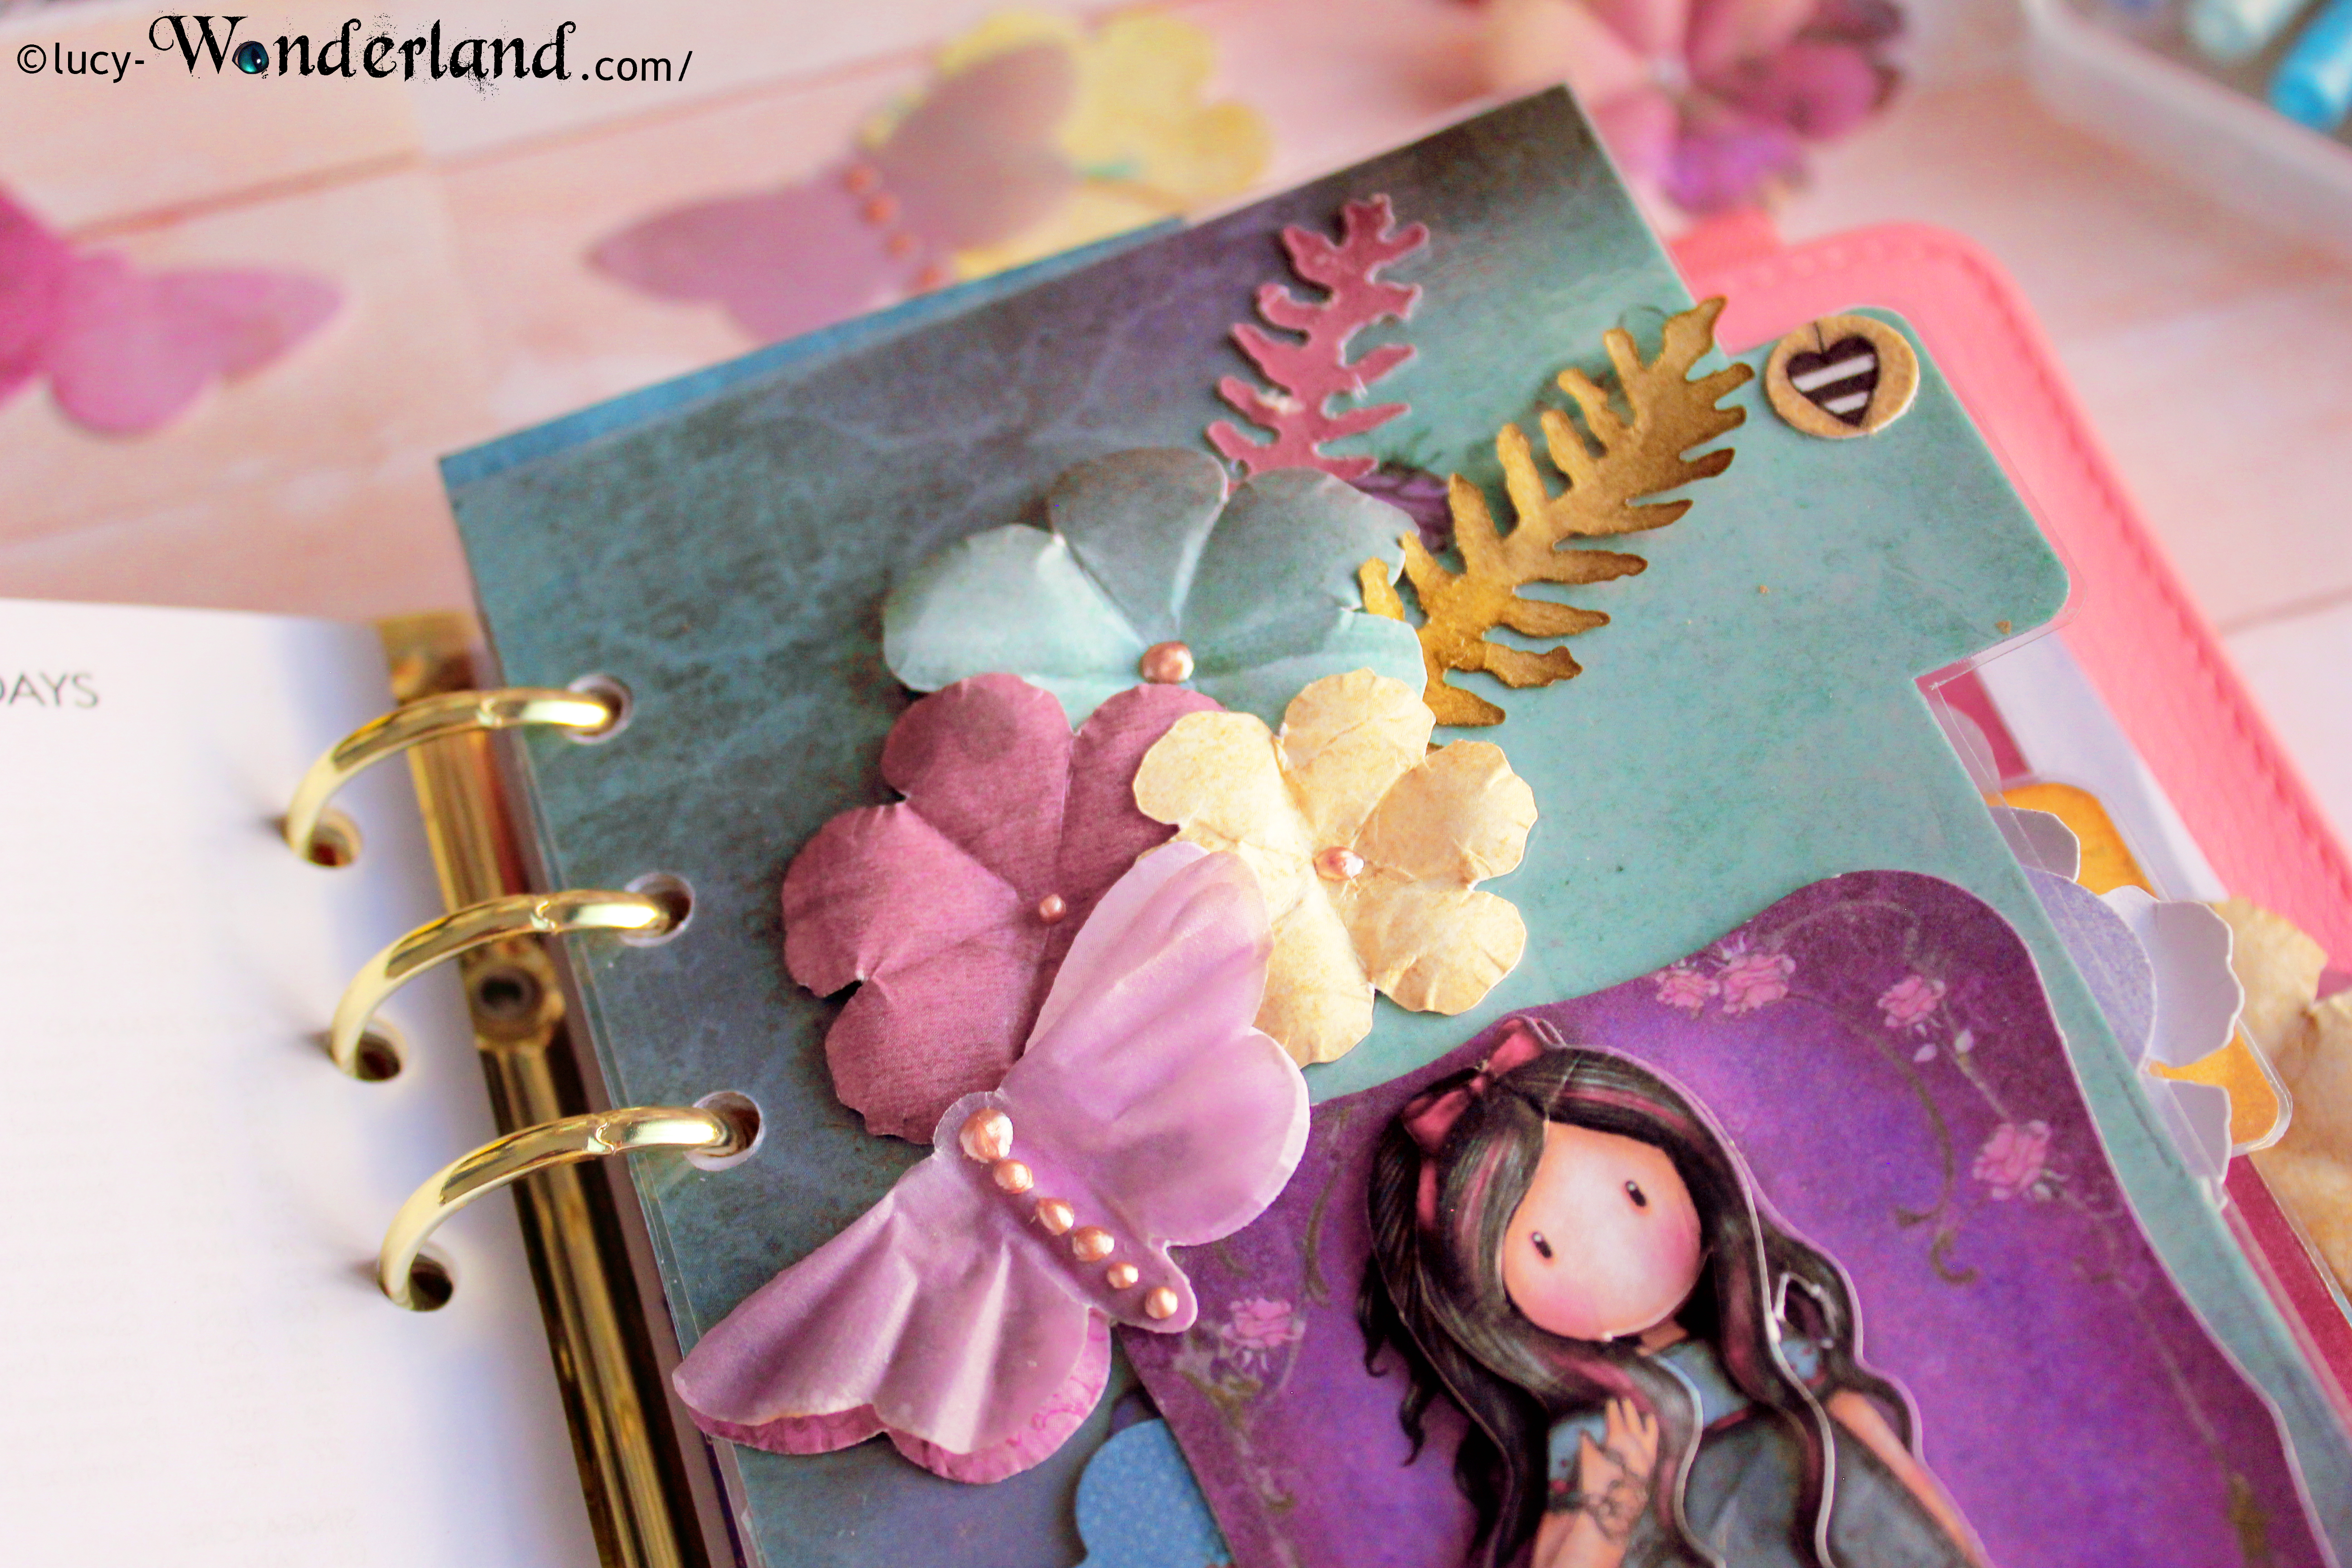
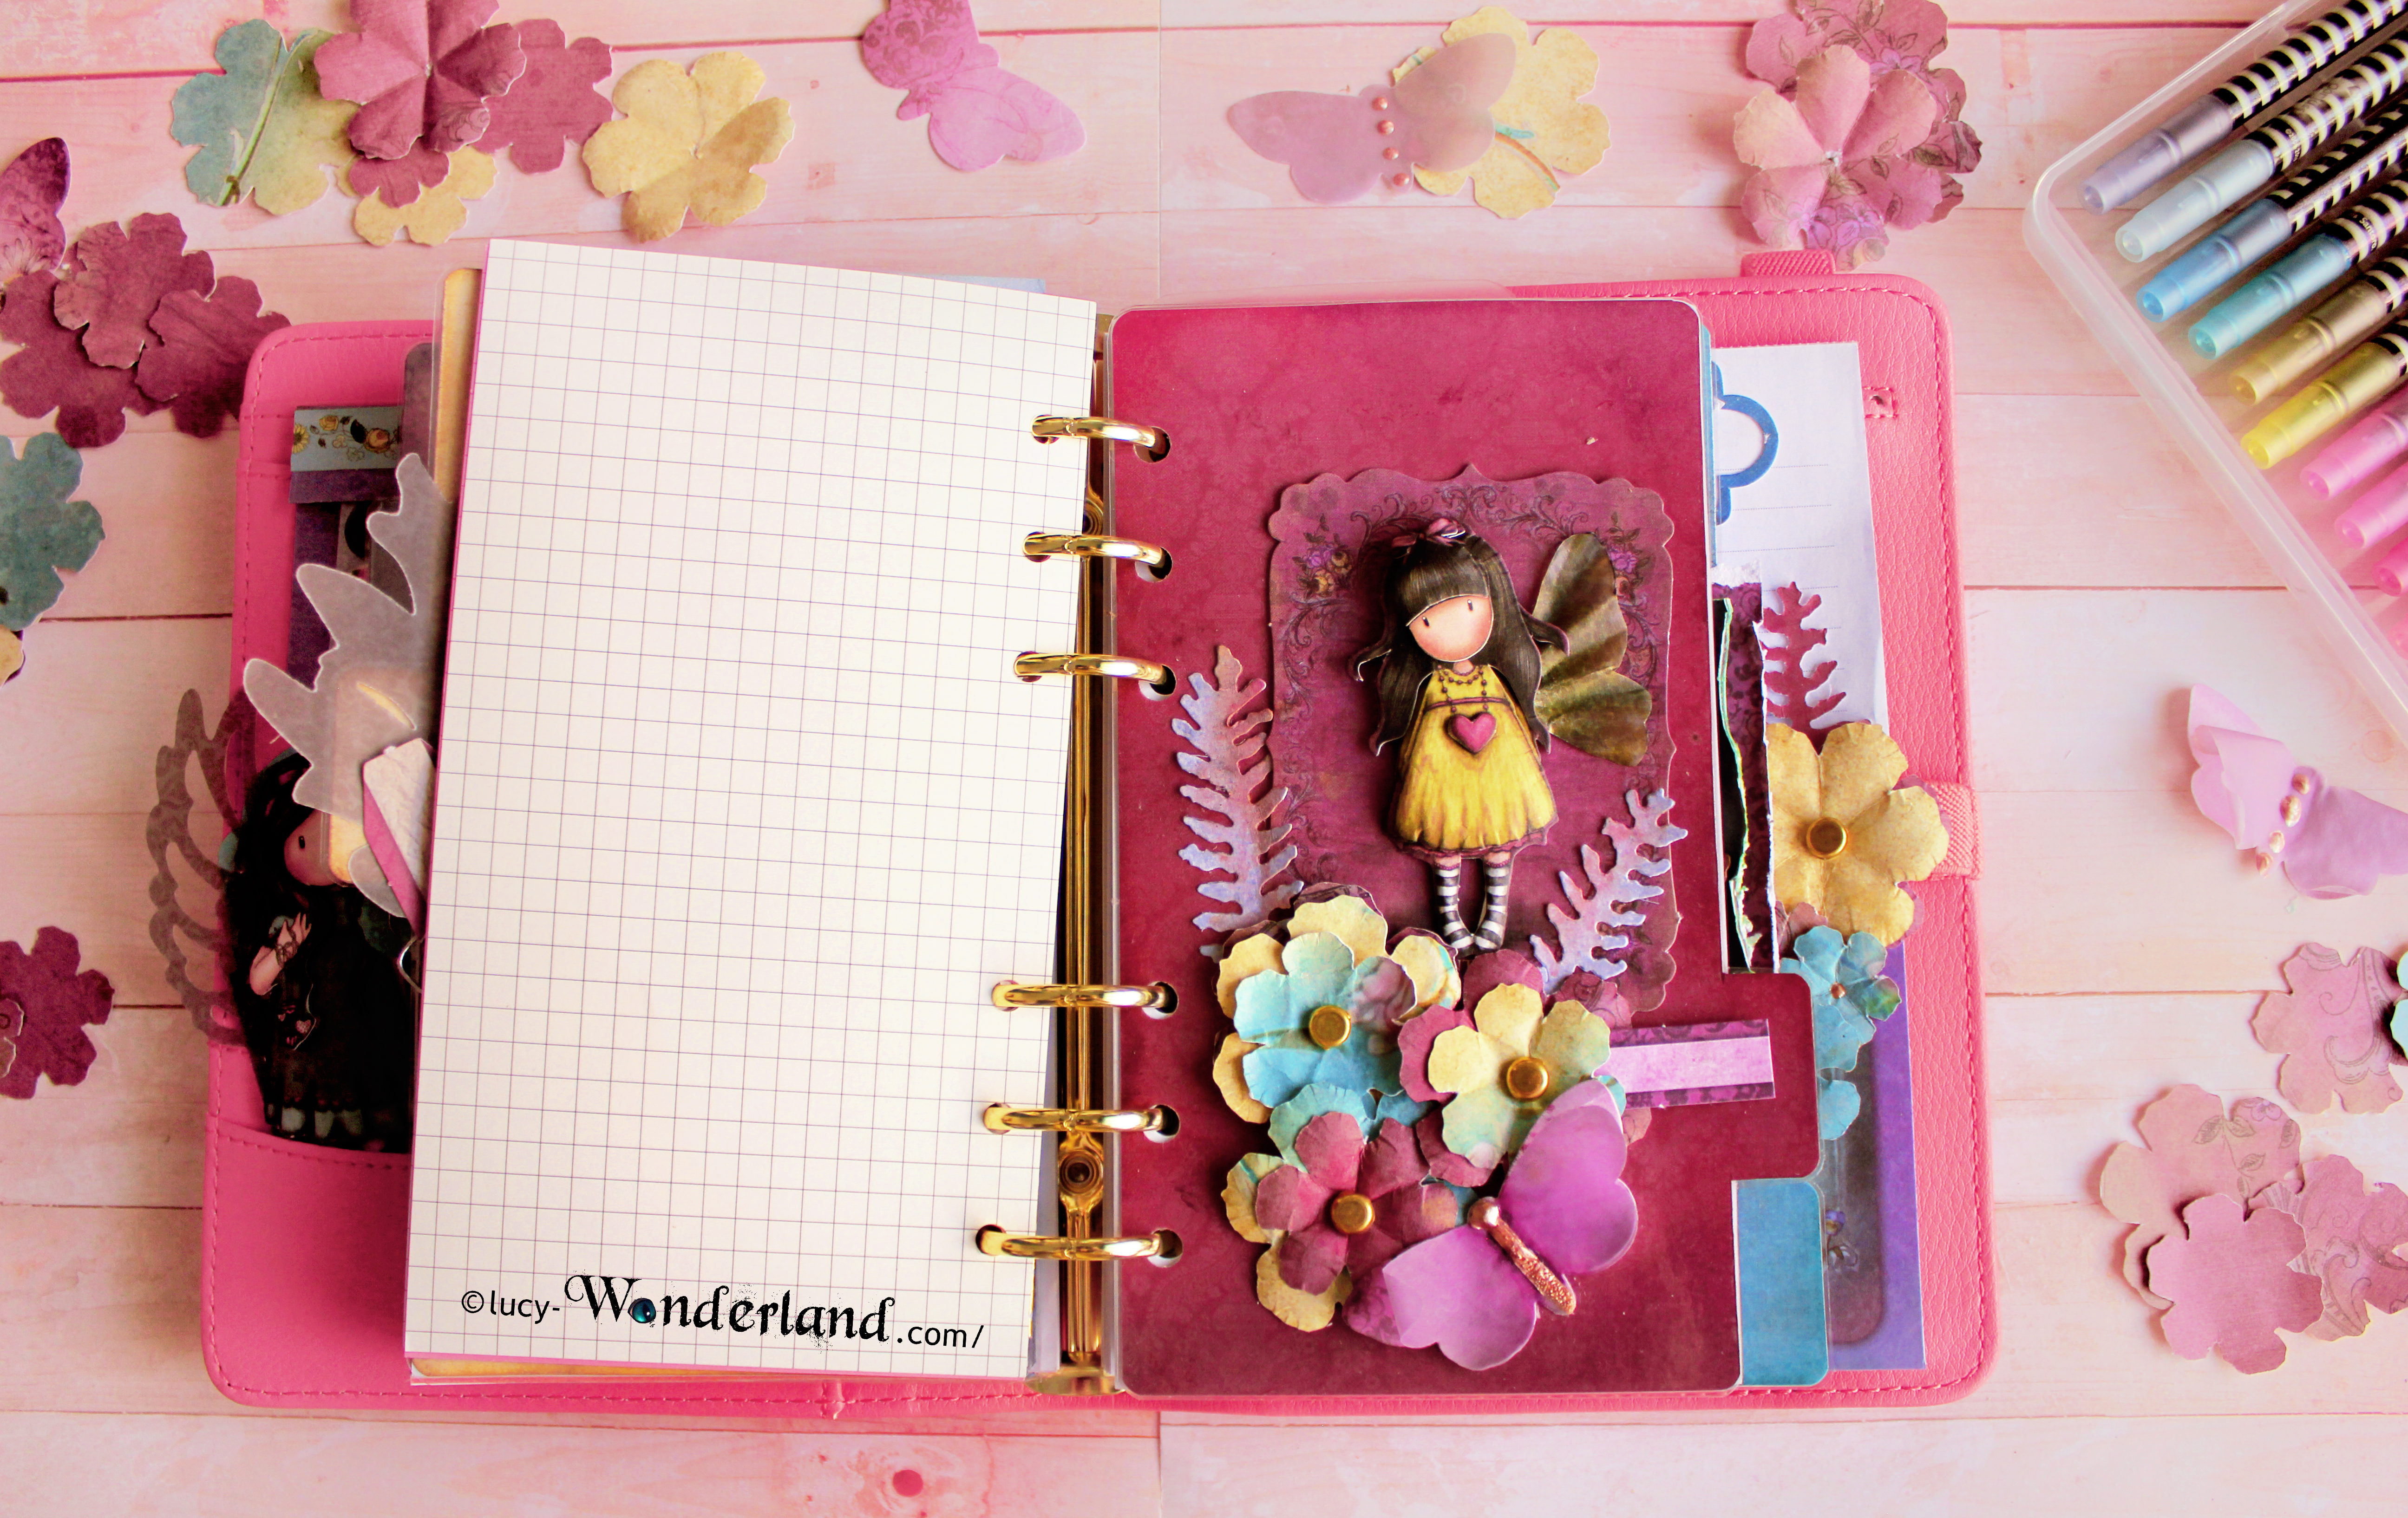
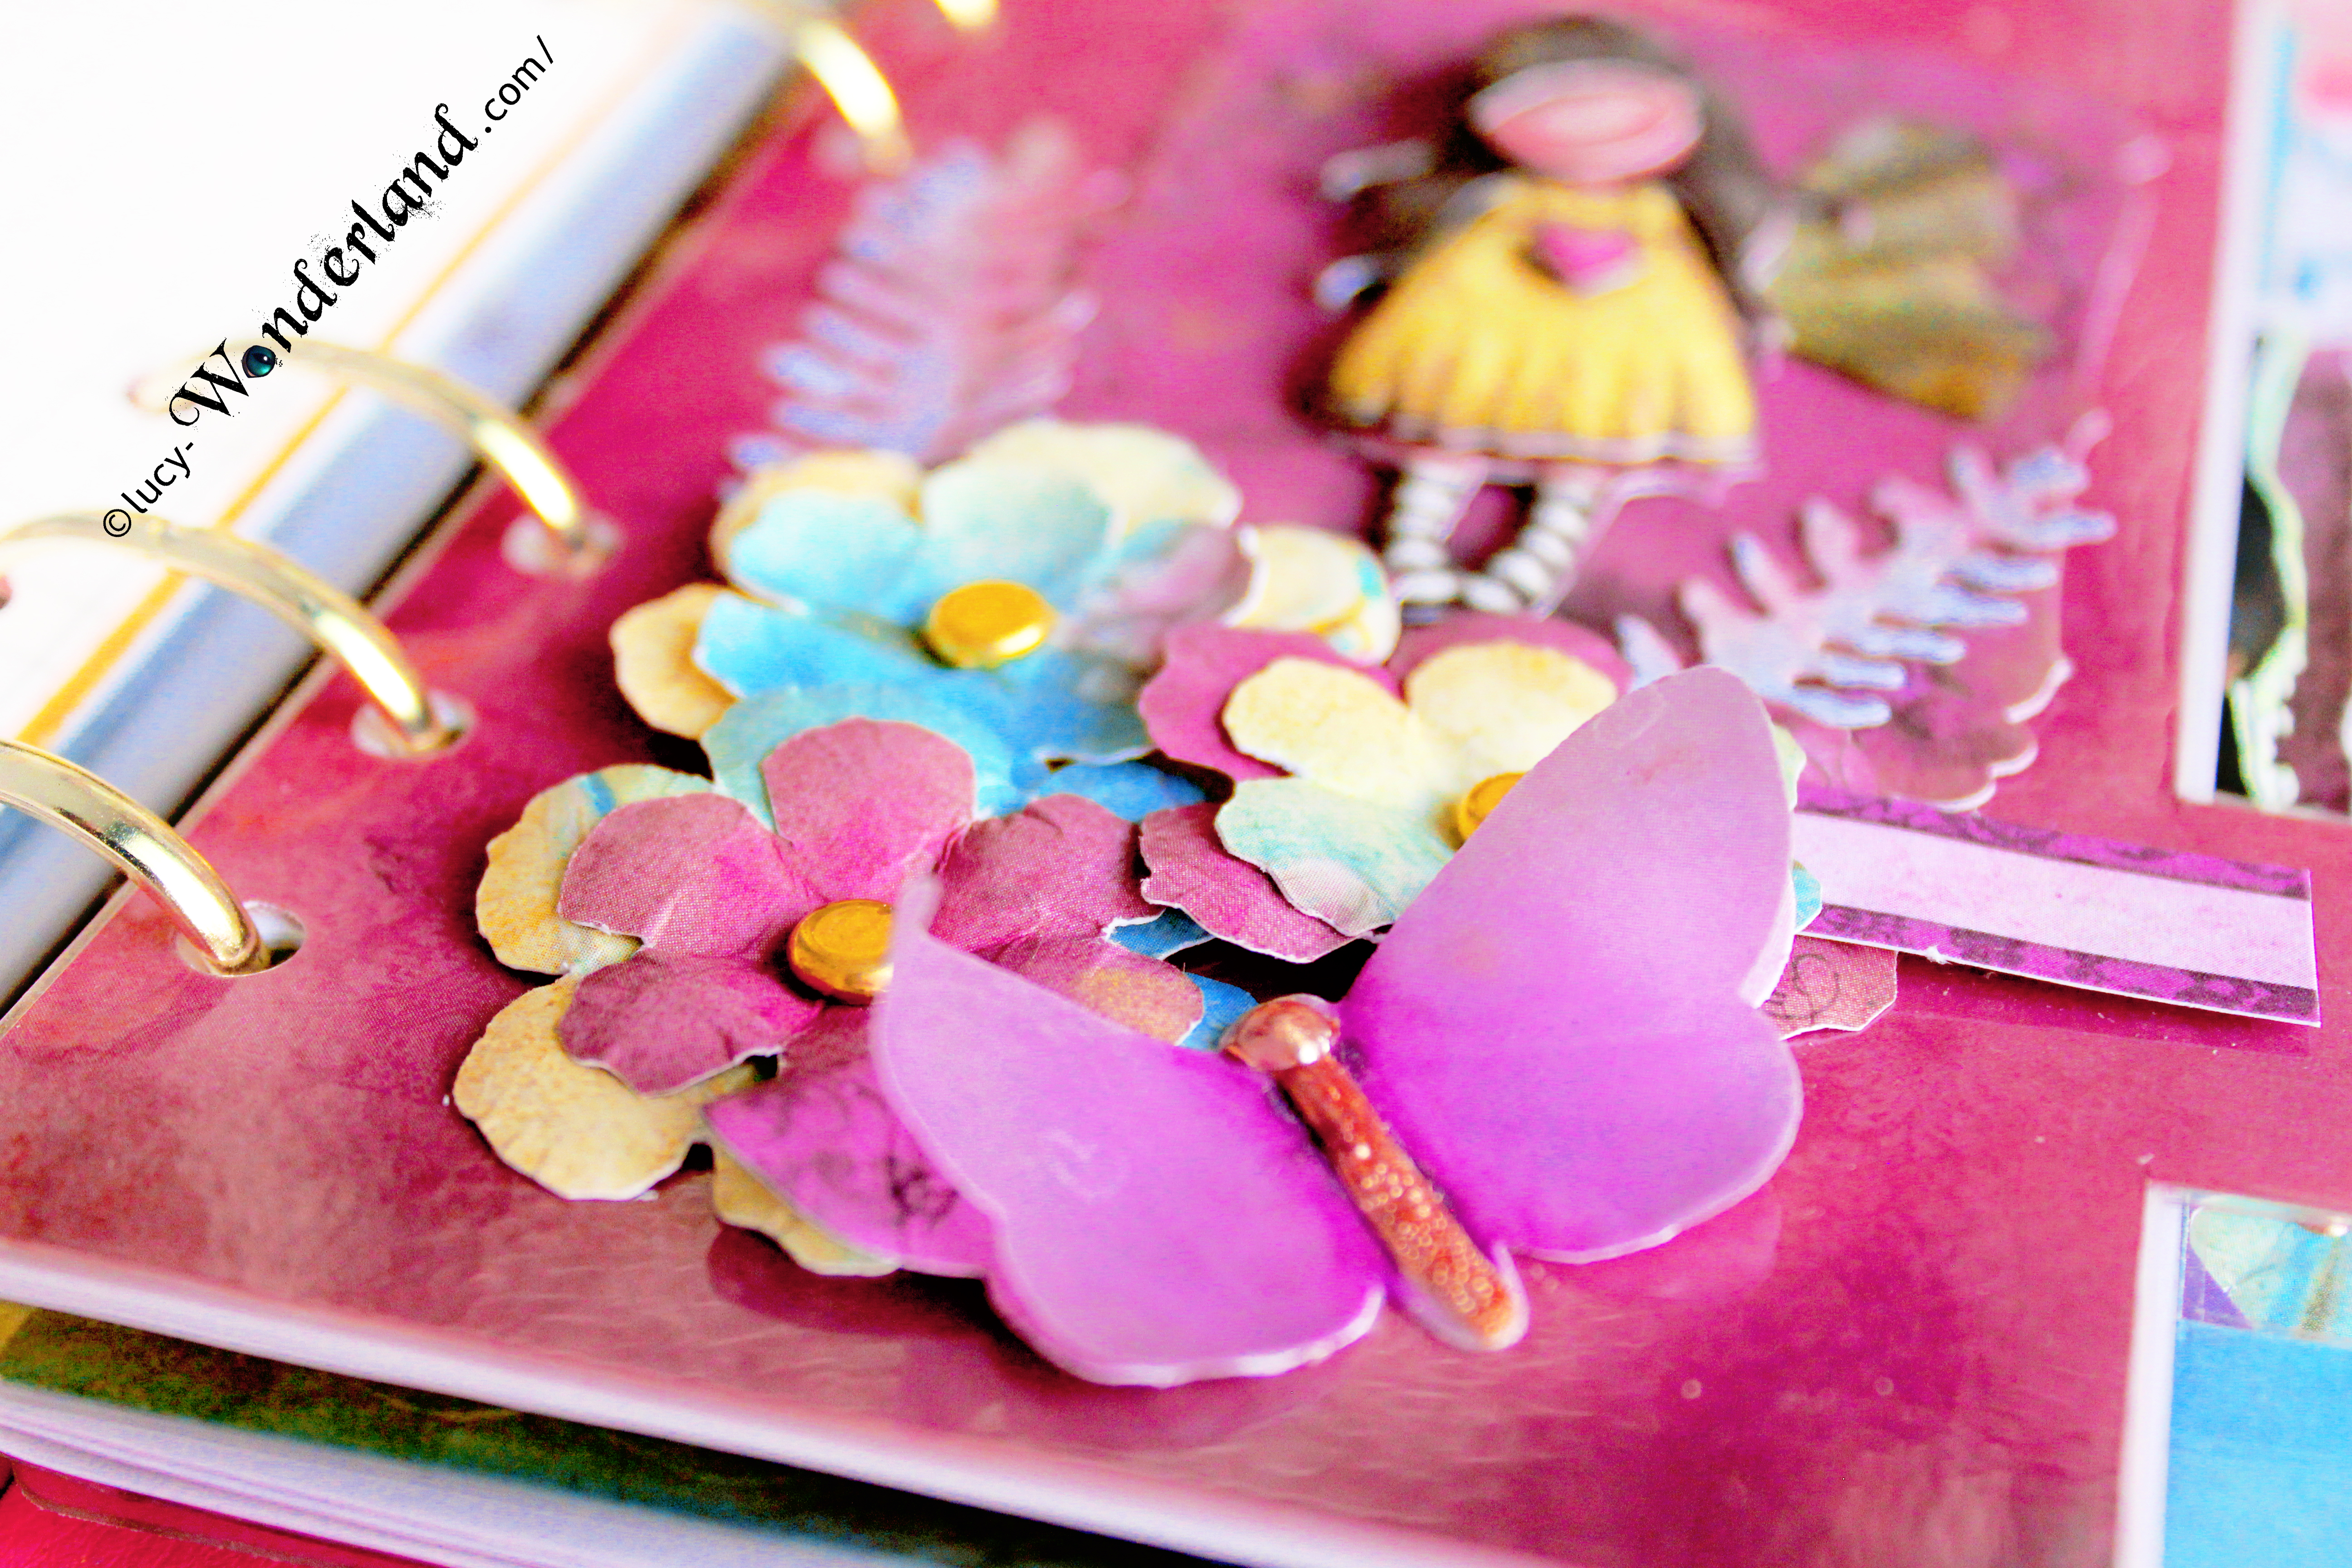
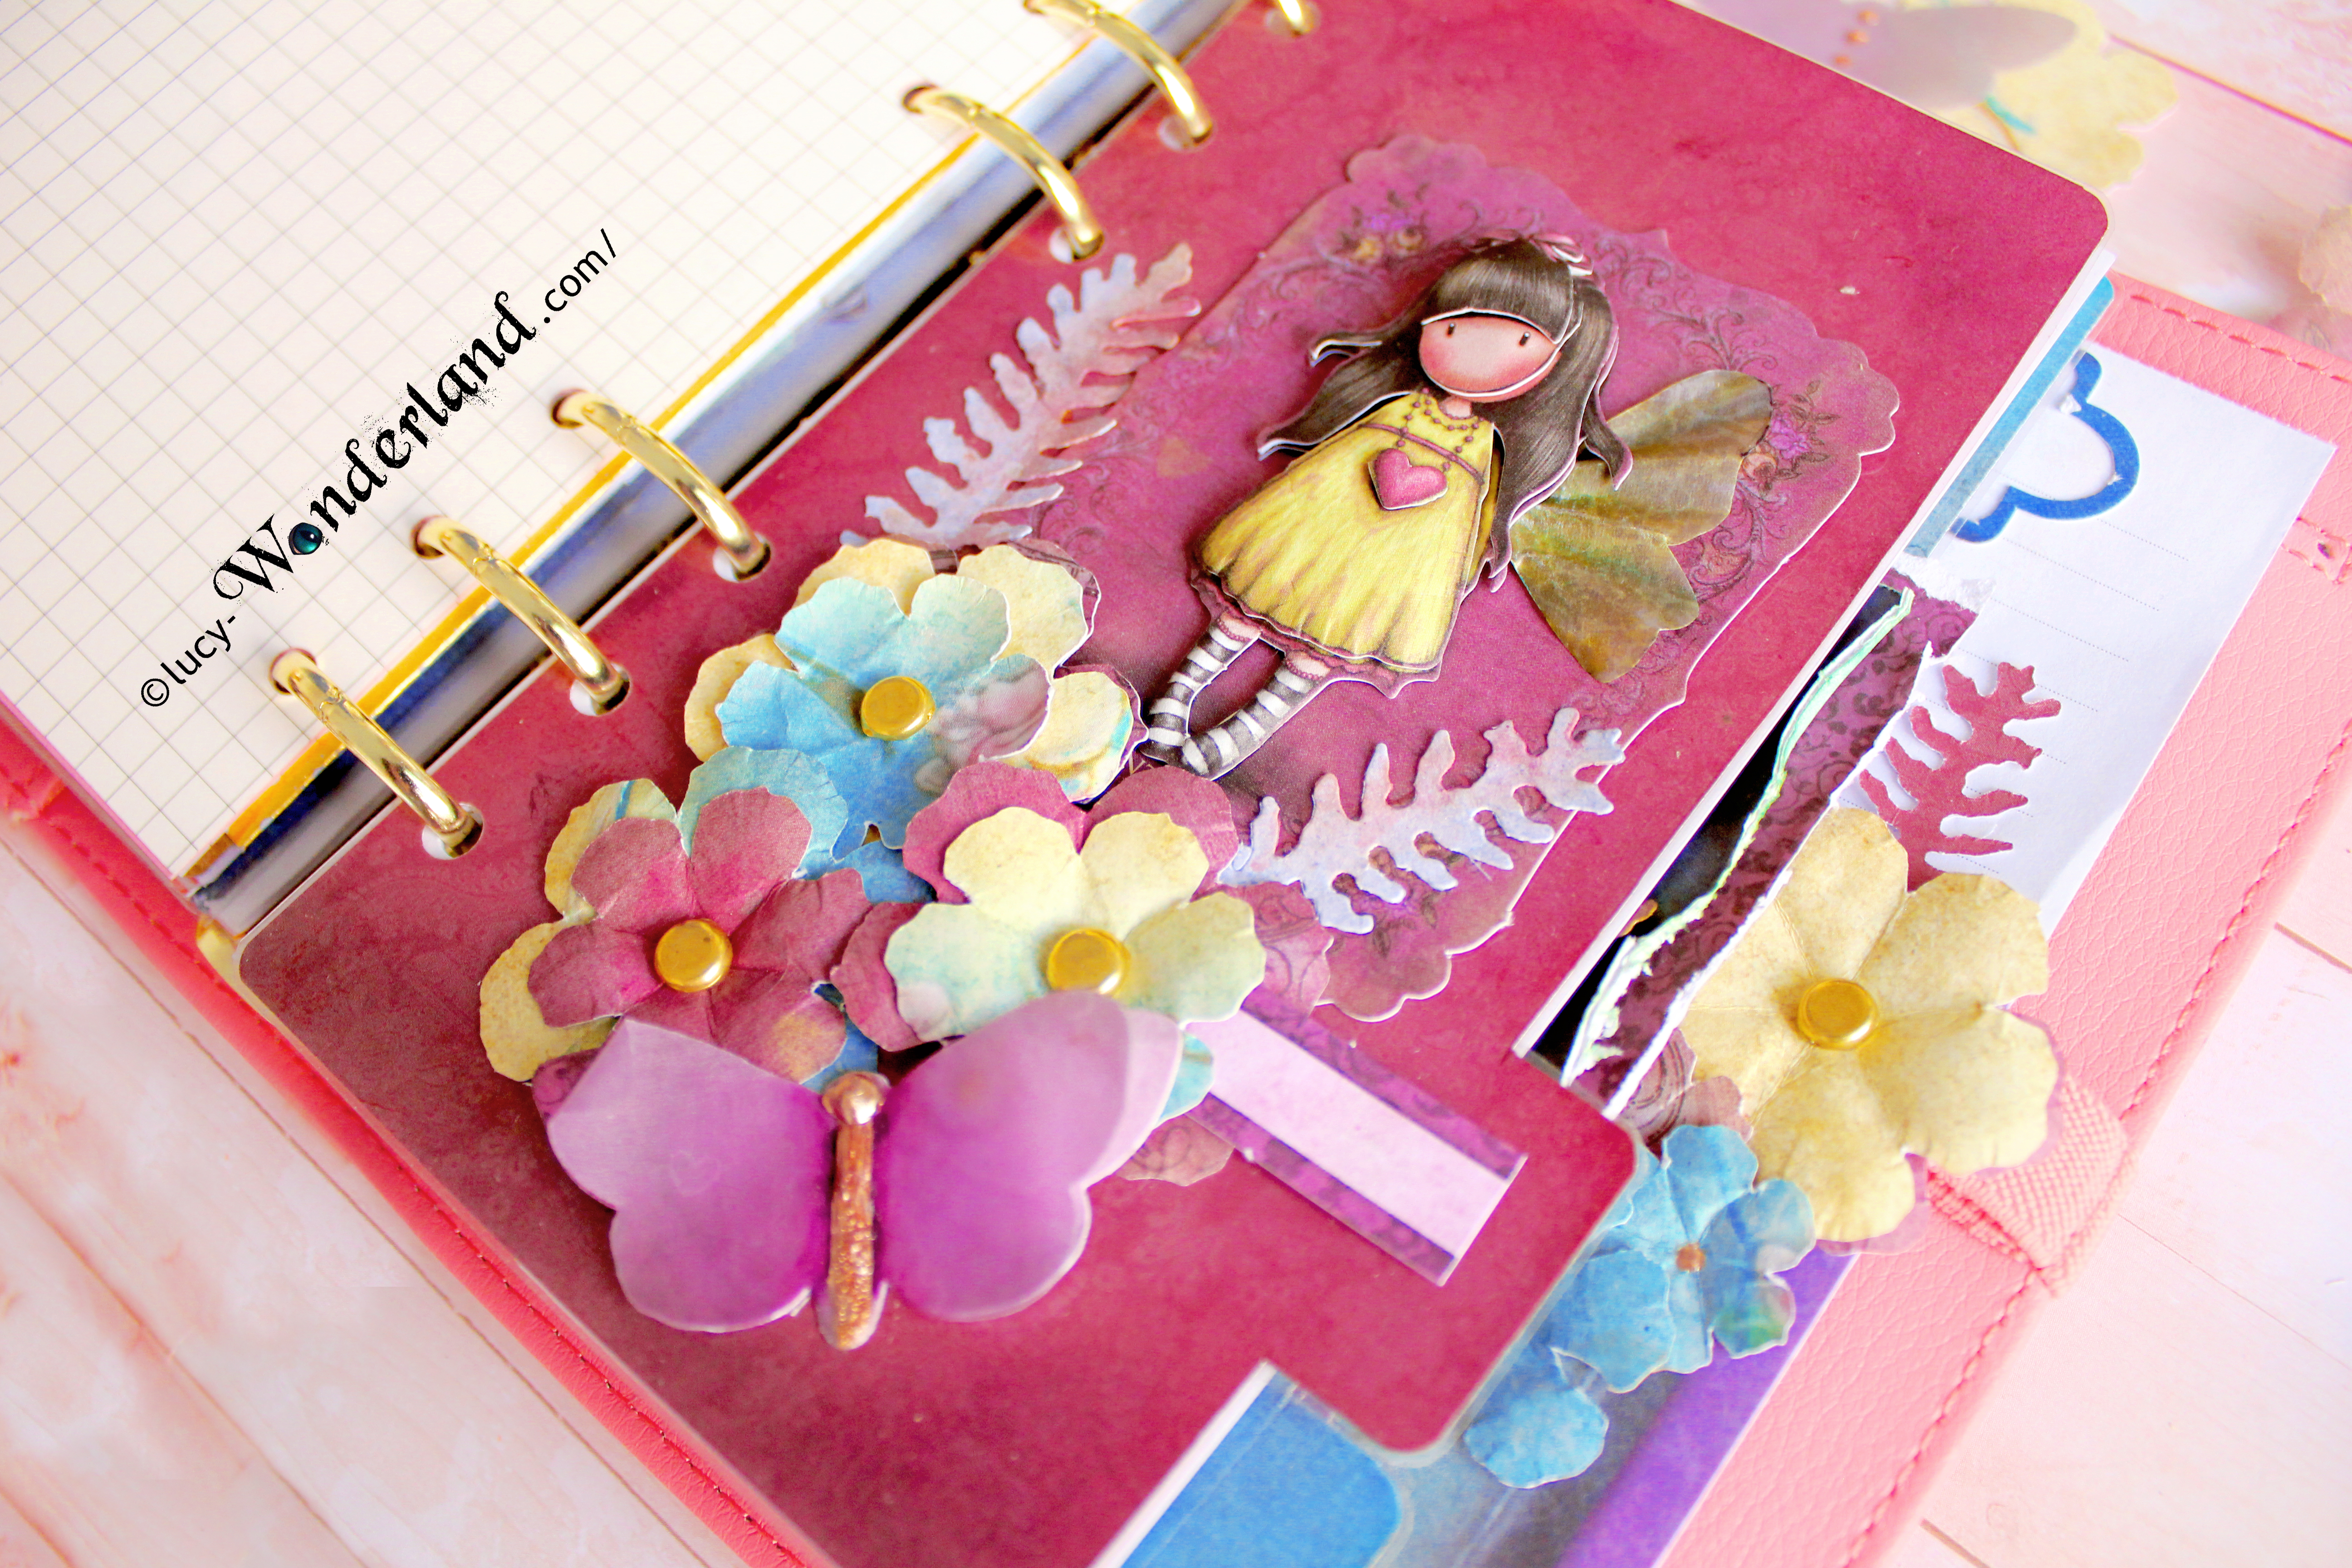
On the other side there is the first 3D divider. The doll has this cute soft color, then I added some others with the watercolor brush pen by docrafts, that I bought from this shop.
I attached to the box of paper, from the inside side, a piece of transparent acetate, to avoid to dirty it with something such as rubber or waste paper.
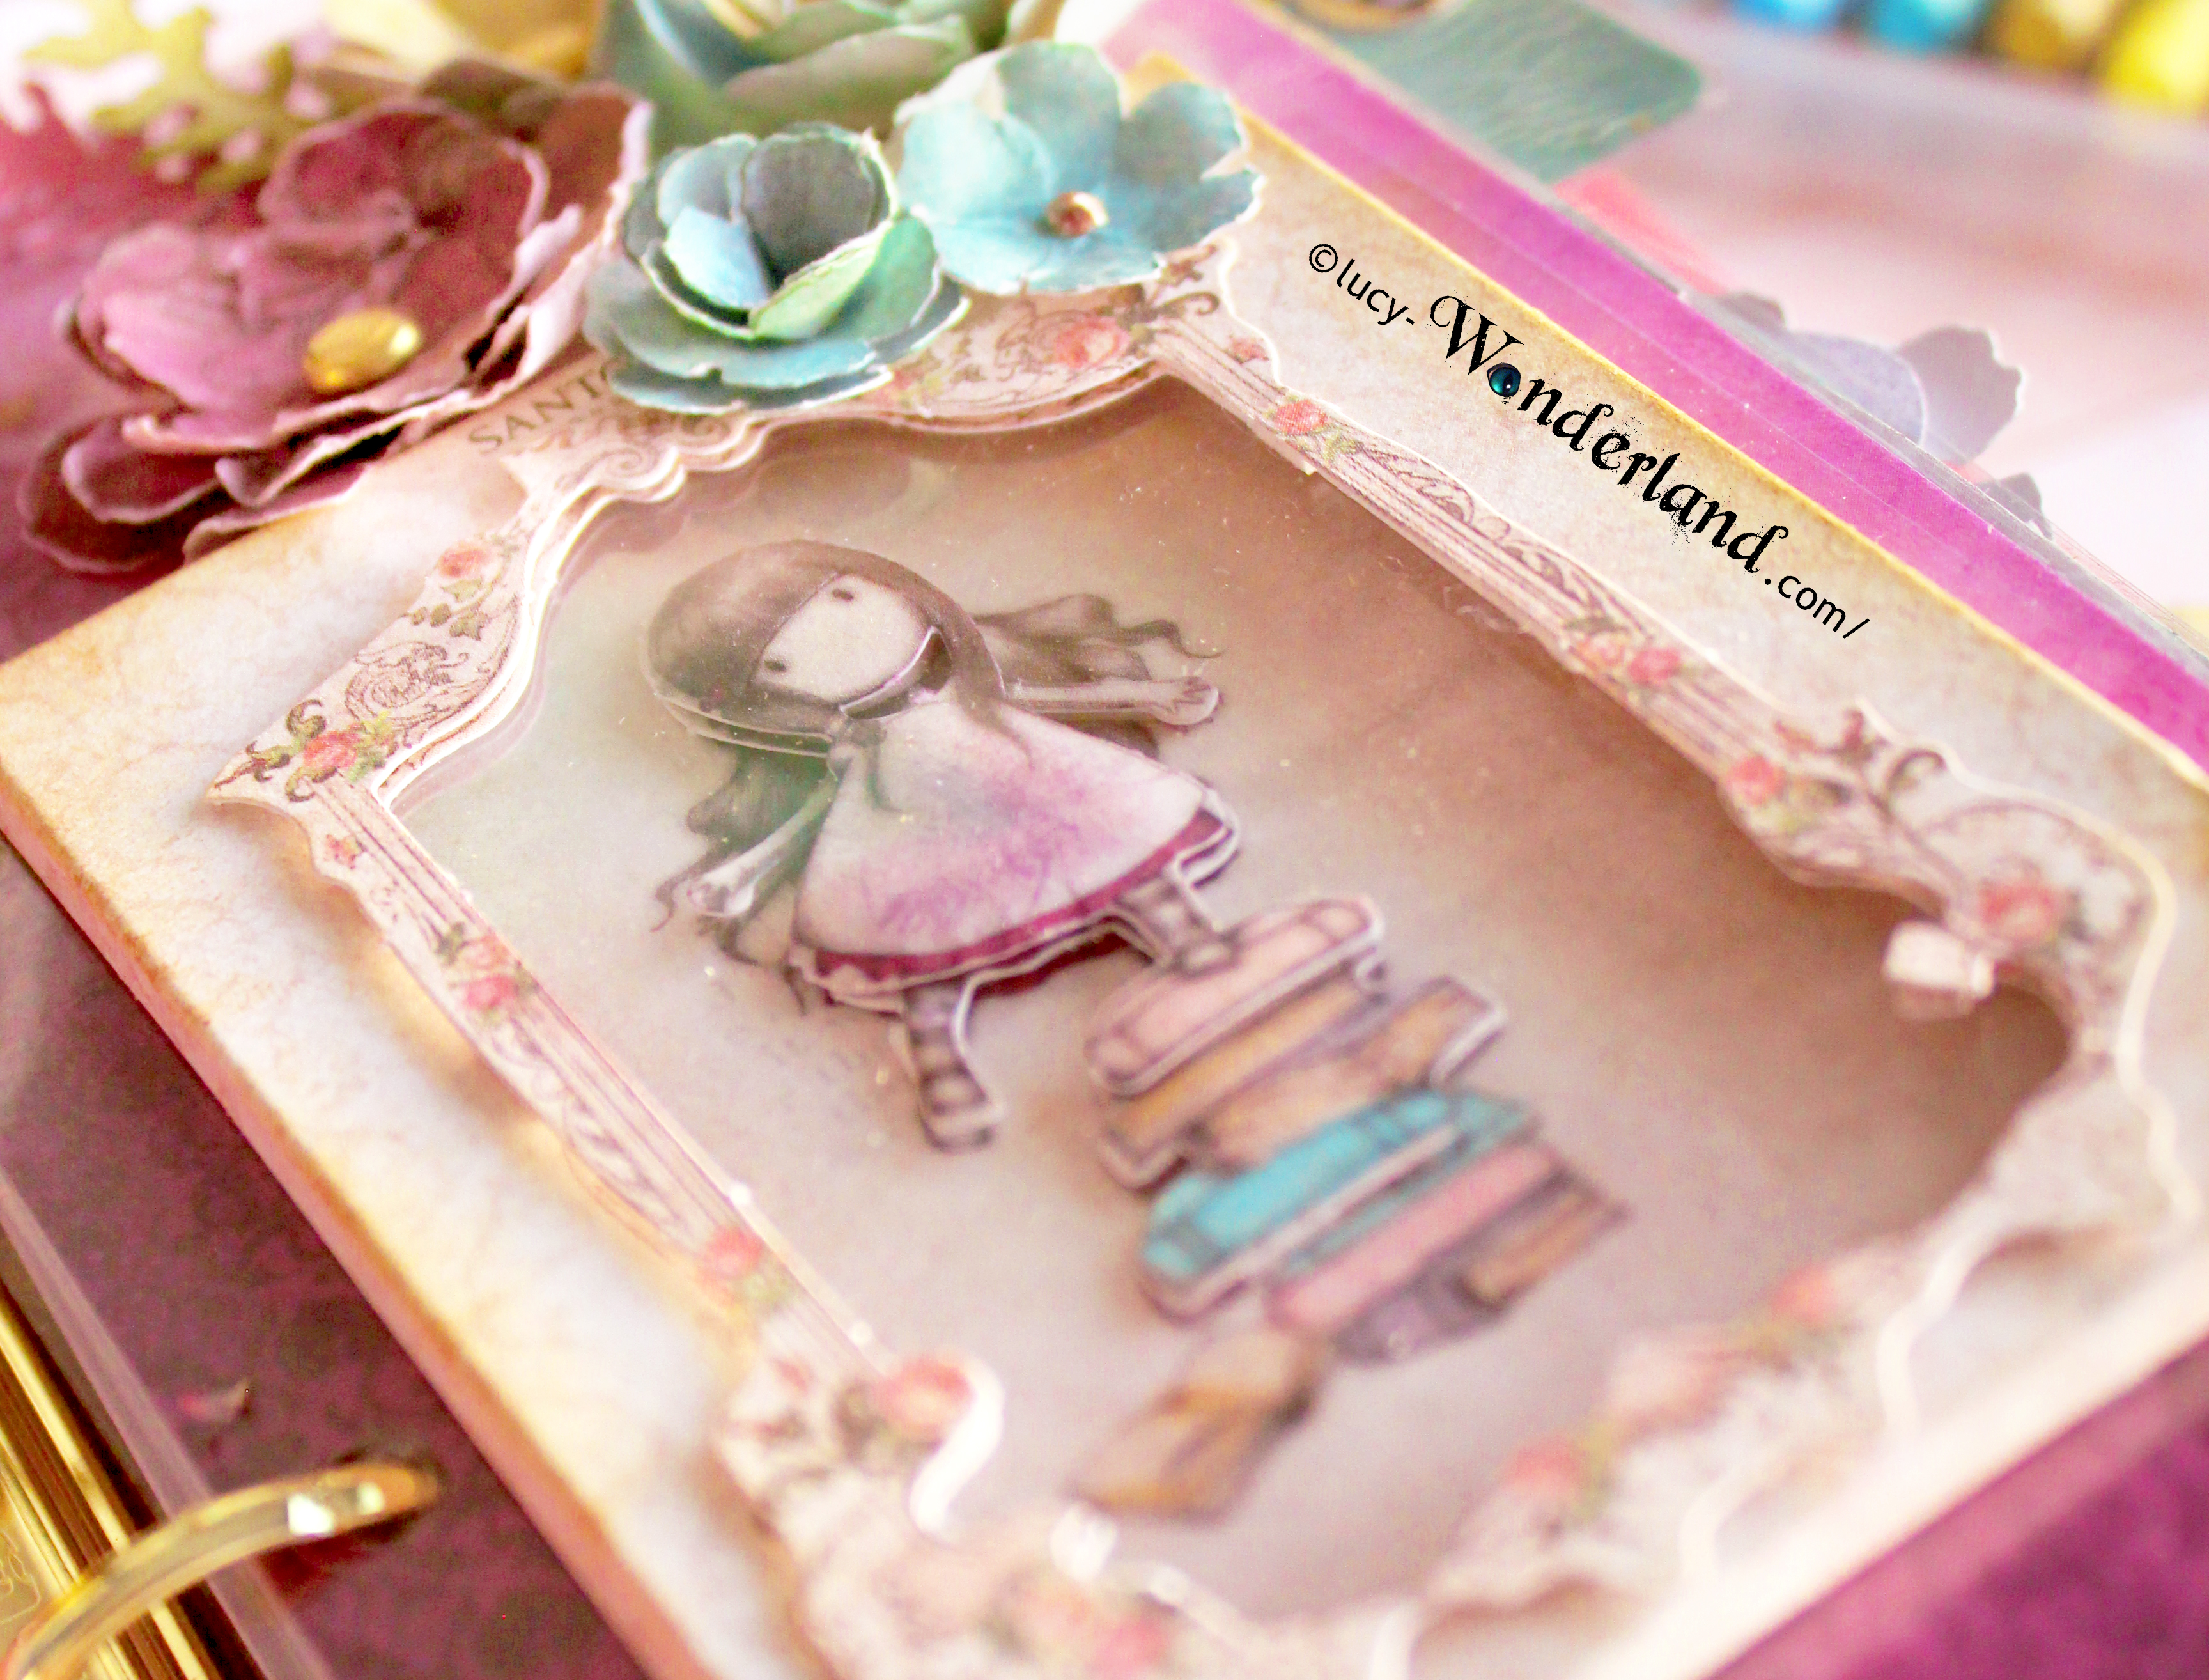
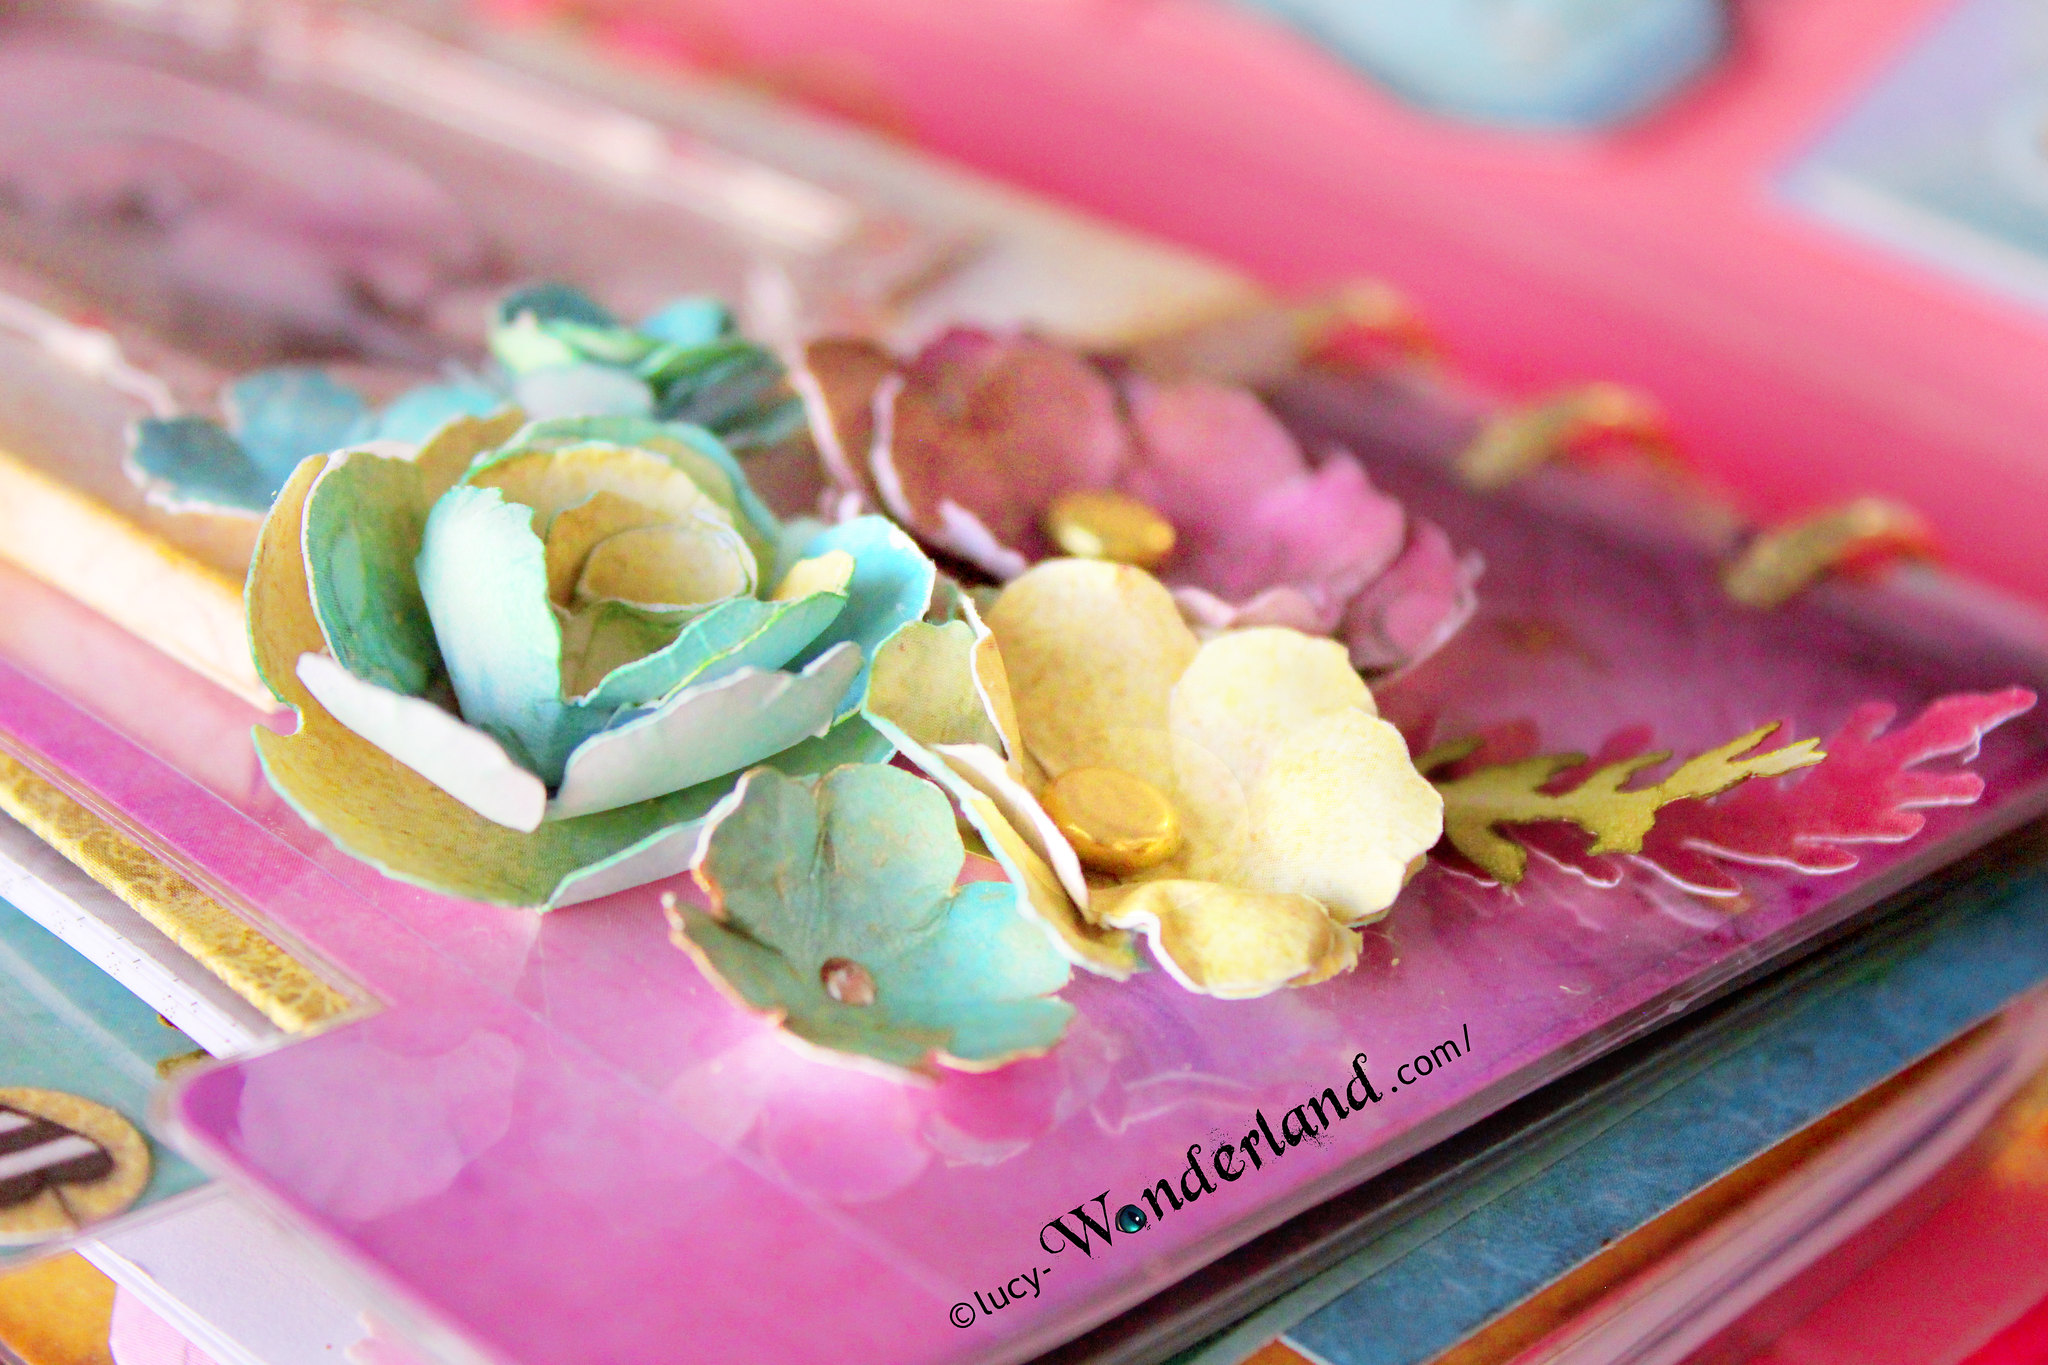
I decorated the rest of the page with some paper flowers that I made with different techniques and forms.
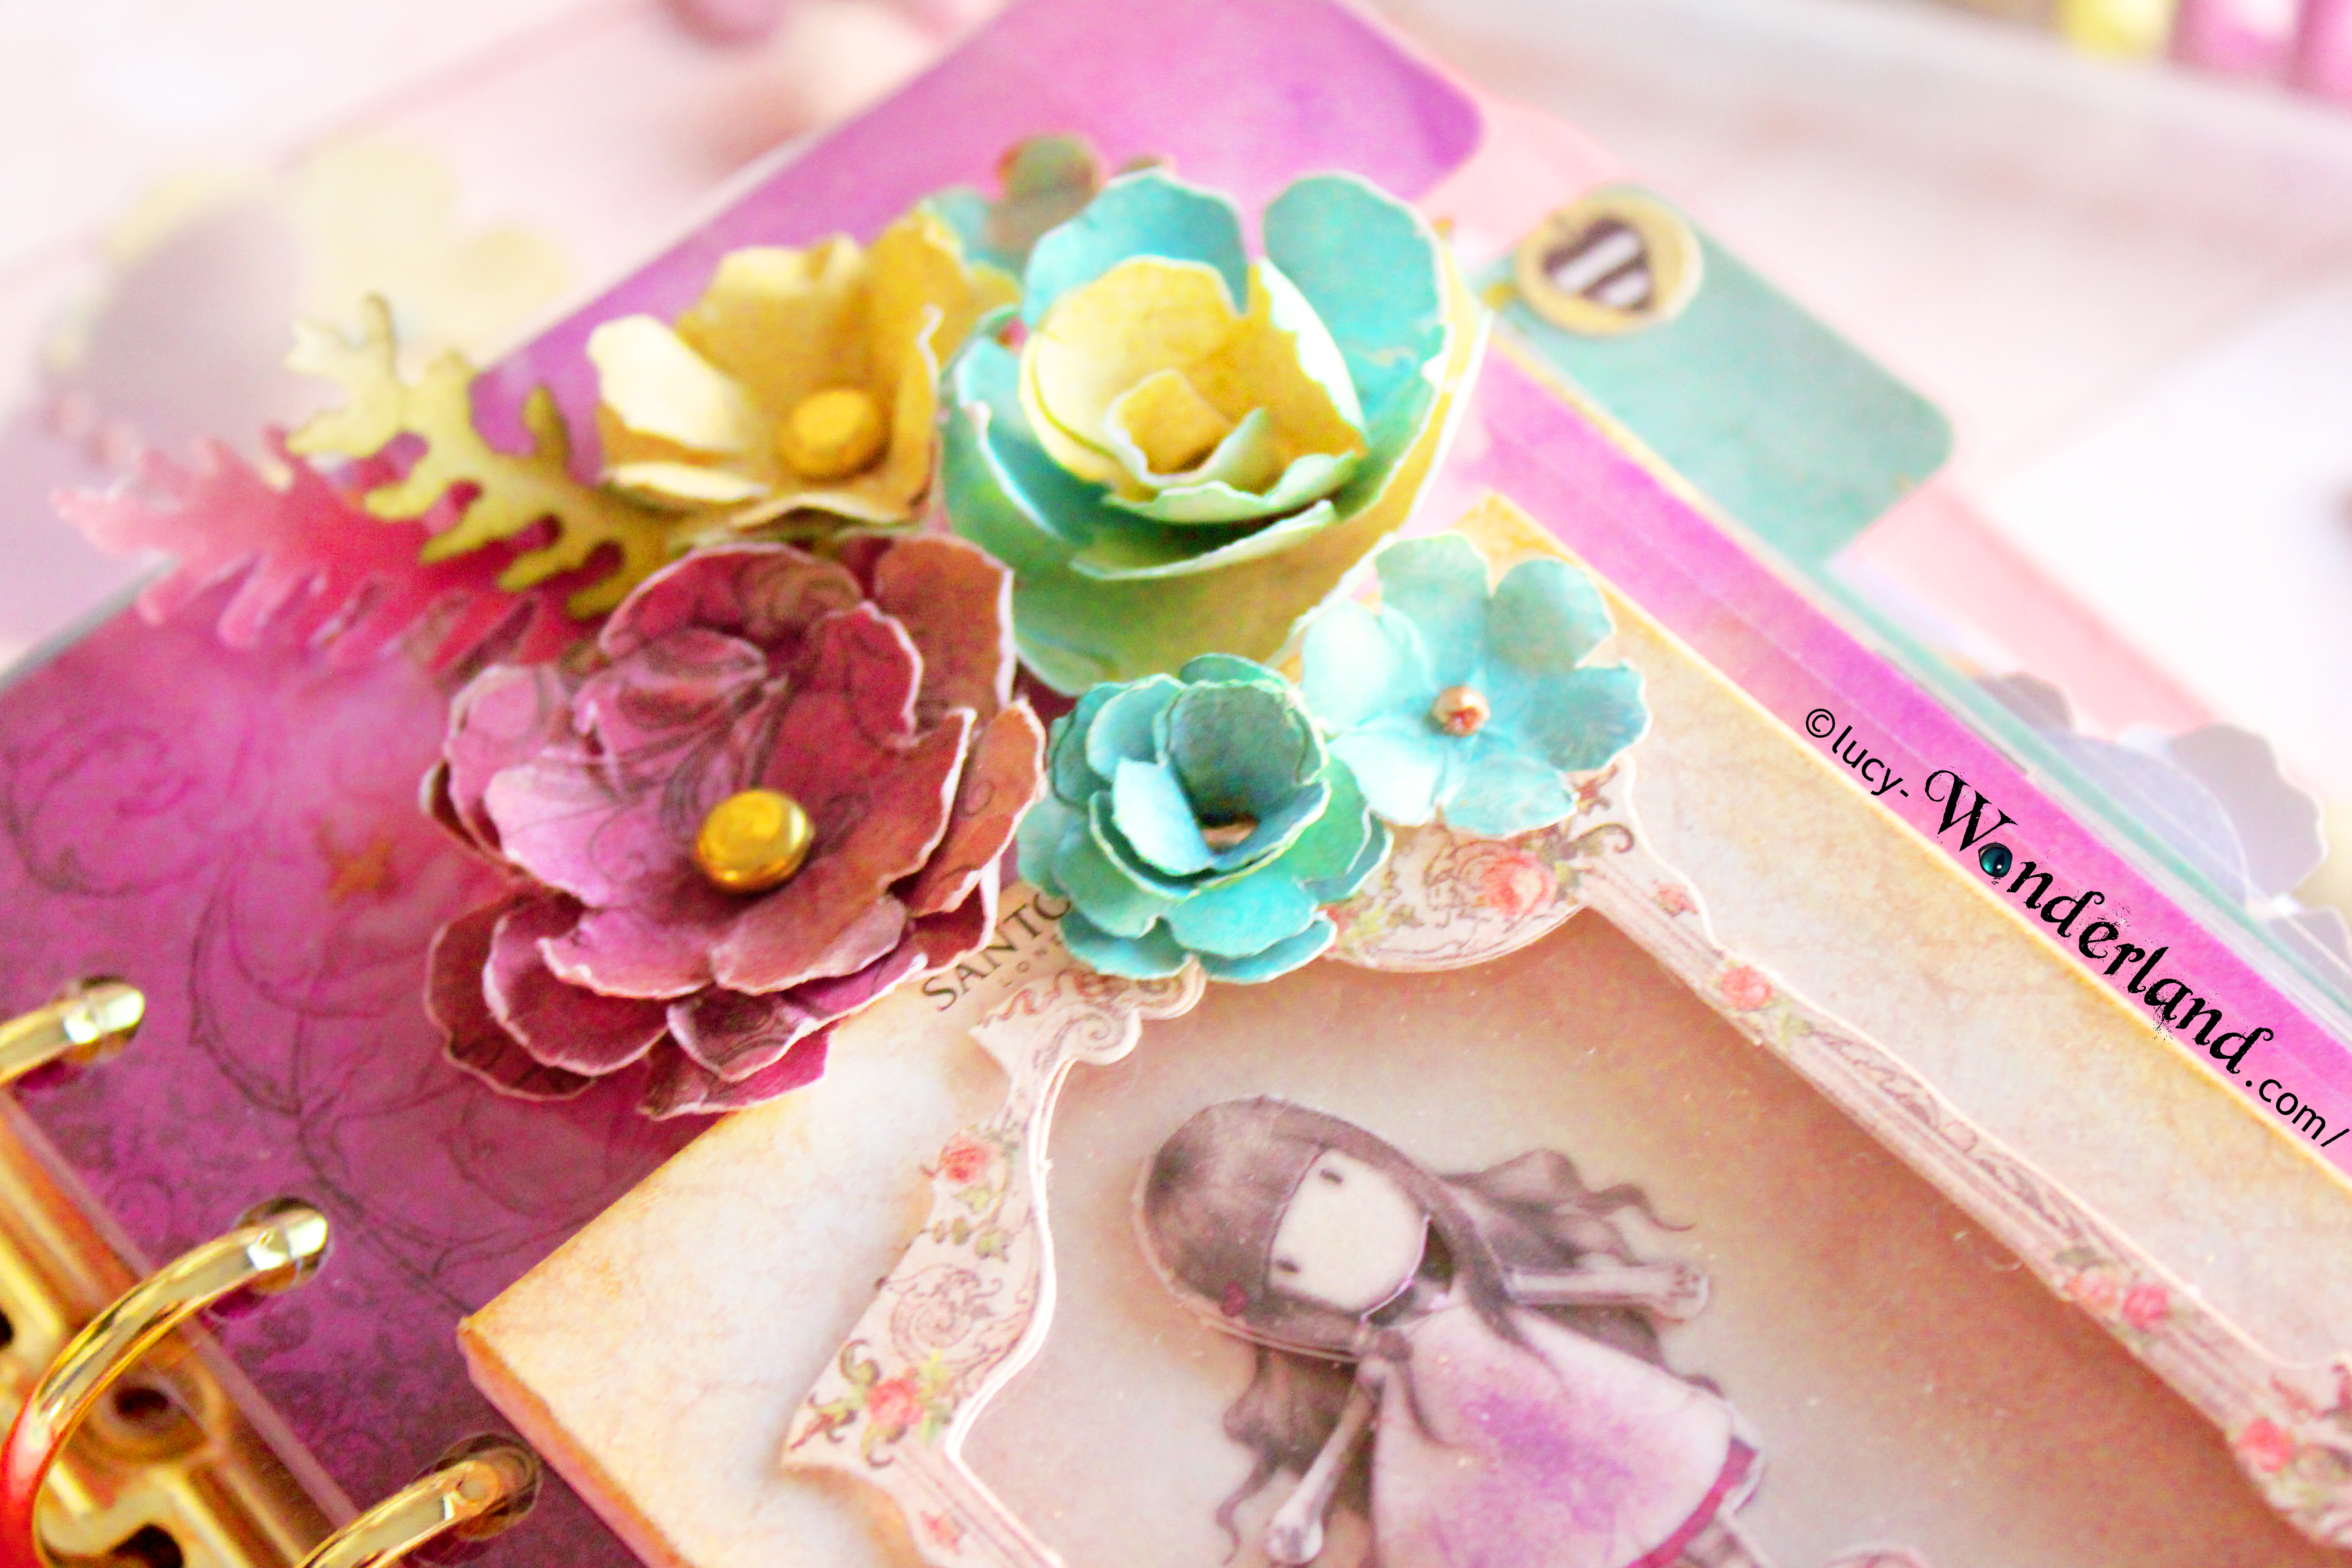
I find them so cute and they give a more complete and more interesting aspect to the work ^ - ^
This is the second one. The doll in this case has a smaller thickness because I remove some levels,for two reasons.
La prima, è che ho preferito avere un divisorio meno "ingombrante" perchè la sezione successiva è quella settimanale, ovvero quella in cui scrivo più spesso, e in questo modo non ho difficoltà a farlo. Se fosse stato più spesso, i rigonfiamenti del divisorio mi avrebbero creato un po' di problemi;
la seconda ragione è che in questo modo ho potuto dare un maggiore
spessore invece alla paperclip, e il risultato finale mi piace
moltissimo ^-^
The first one is that I preferred to have a divider less "bulky" because the next section is the weekly, in which I write more often, and in that way I have no difficulty in doing so. If it was more thicky, the bulges partition would create me a little bit' of problems;
the second reason is that in this way I could make a greater thickness to the paperclip on the cover, and I love the finished result ^ - ^

Here too, I made several embellishments of paper that I got from the "topper" section of the package that I received, but I also cut from the papers some different shapes like butterflies, flowers and leaves.

some details
This divider has a handy pocket on the back, I entered several tags and an additional paperclip with a flower, that I always made with the same cards to have all matched ^ - ^
some details
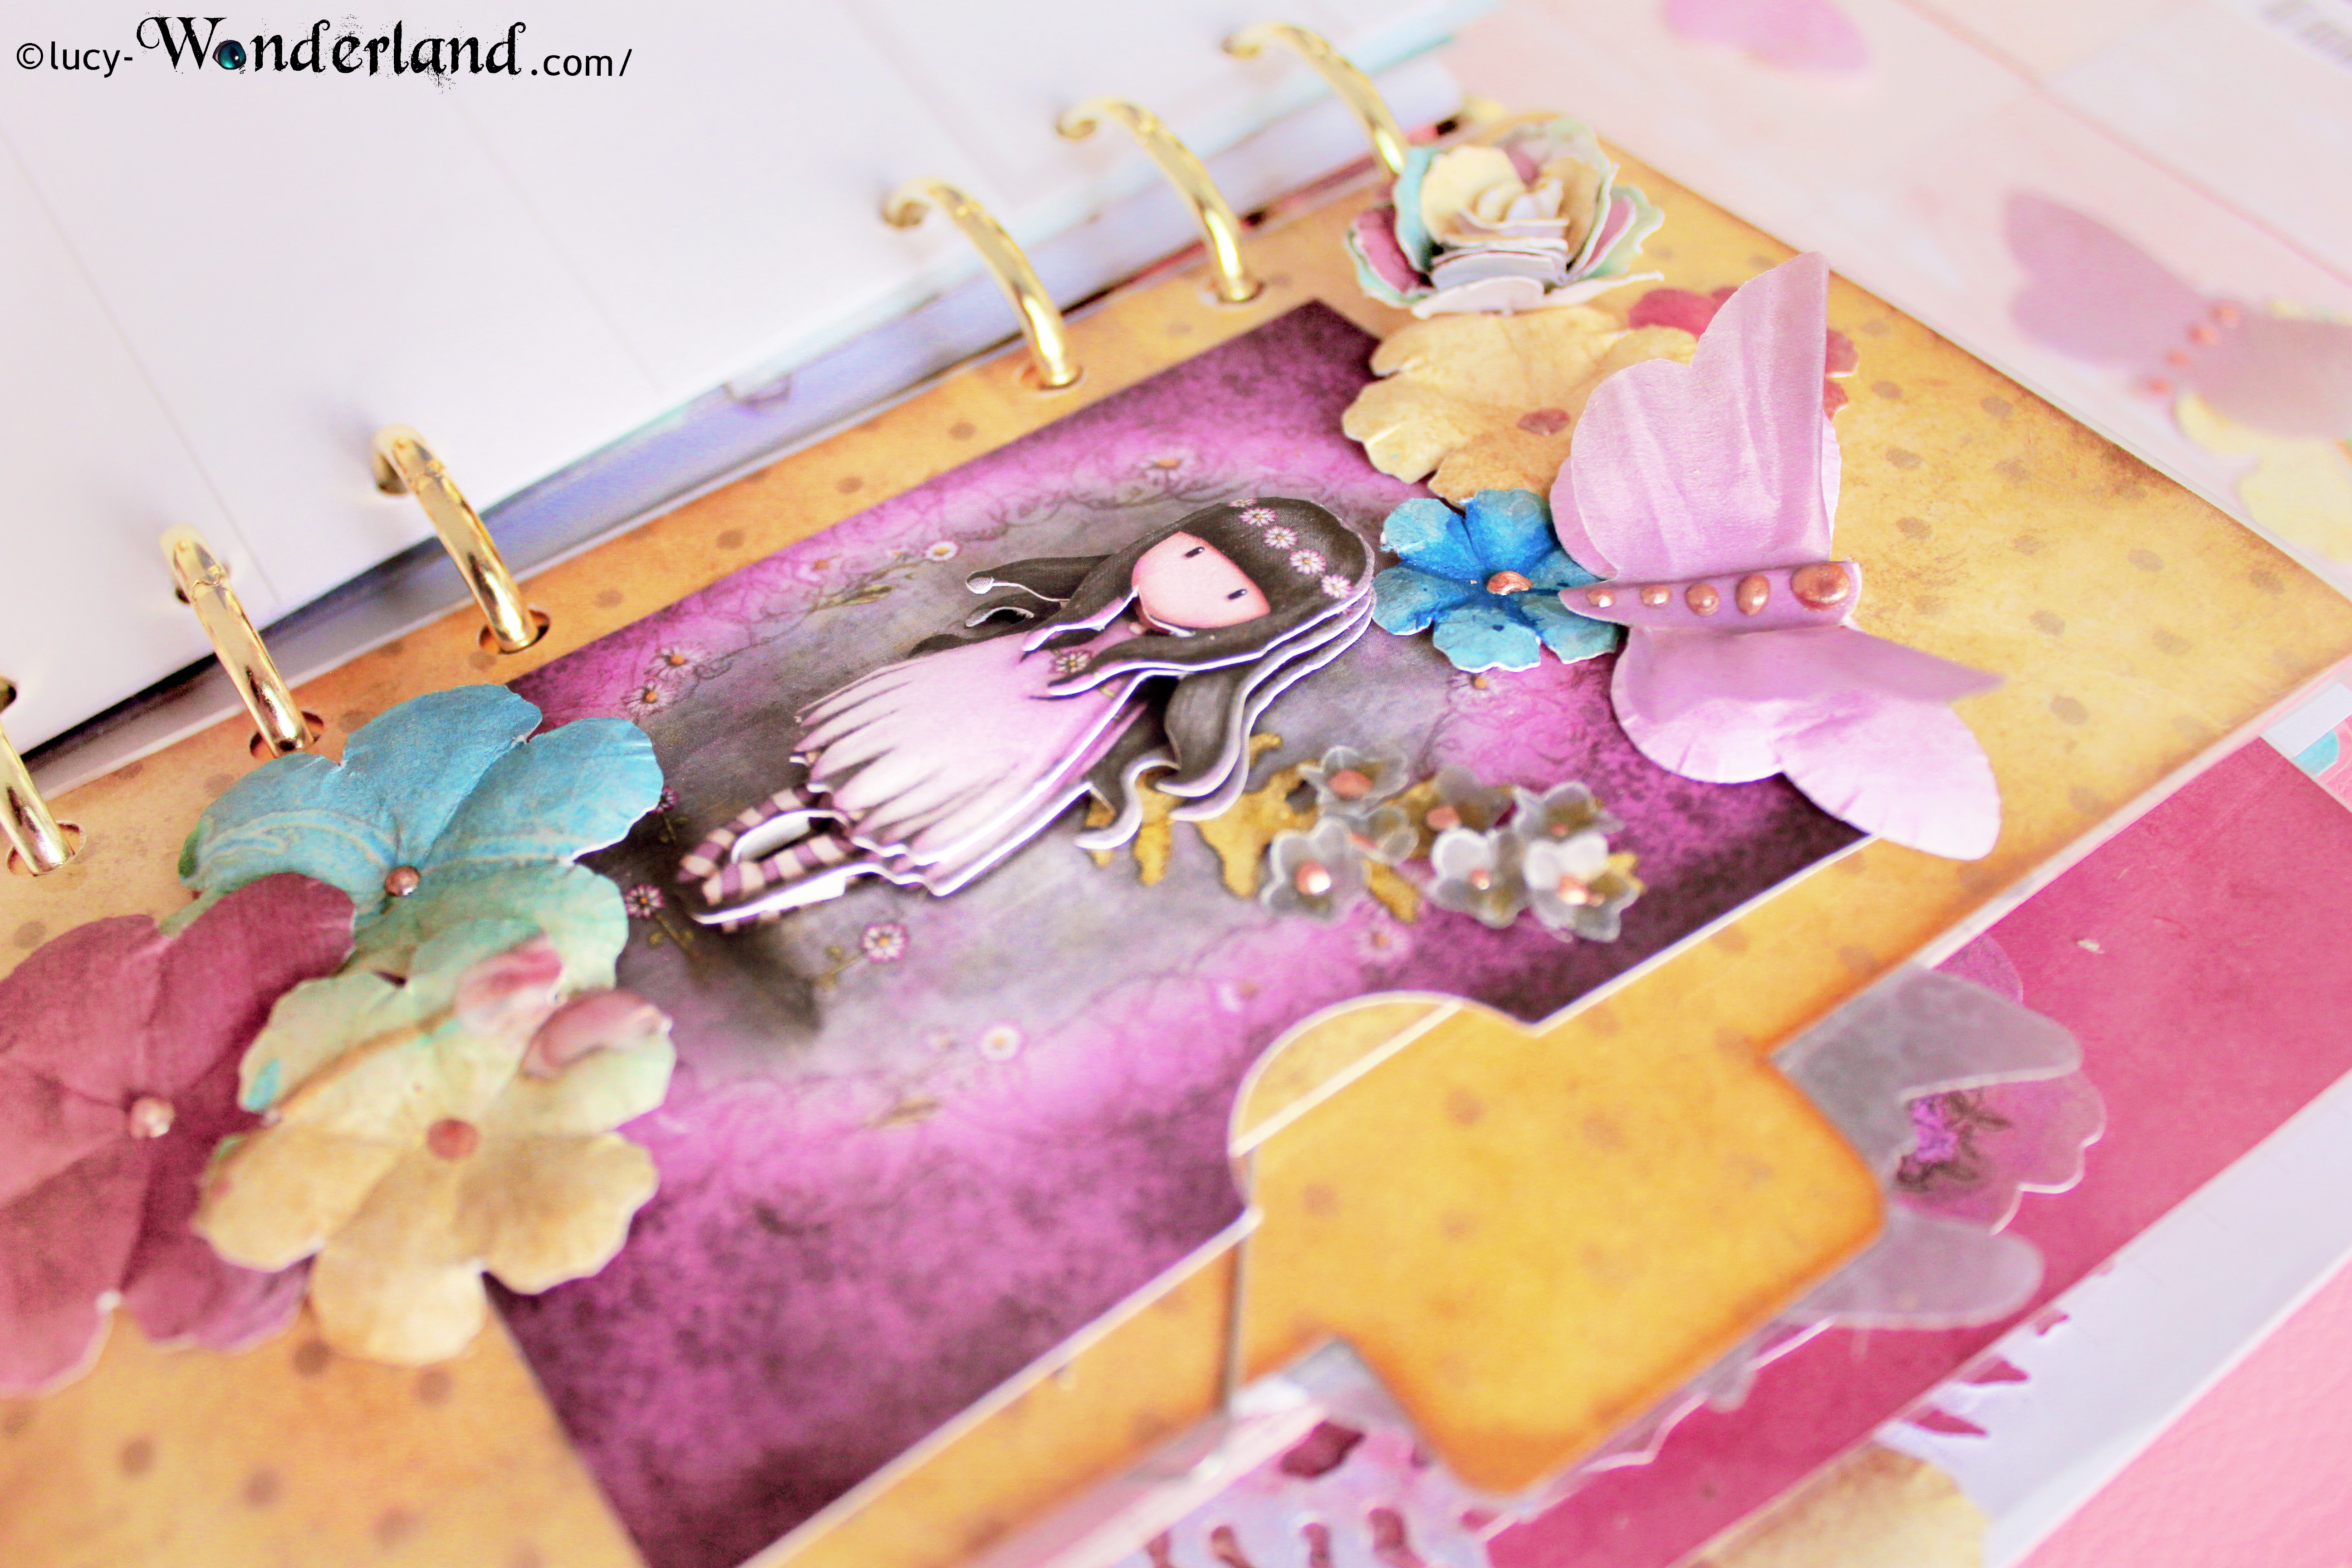
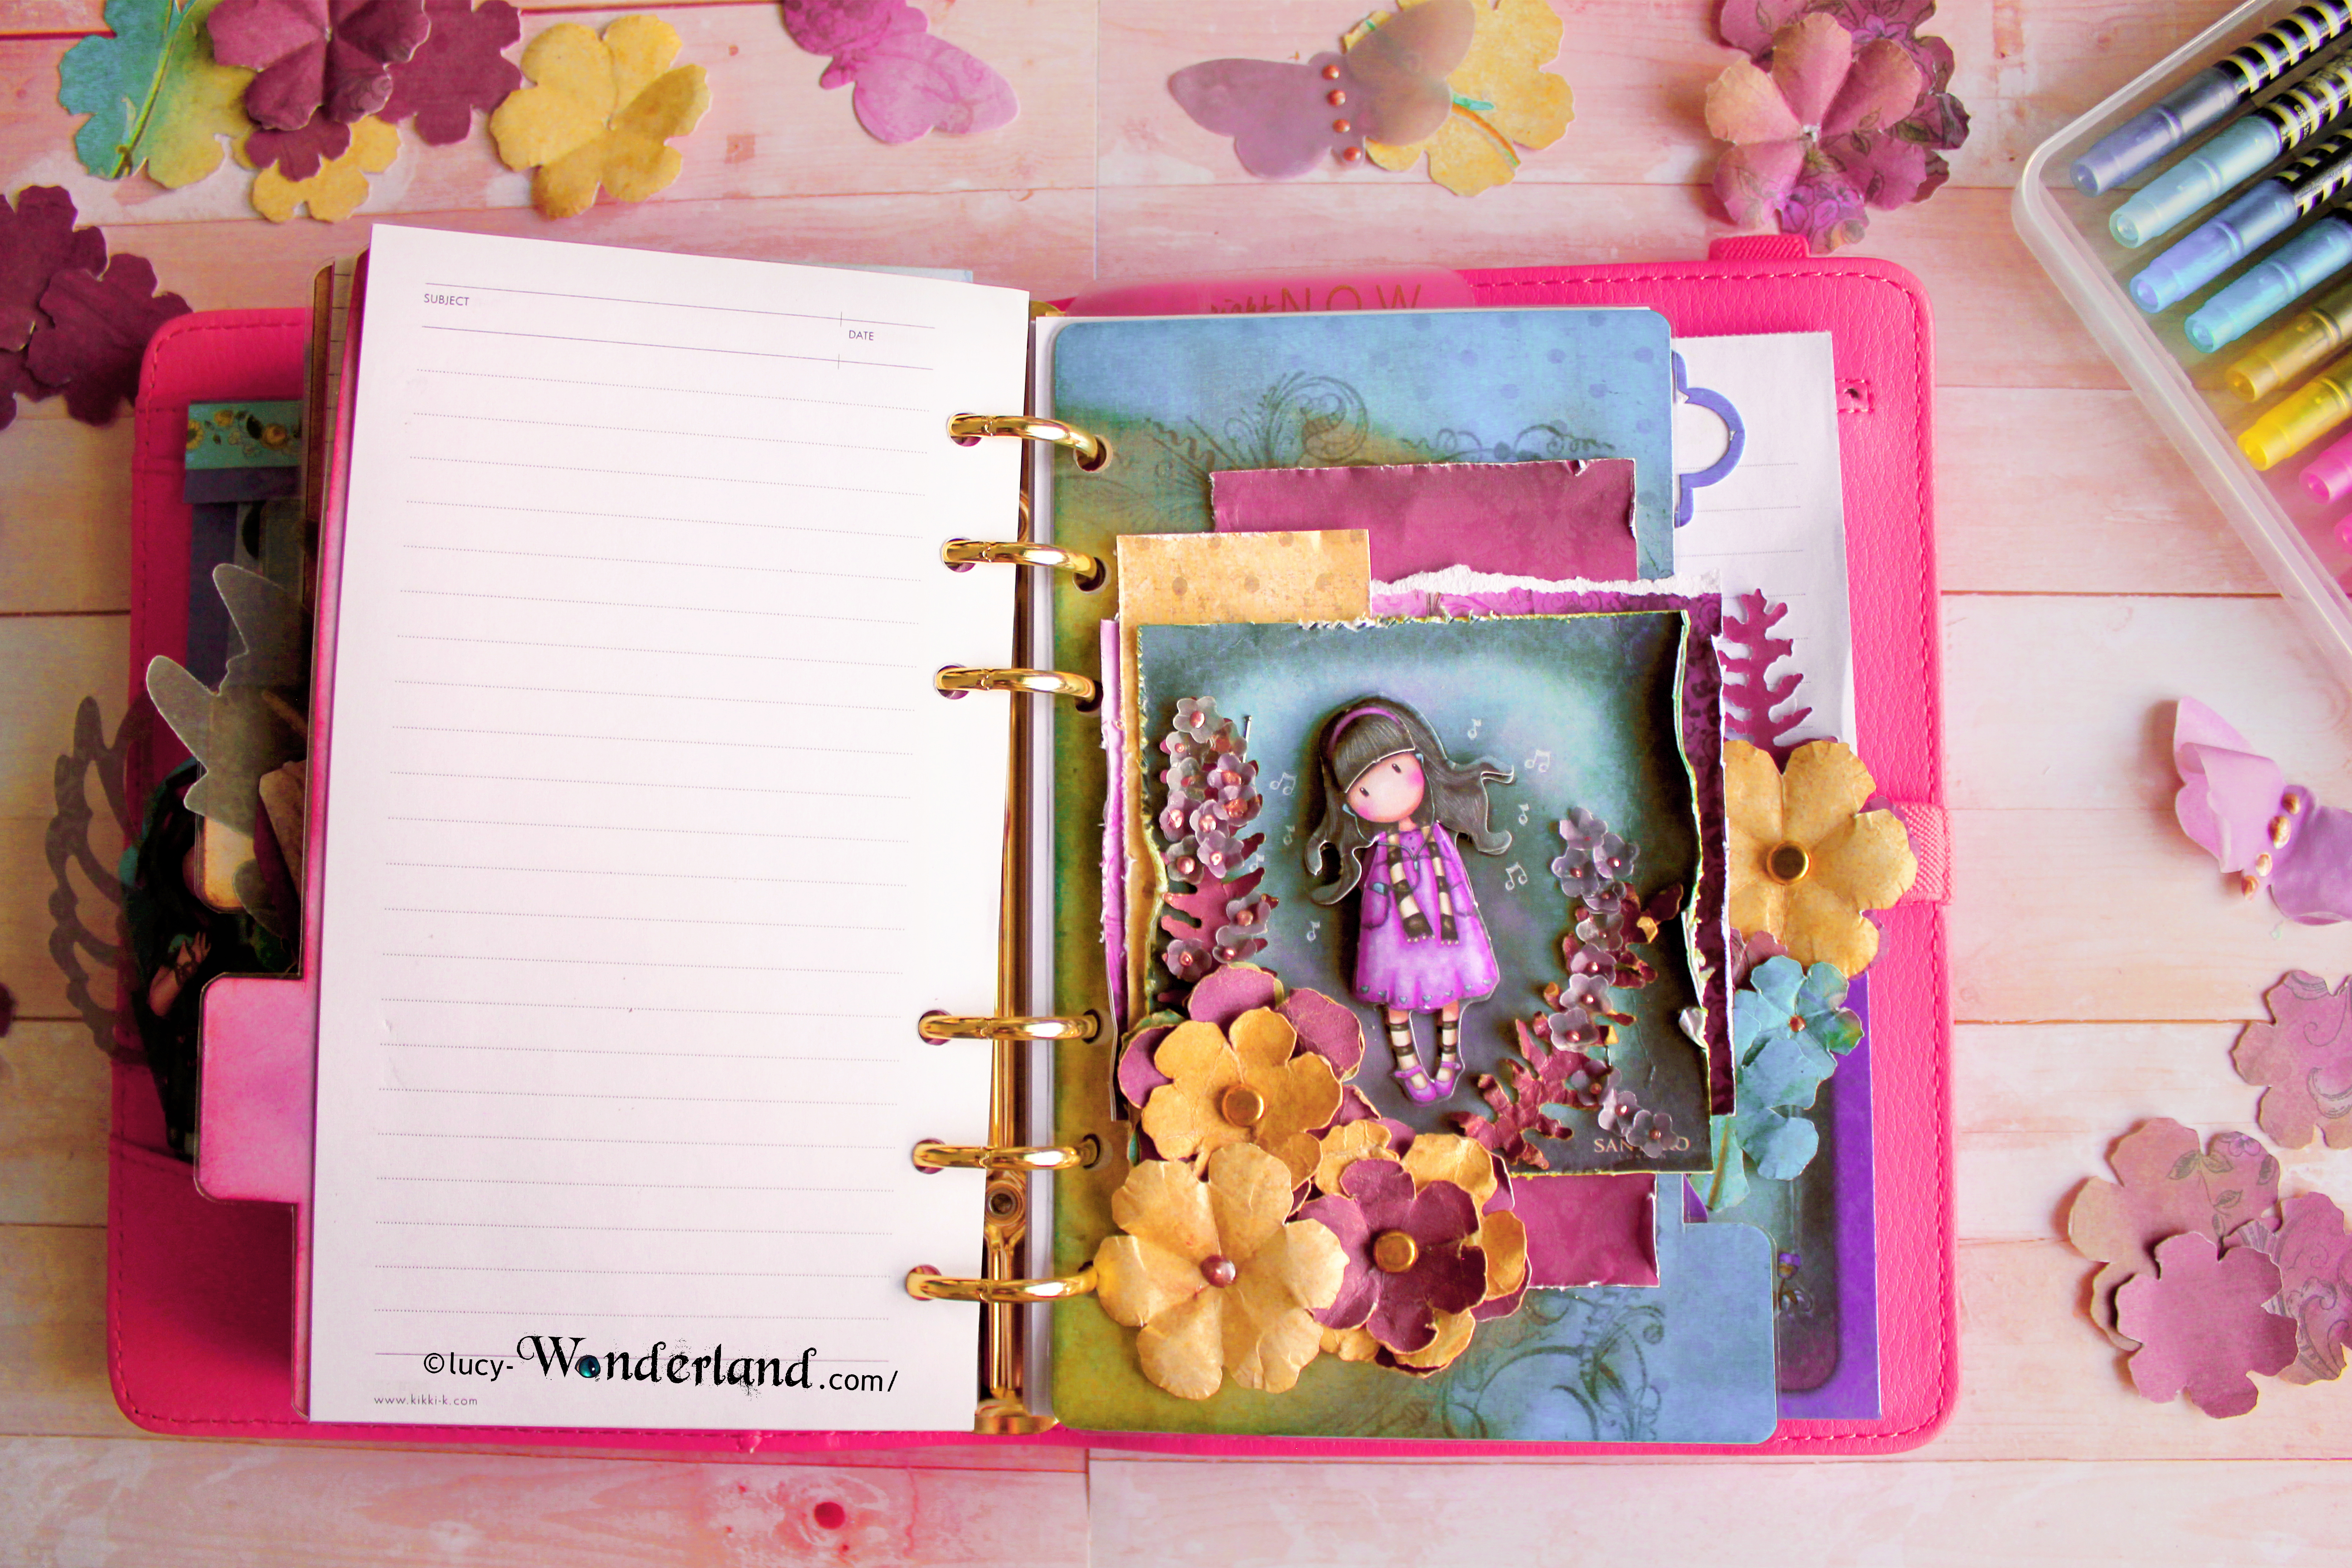
In the third divider, I used the background card of the 3D doll to create a mini pocket, in which I put a pair of tickets for the most confidential information.

Here you can see in particular the three-dimensionality of the child and some details of the embellishments added to the page
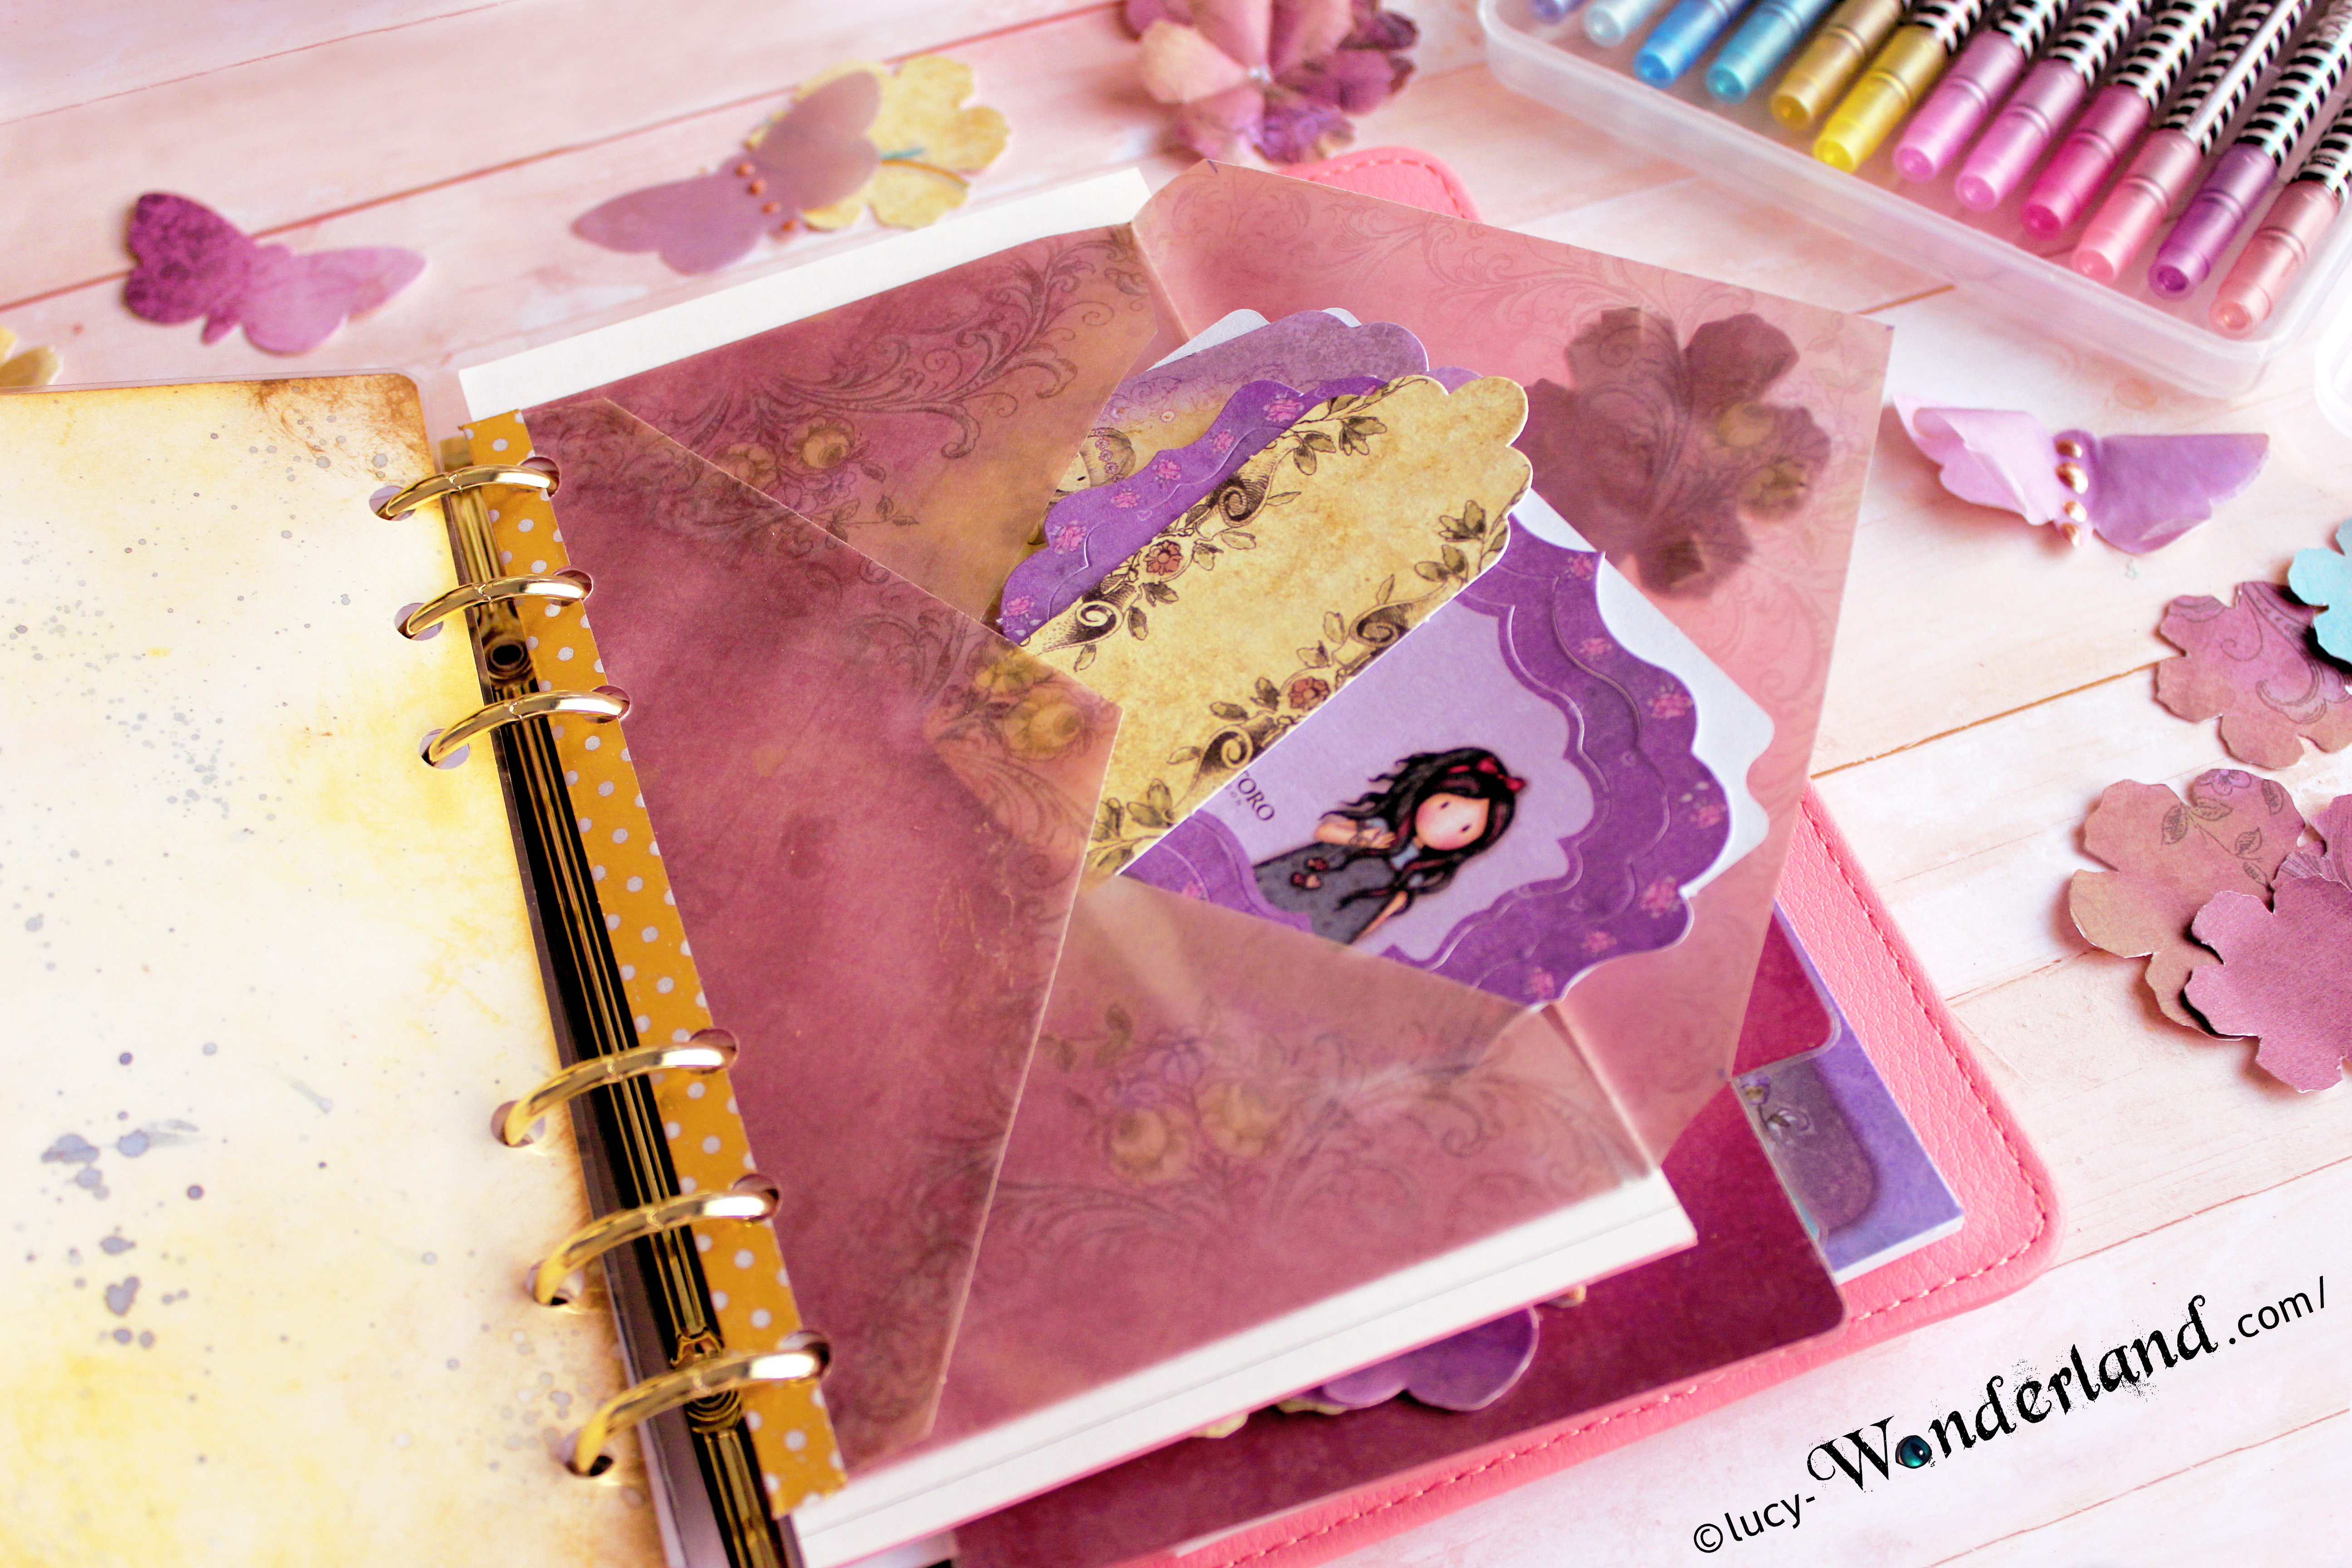
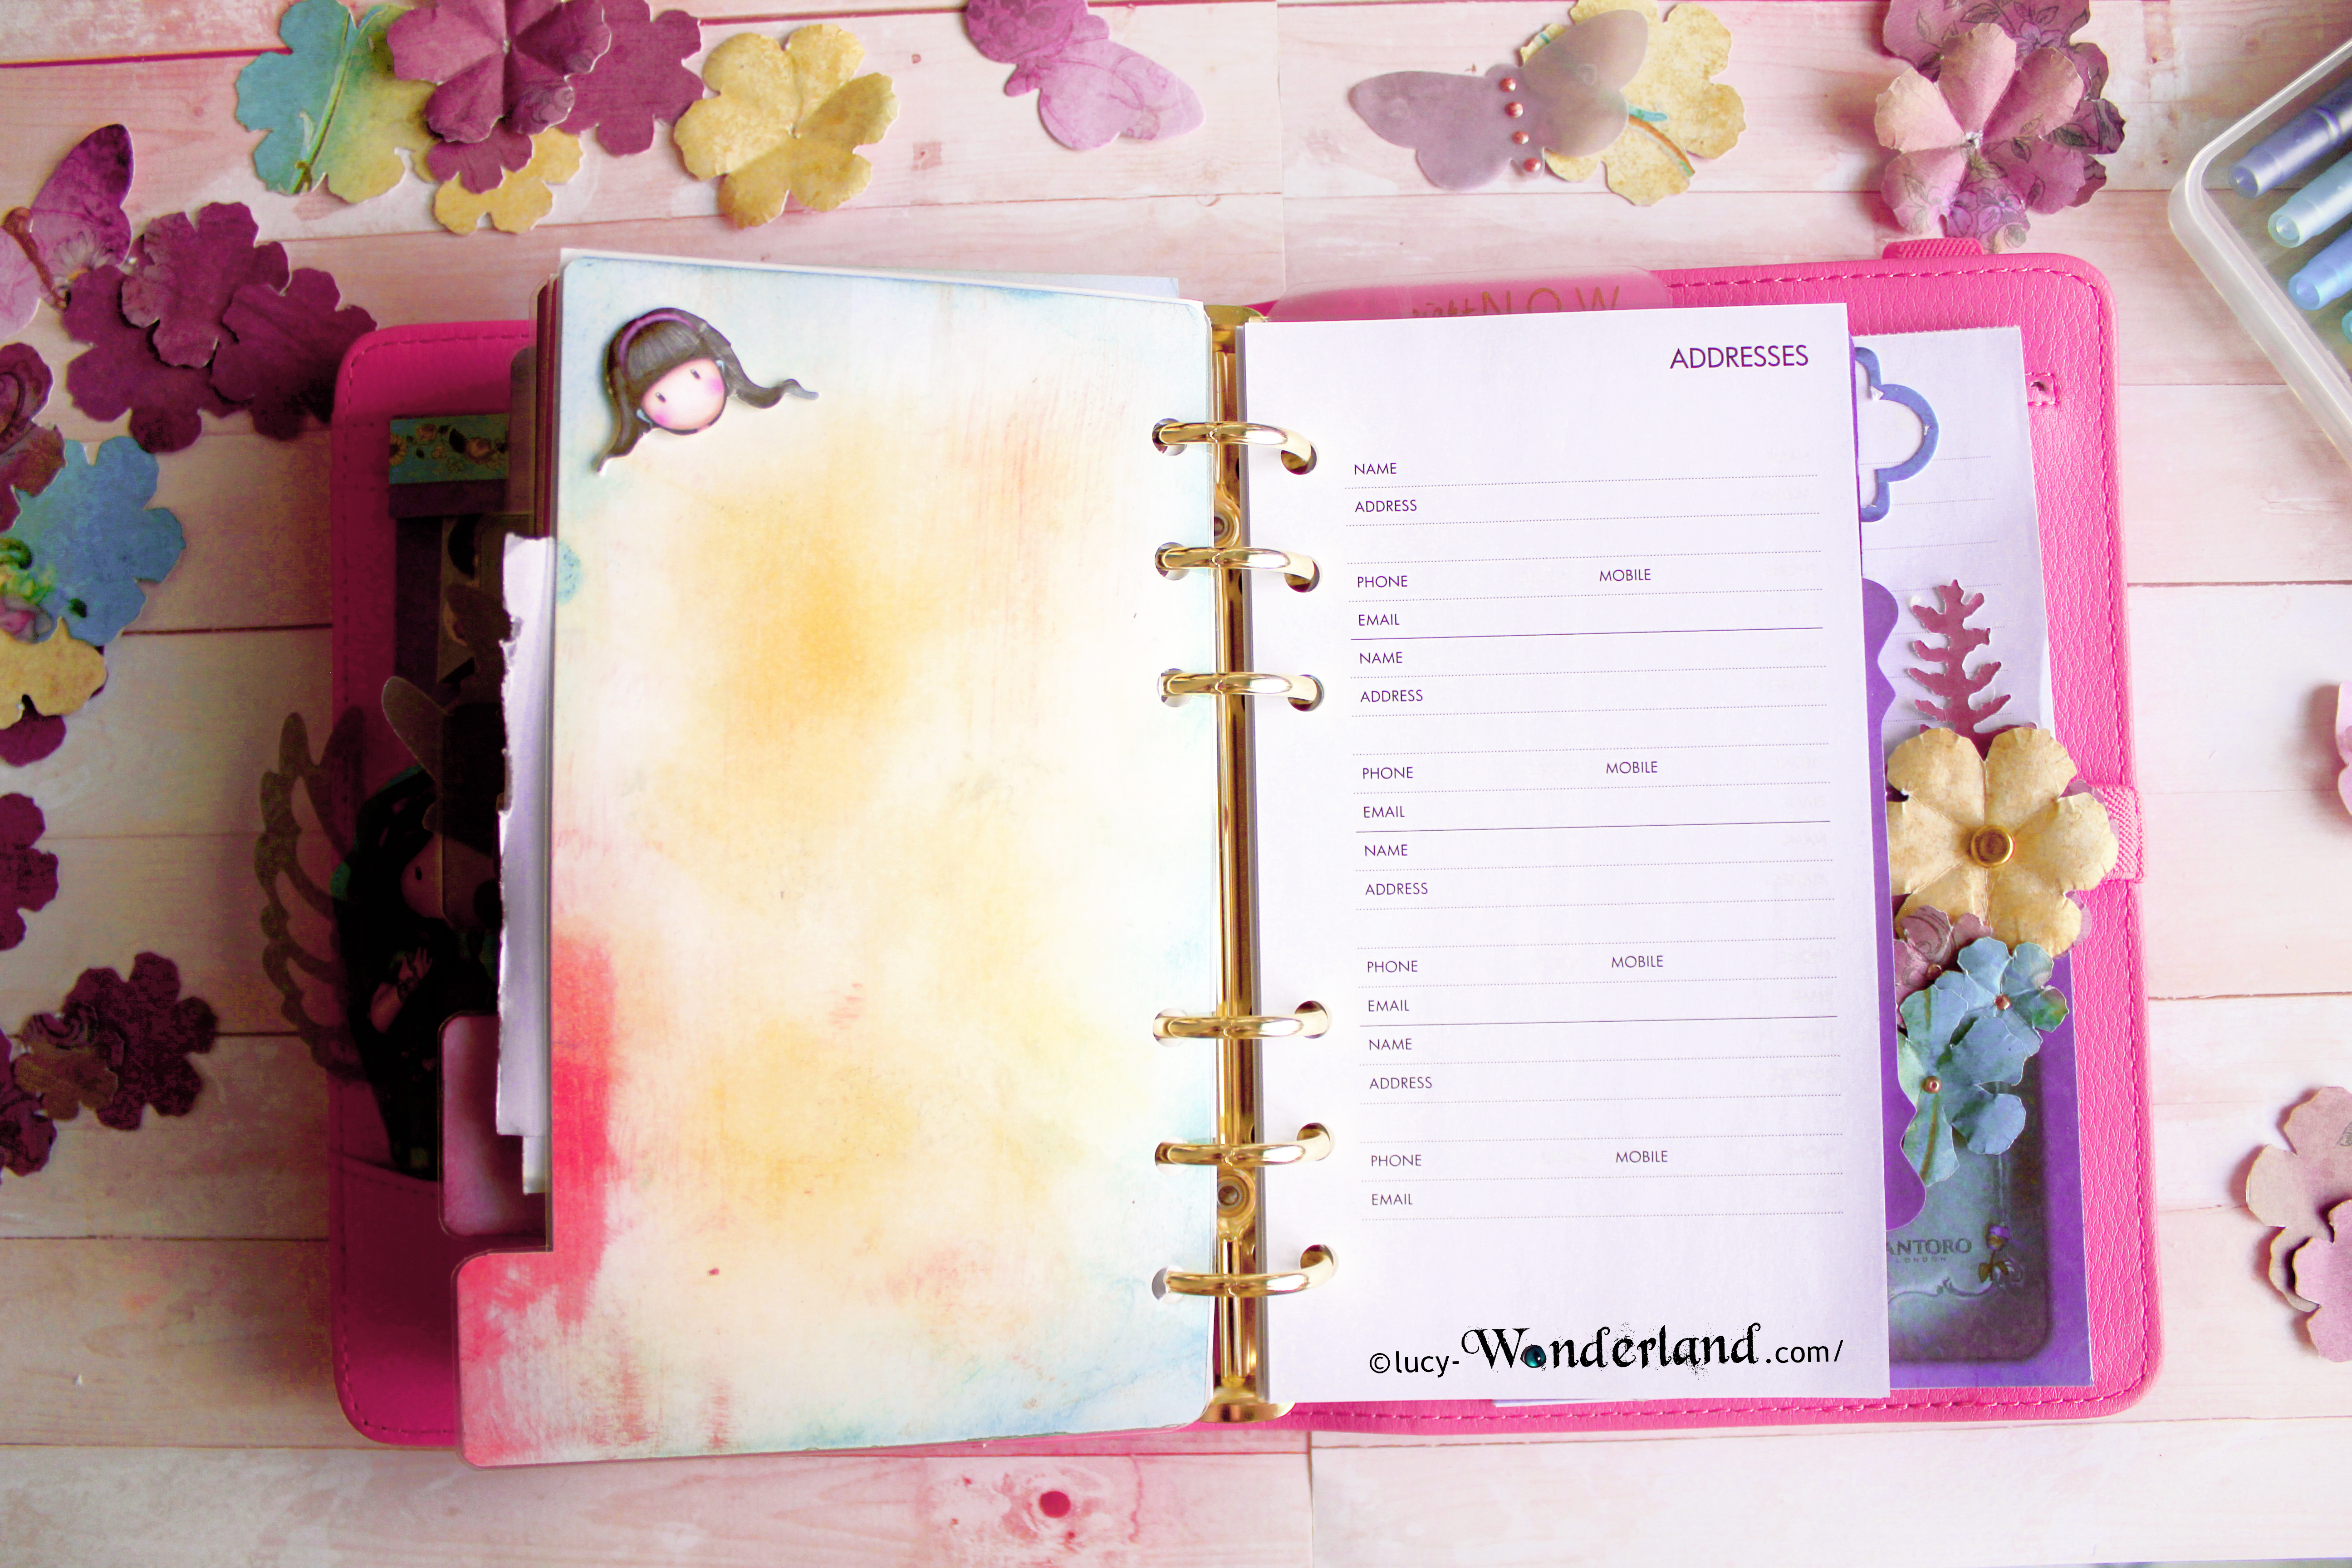
Dall'altro lato potete vedere la prima busta in vellum.
The back of the dividers are white, so I had to color them by myself. I love this thing because in this way I may add a more personal touch to the work ^ - ^
On the other side you can see the first envelope in vellum.
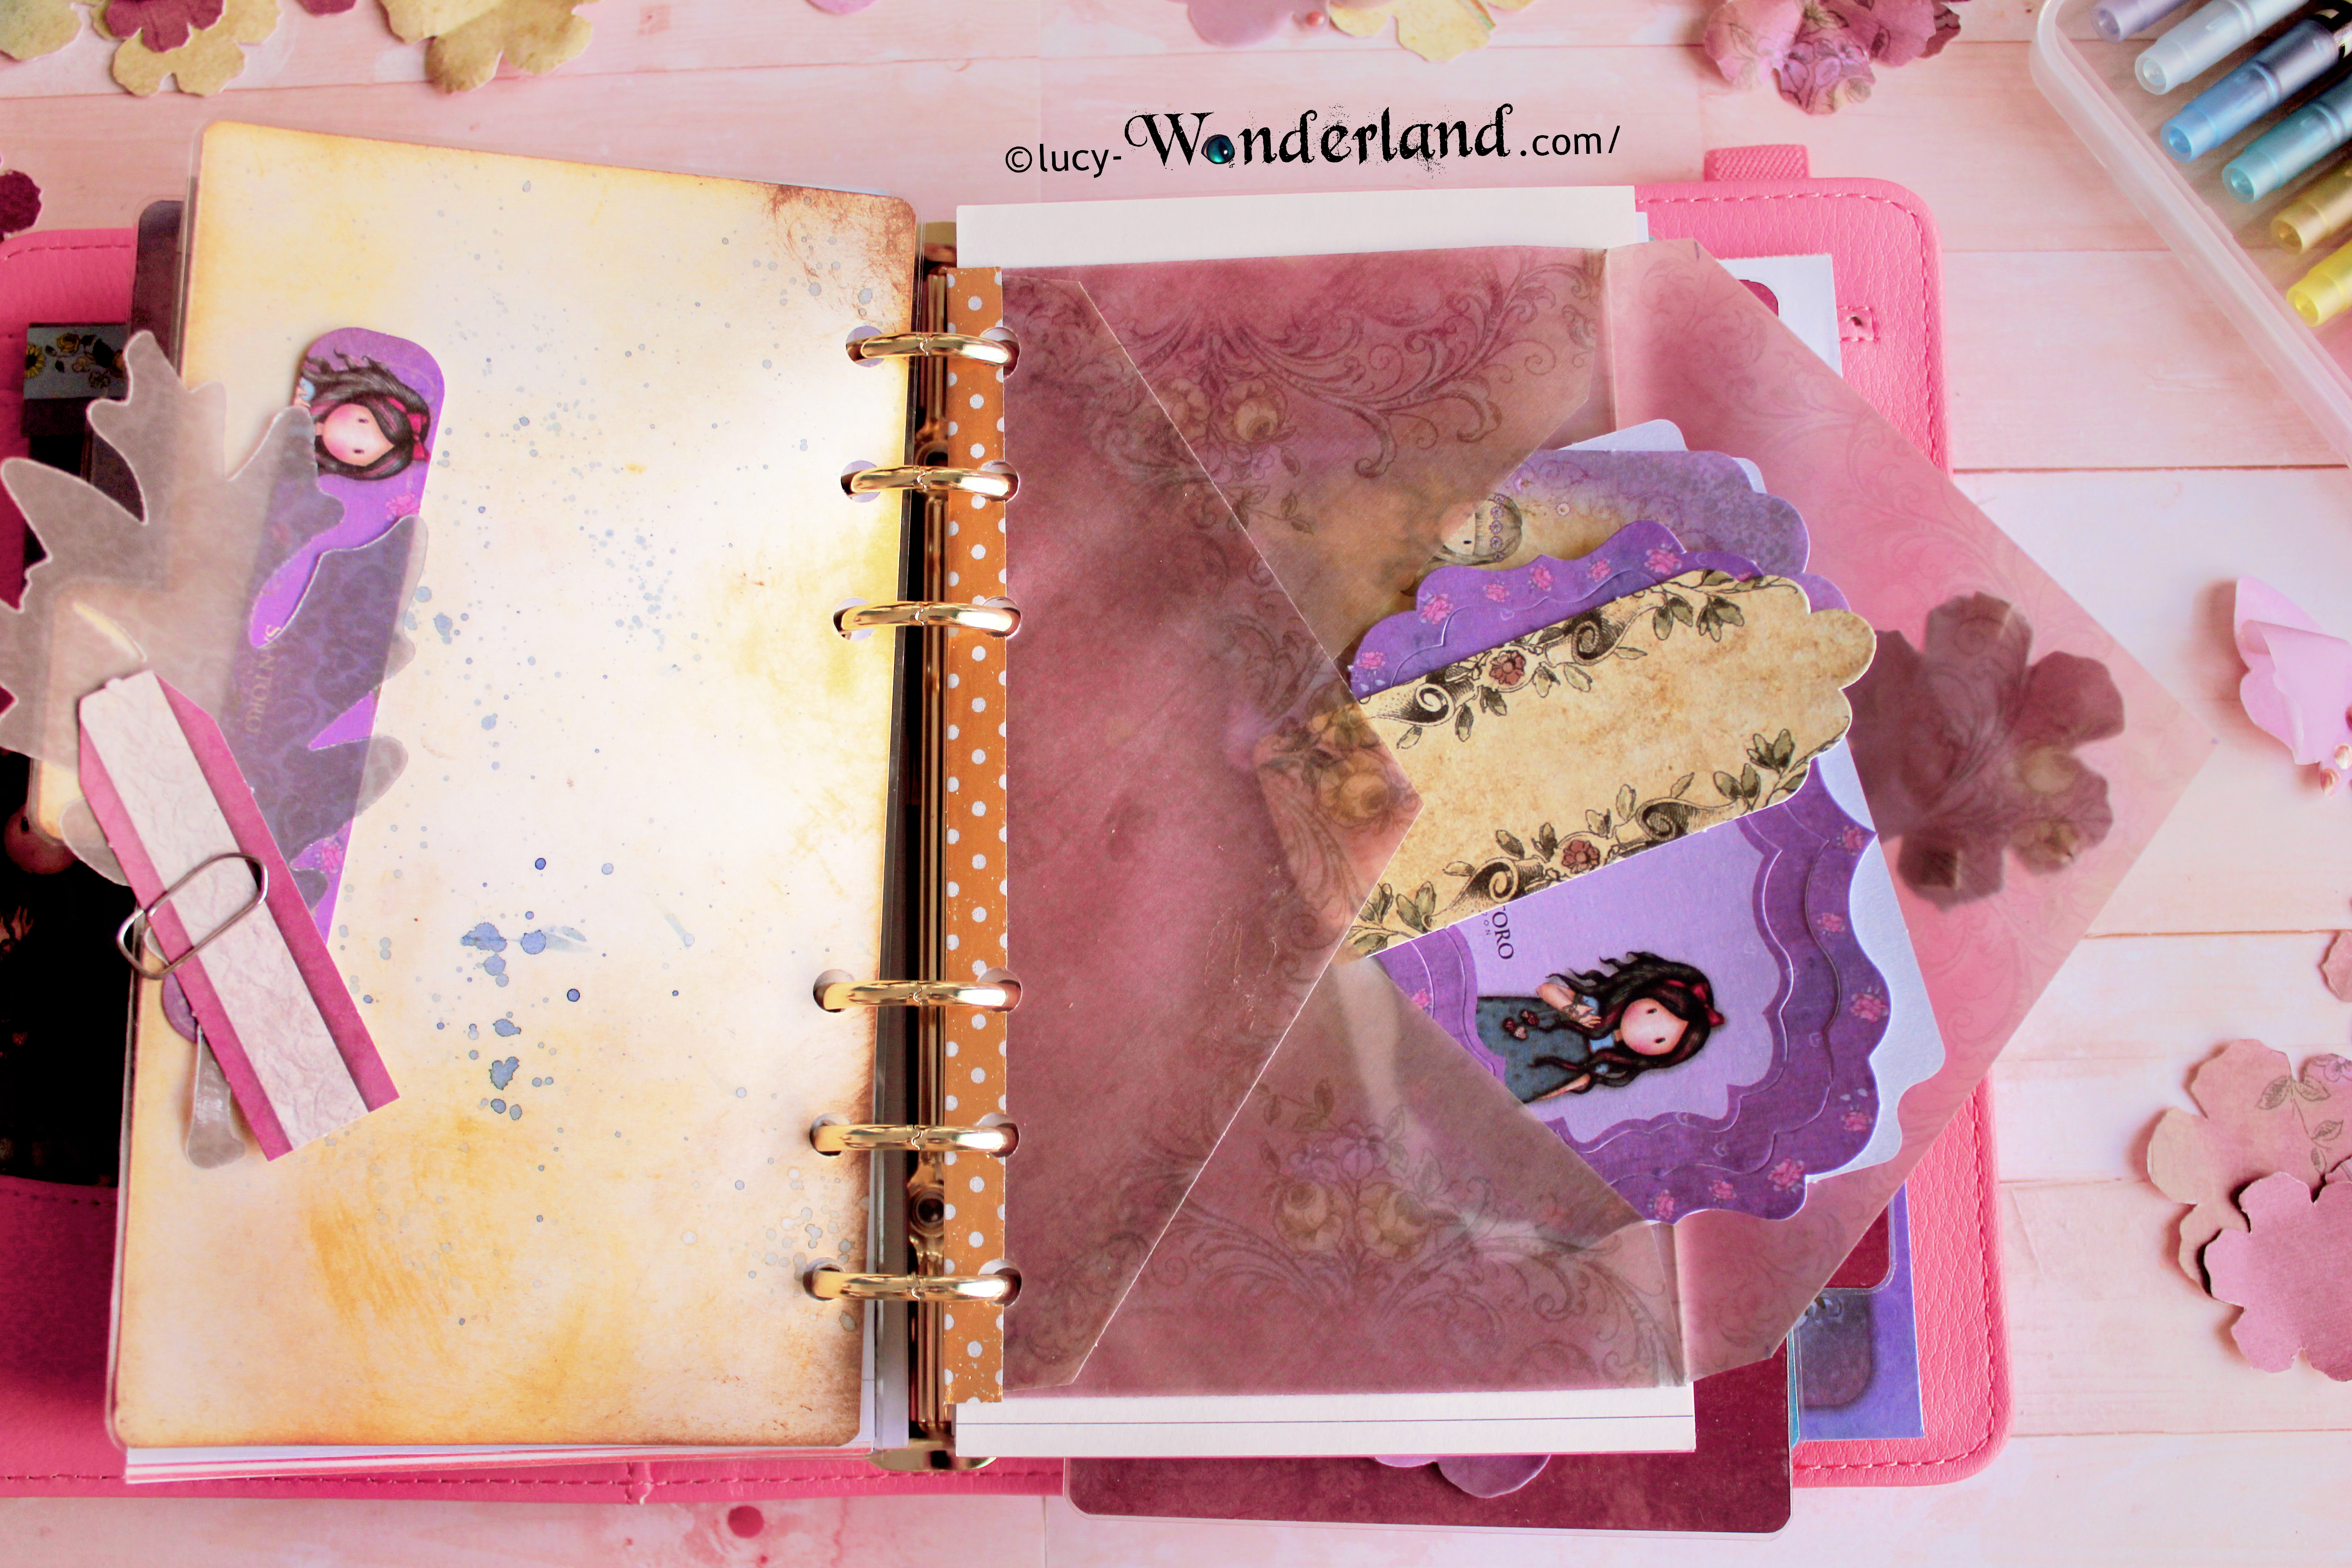
I love the fact that you see in the traslucent the cards that I inserted inside!
Altro divisorio! anche qui ho utilizzato del vellum per fare le ali alla farfalla e alla bambolina
Another divider! Also here, I used the vellum to make the wings to the butterfly and to the doll
Maybe in the picture it isn't very clear, but these wings are translucent, so you can see the texture of the paper below
the last one. Here I played a bit' more with the papers, creating an overlap of different layers, so I have a more interesting background
I glued on the twigs a lot of tiny flowers made of vellum

other angle, to better appreciate the details

This is the back, which I decorated using the distress ink pad and the watercolor brush by Docrafts
and finally the block of notes that was already inside the planner, but I wanted to customize a little bit ^ - ^

other framing. With this artificial light, the organizer seems to fuchsia, but actually is more peach-rose color, just like in the first photos;)

ed ora come promesso il video recensione e breve anteprima dei divisori ^-^
spero che questo post vi sia piaciuto. Alla prossima!!
and now, as promised, the video review with also a short preview of the dividers ^ - ^
I hope you enjoyed this post!!
Nessun commento:
Posta un commento