
_ _
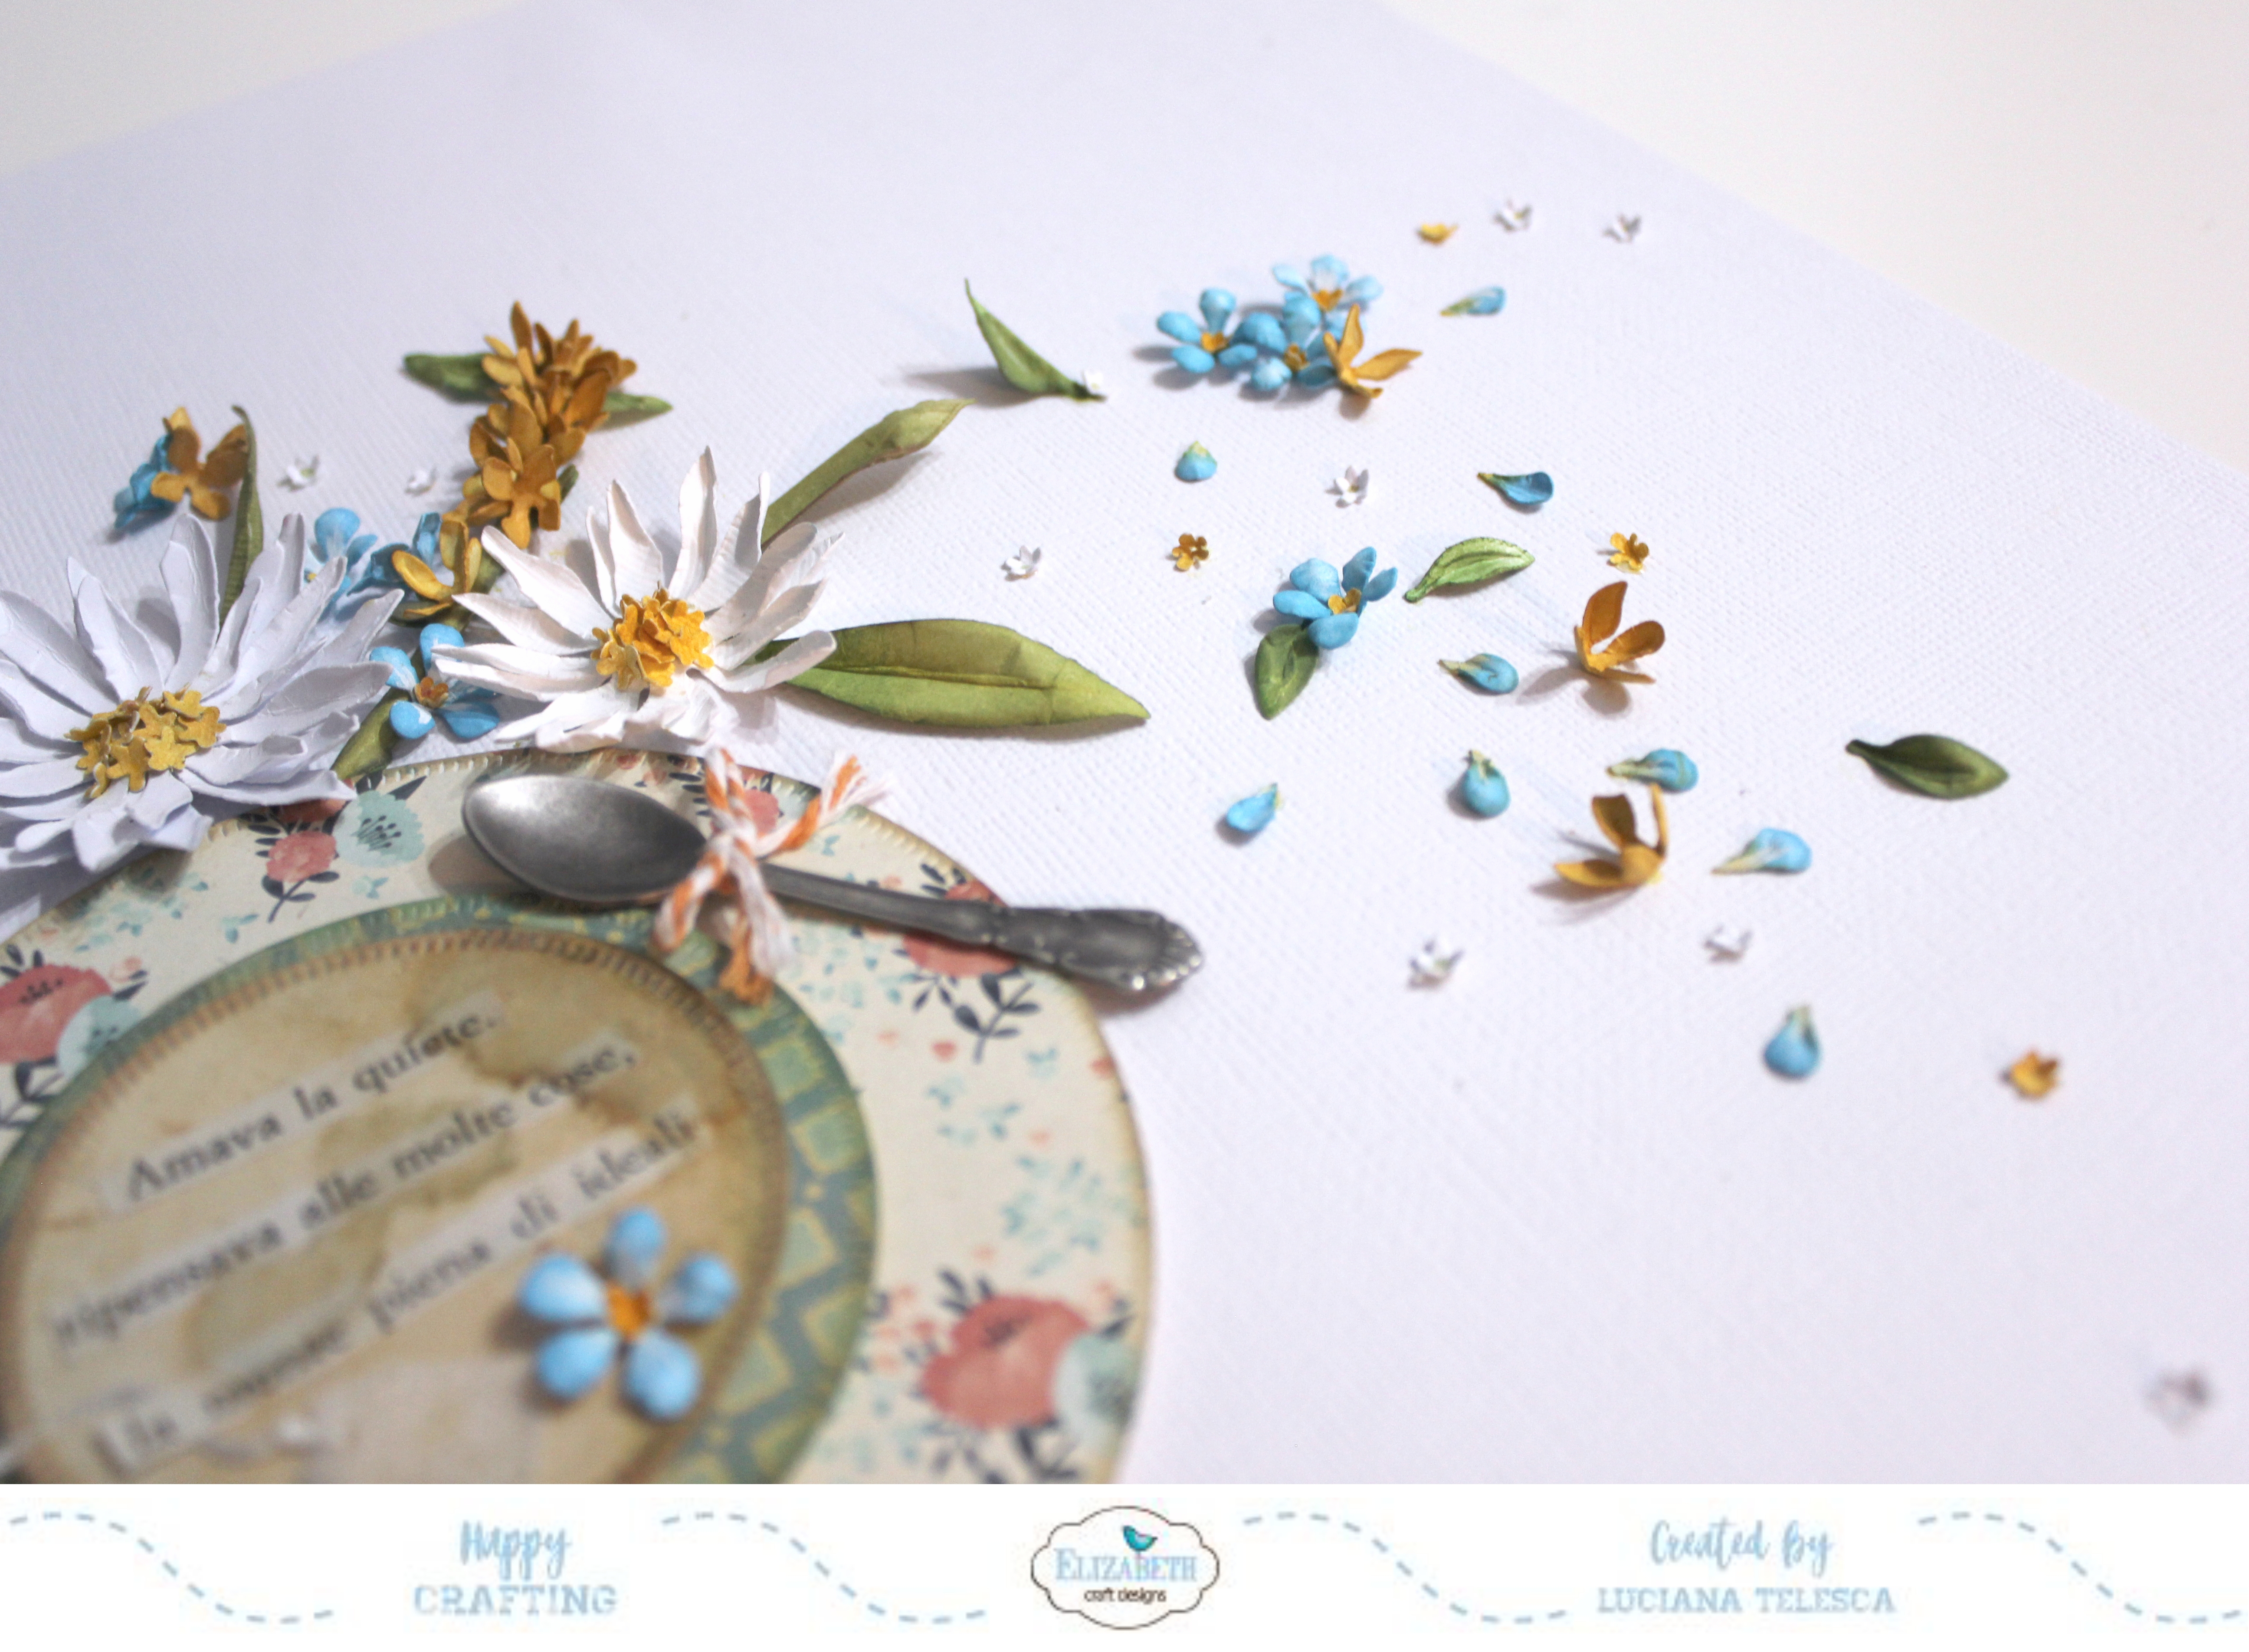
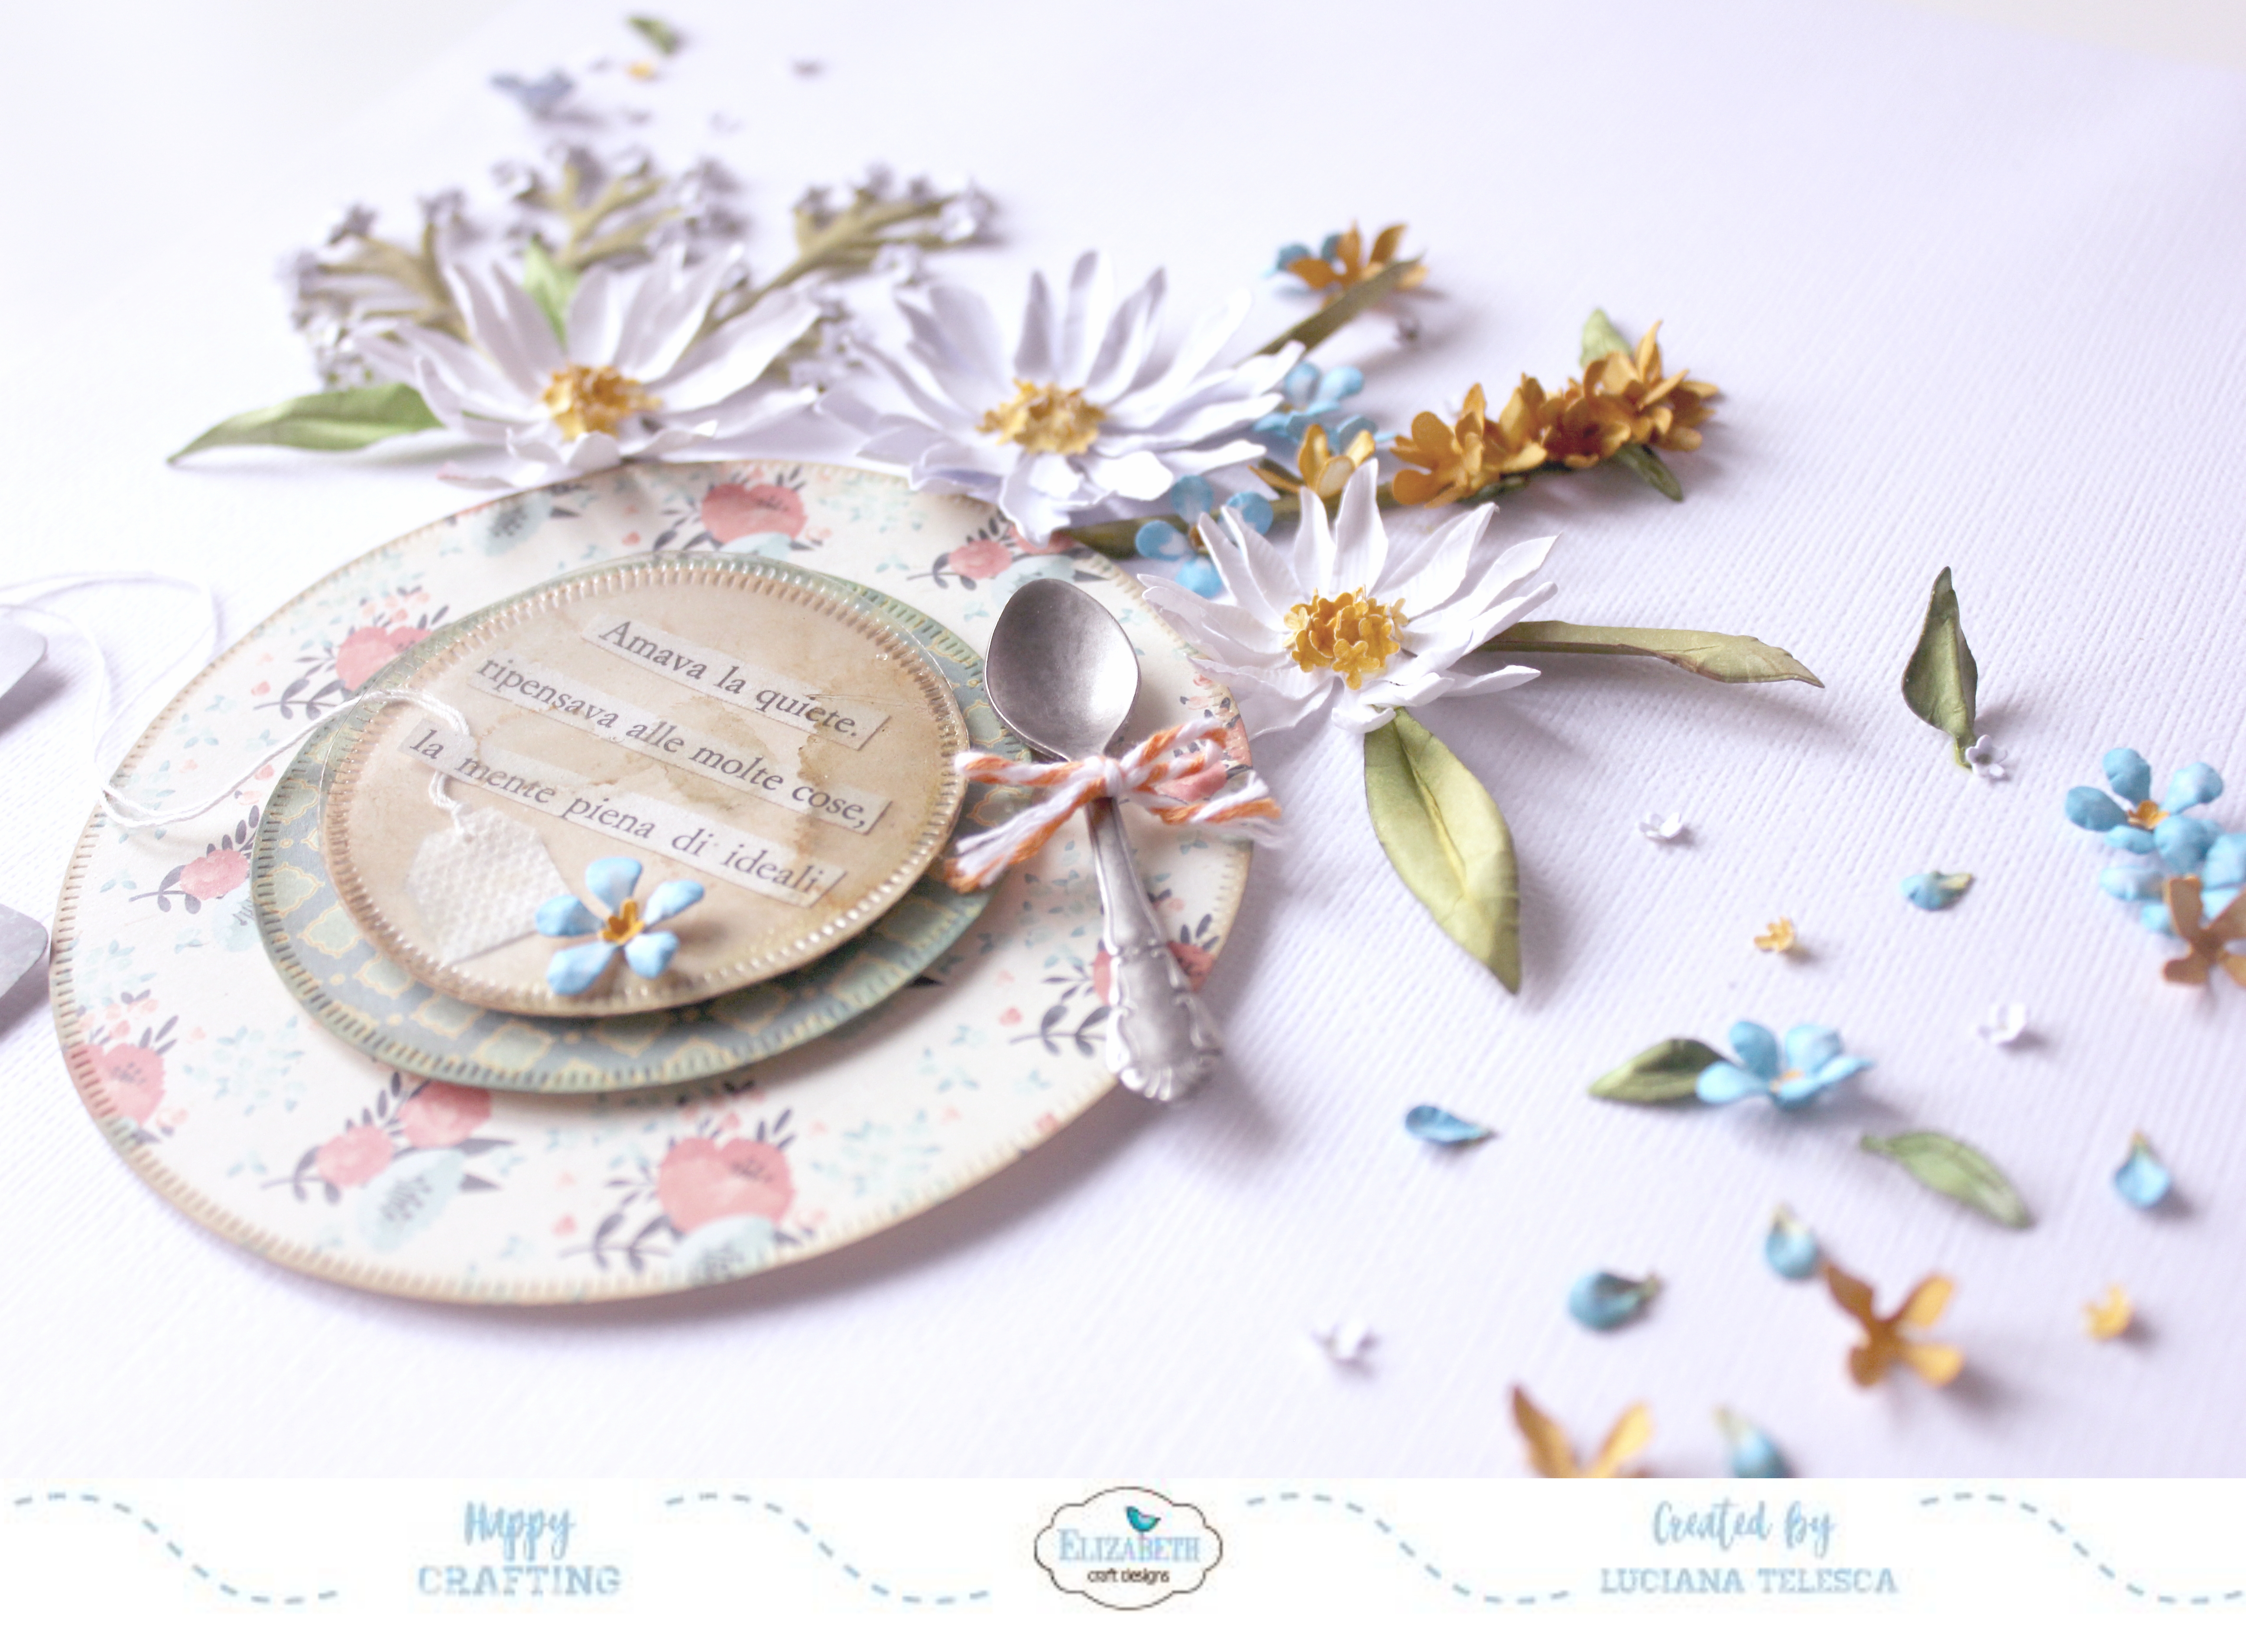
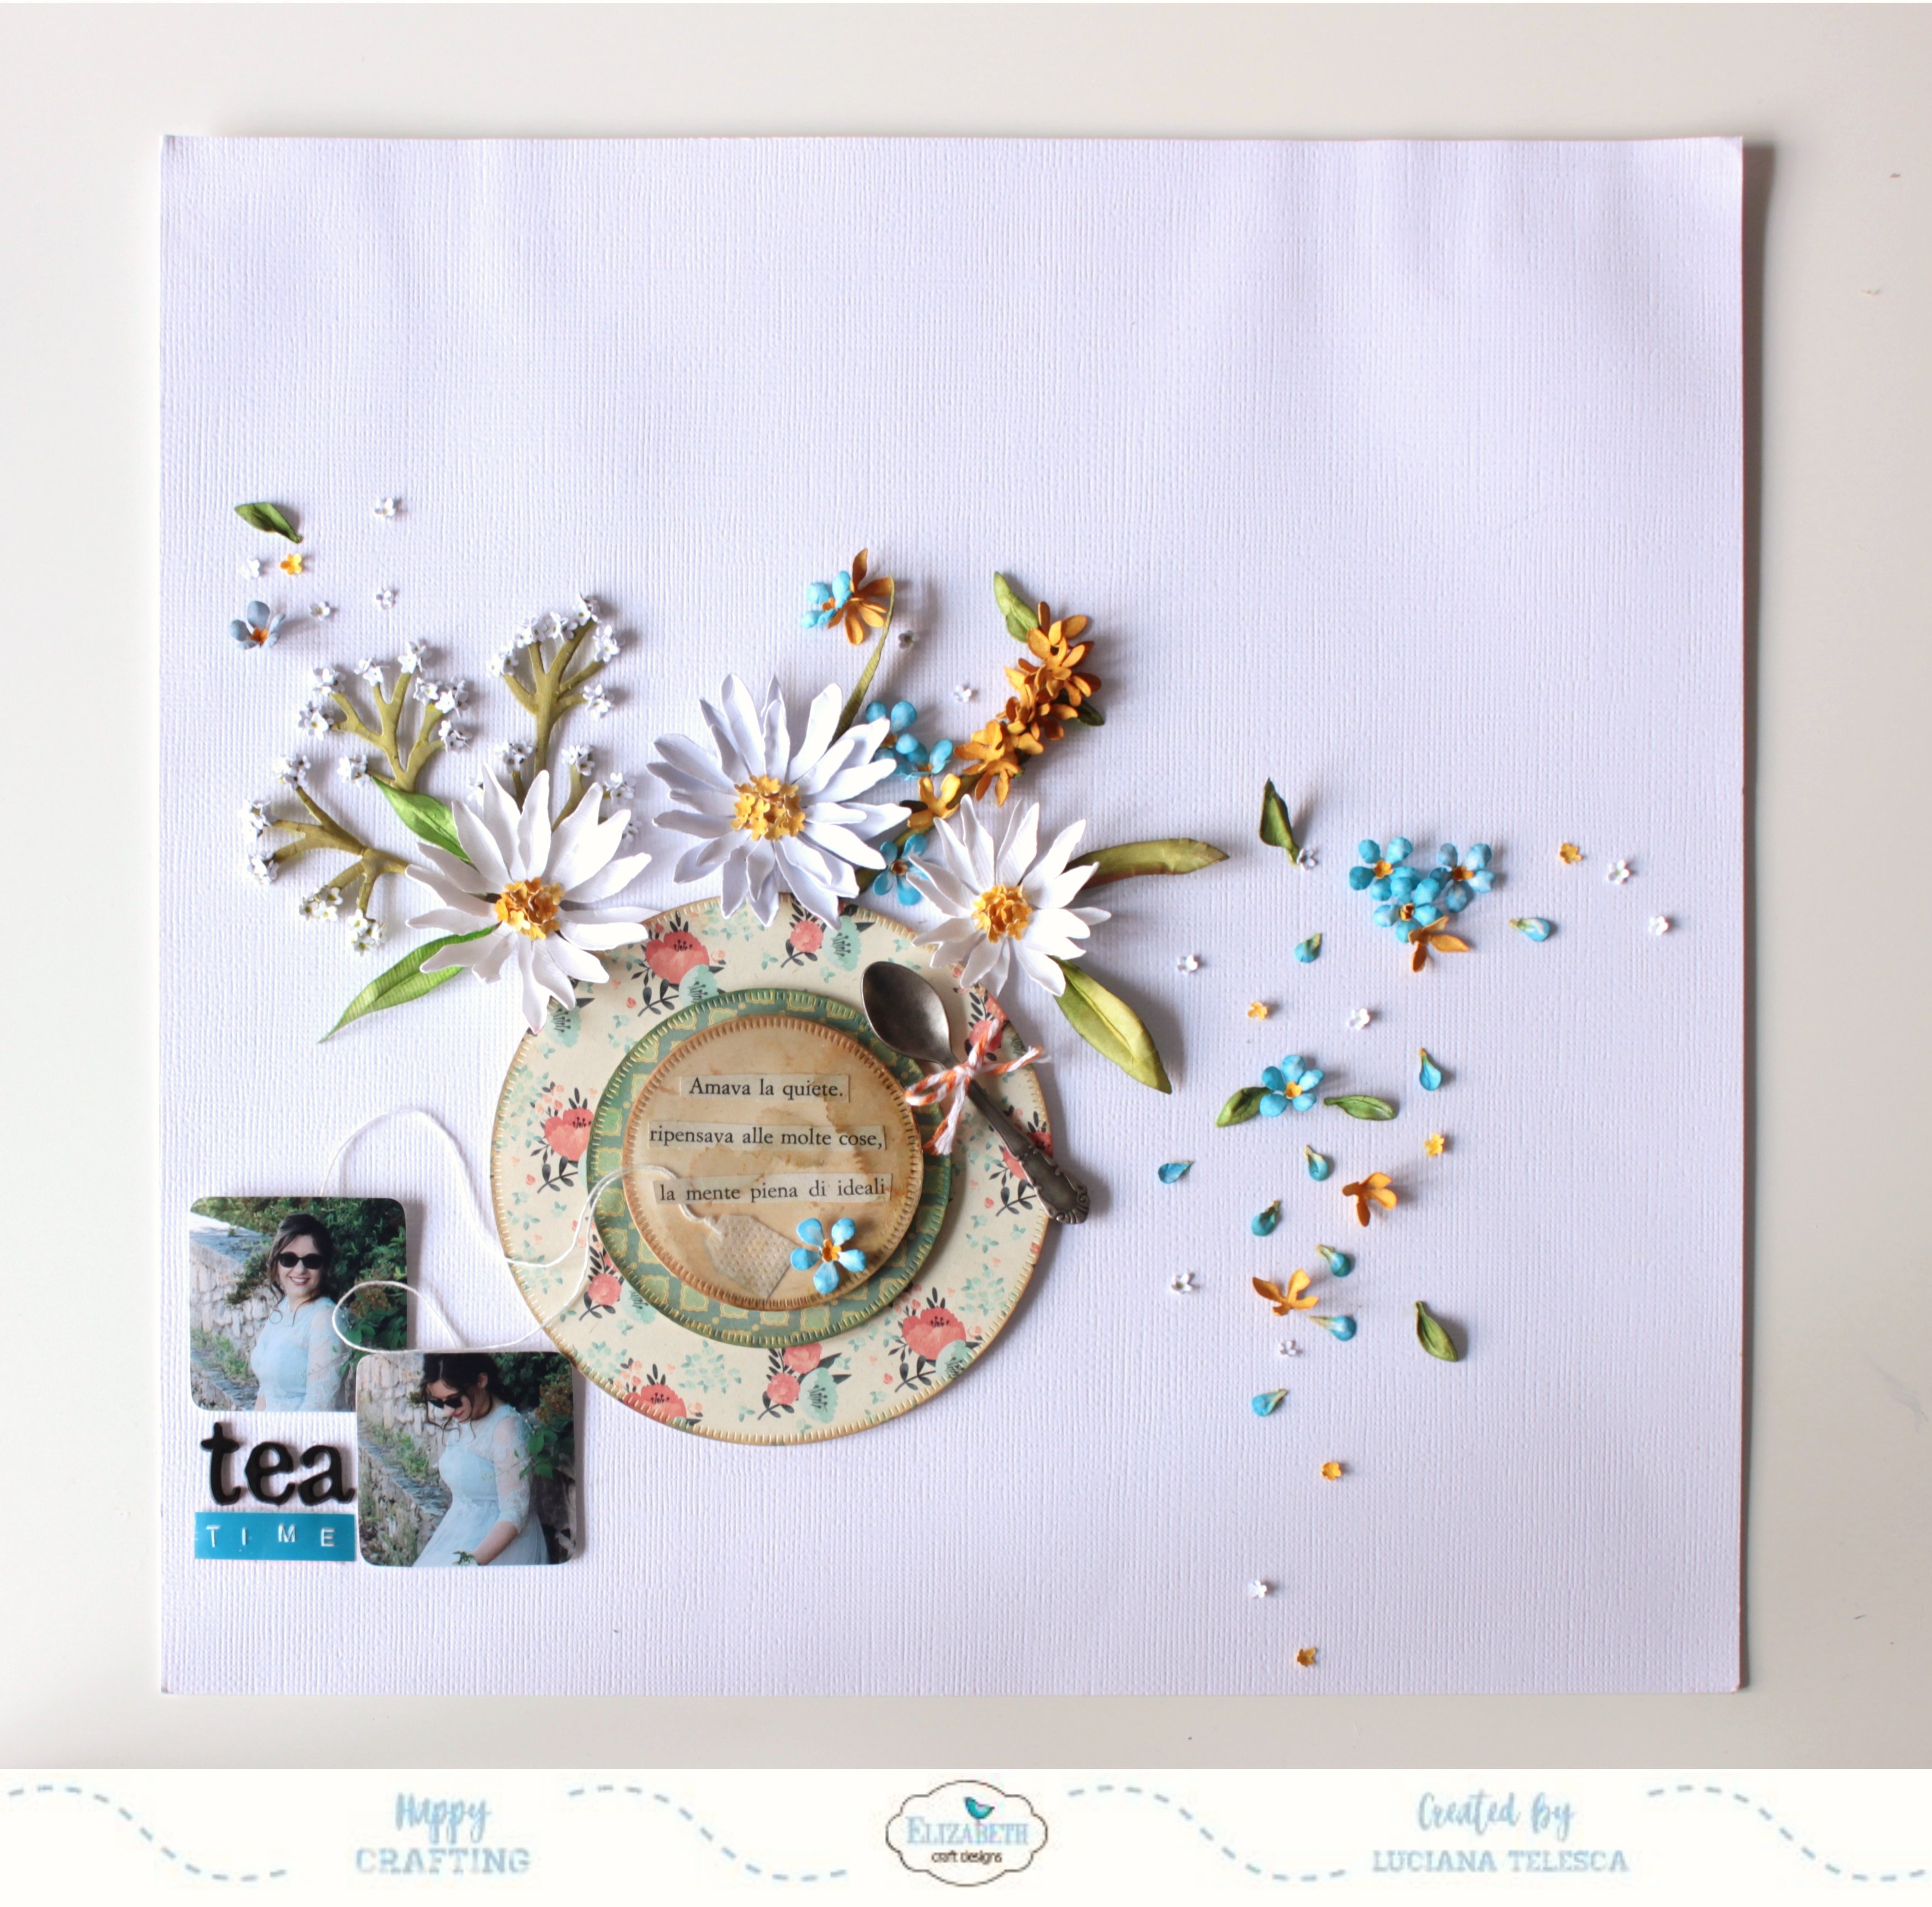
Hi everyone, I'm so happy to be back on the blog to share a layout that I created thinking of wildflowers and celebrating my passion for tea infusions. The project simulates a summer table seen from above, with a cup of tea, a spoon and some wildflowers with their scattered petals.
Step 1. Create a cup of tea.
Ritaglia alcuni cerchi di carta patterned con i bordi decorati usando il set Dashing Circles,ed in particolare le seguenti misure:- 4 1/4"
- 2 3/4"
- 2 1/4"
Metti del nastro biadesivo dietro ad ogni cerchio e poi incollali uno sull'altro in posizione concentrica, dal più grande al più piccolo..
La tazza sarà il posto perfetto per poter inserire il proprio ricordo. Oppure potresti usare delle frasi ritagliate da un vecchio libro.
Ritaglia una busta di tea in miniatura con due fili per l'etichette.
_ _
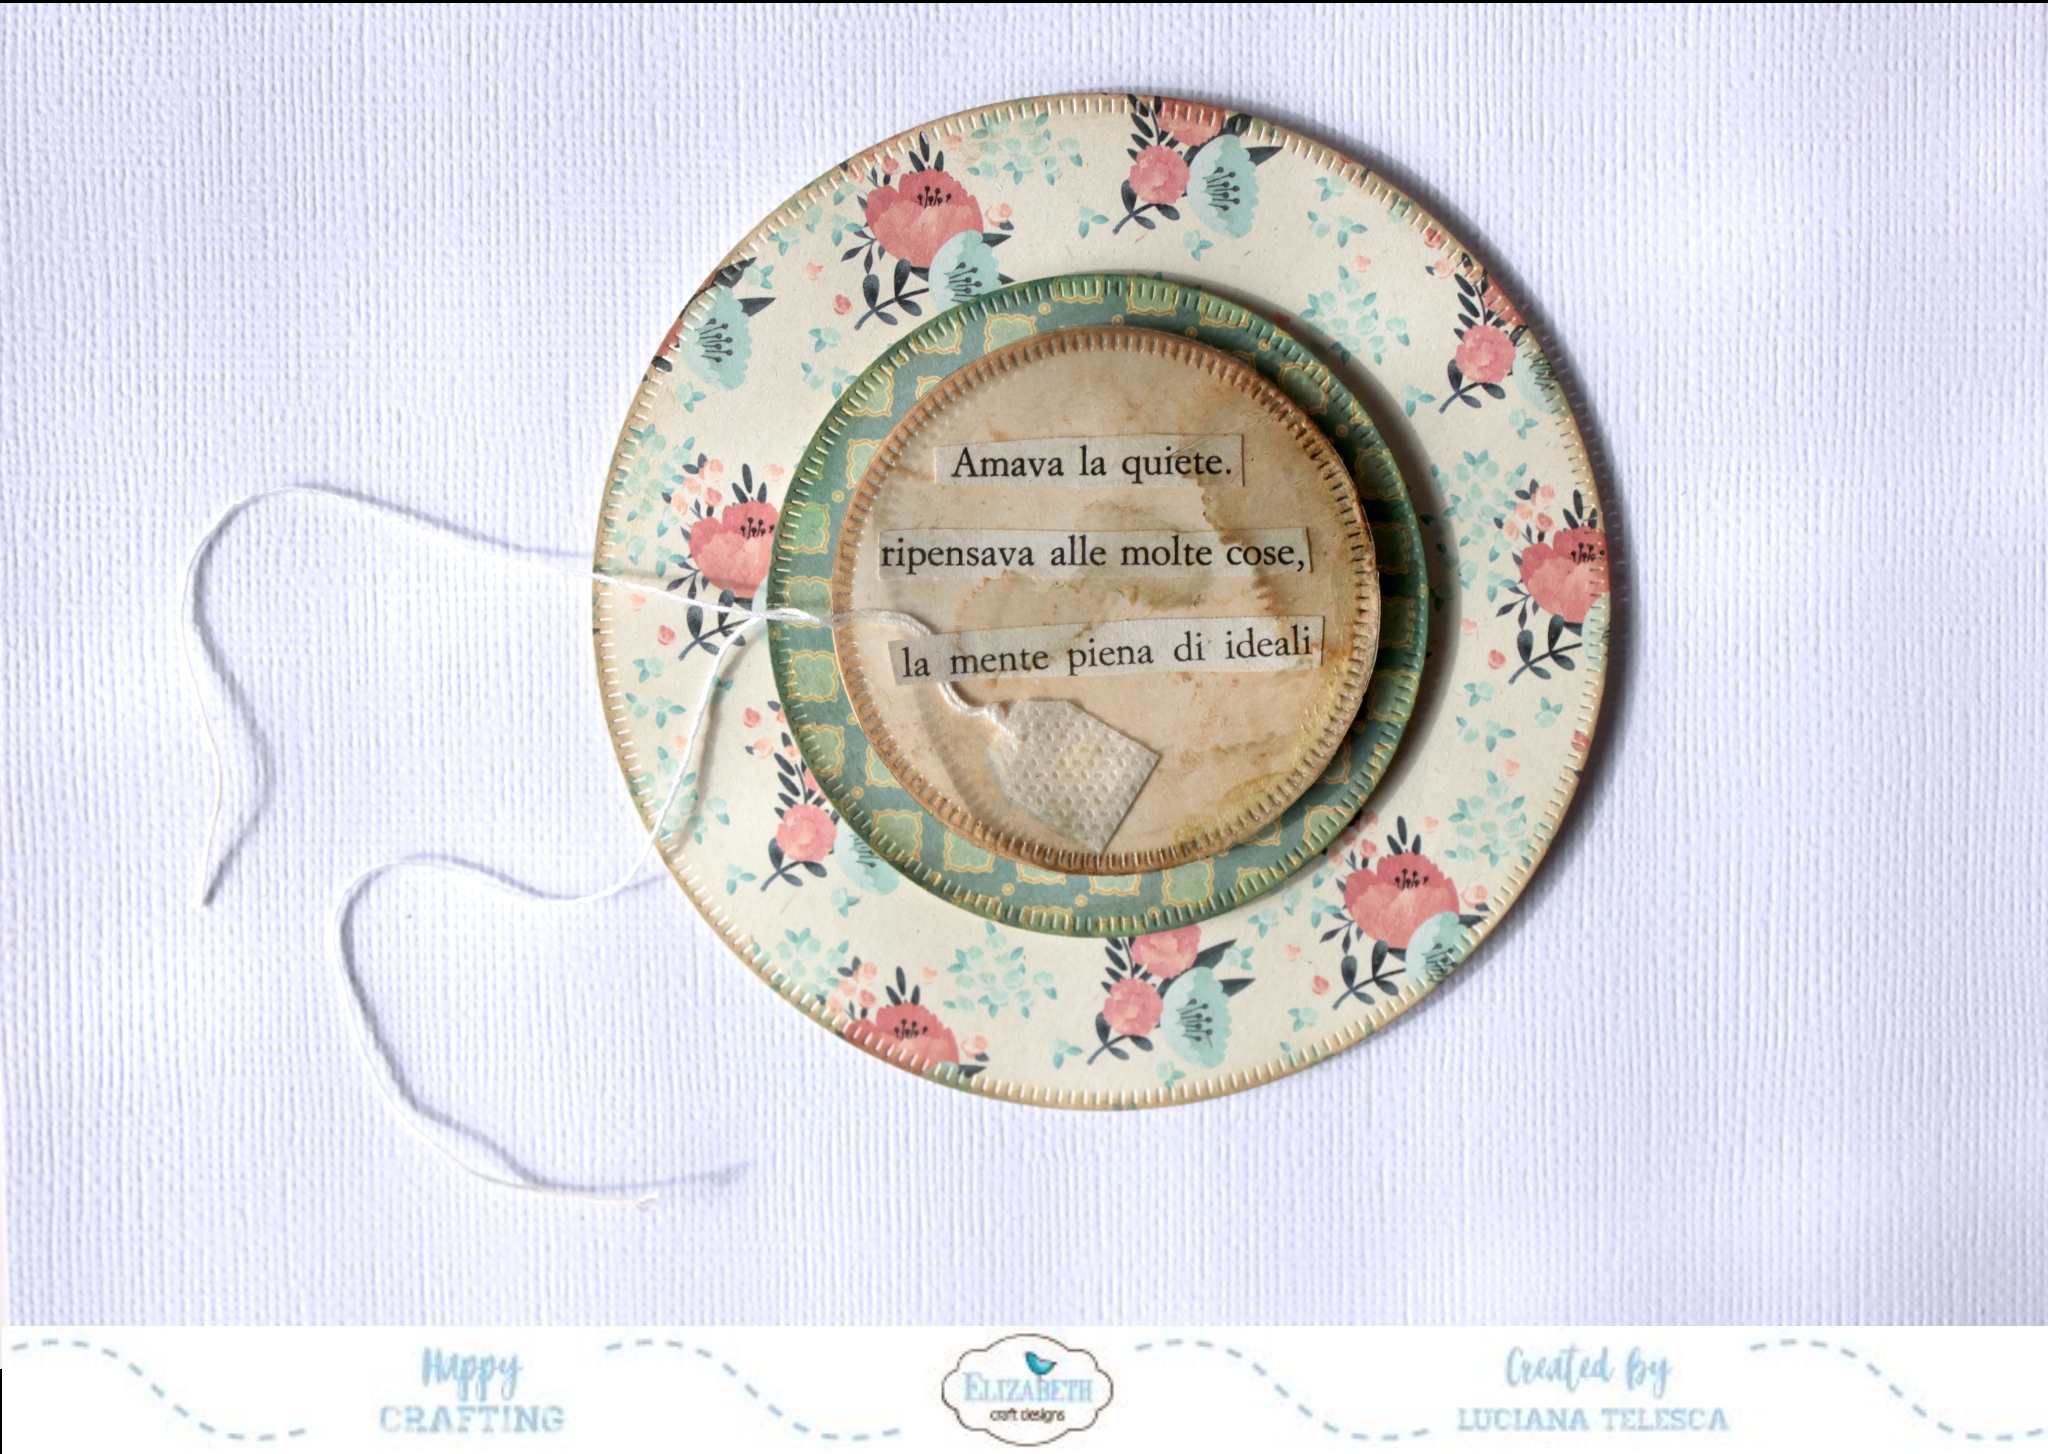
From patterned papers, cut the following Dashing Circles:
- 4 1/4"
- 2 3/4"
- 2 1/4"
Put Clear Double Sided Adhesive on the back of each of the circles; arrange and adhere them, concentrically, from the biggest to smallest.
The cup will be the place for the journaling.
(Tip: Use sentences from an old book.)
Cut a tiny tea bag with 2 wires for the tea tags.
Step 2. Create wildflowers.
Crea alcuni fiori selvatici usando i nuovi set della collezione Susan's Garden:Taglia le varie fustelle usando il cartoncino da 270gr White Soft Finish Cardstock, e poi aggiungi il colore usando lo strumento di colorazione a propria scelta (potresti usare le foto dei fiori reali come ispirazione, a me aiuta molto a rendere i miei fiori più realistici).
_ _
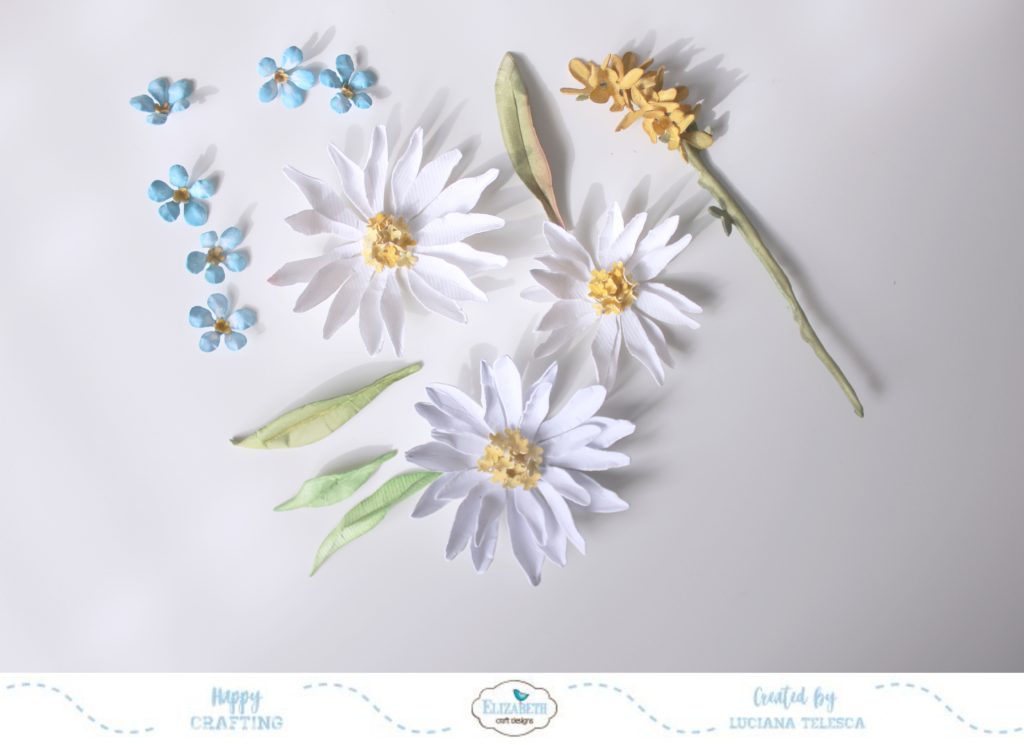
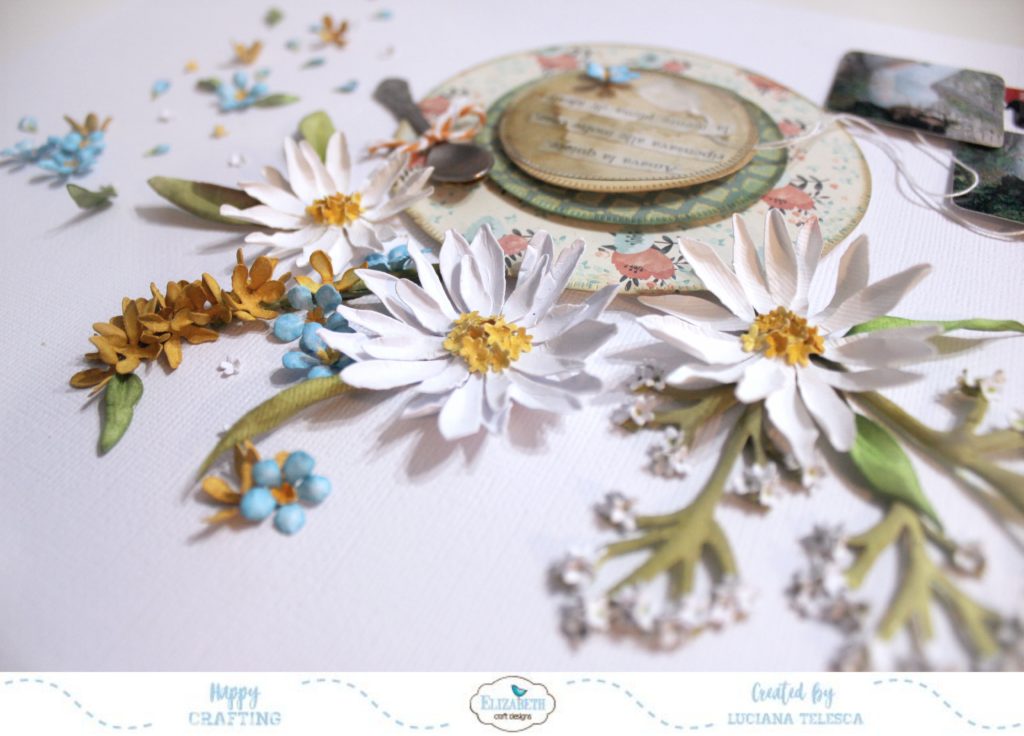
Create some flowers using die sets from the new Susan's Garden Collection:
Cut all the pieces from 270gr White Soft Finish Cardstock, and add color to the cardstock with coloring medium of choice.
(Refer to photos of real flowers as inspiration, that's what helped me make the flowers look more realistic.)
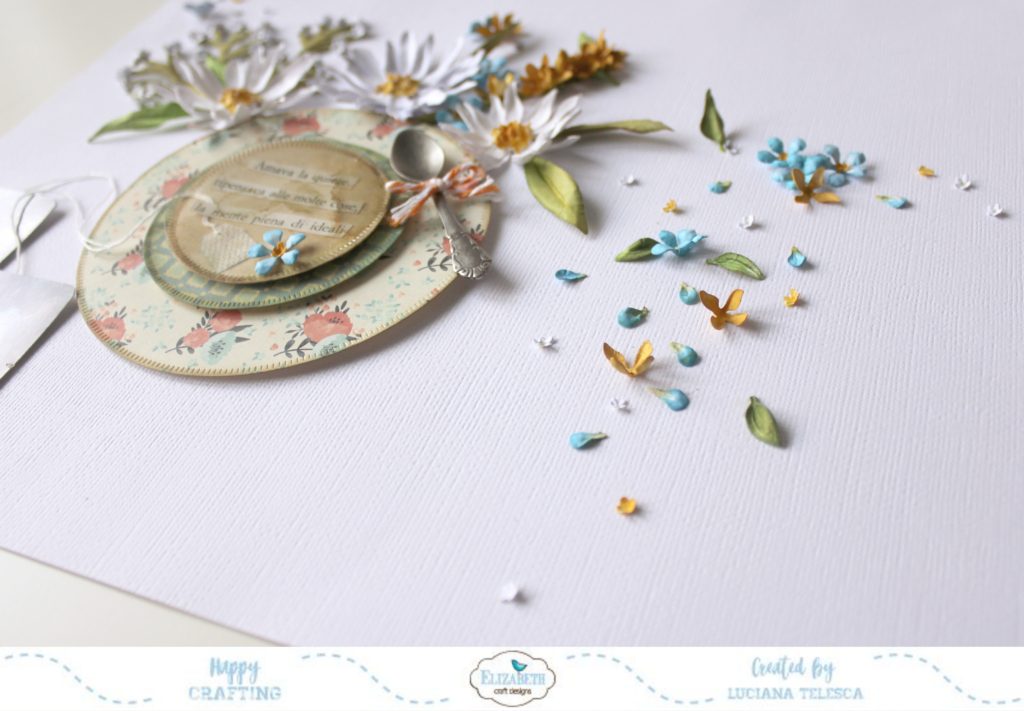
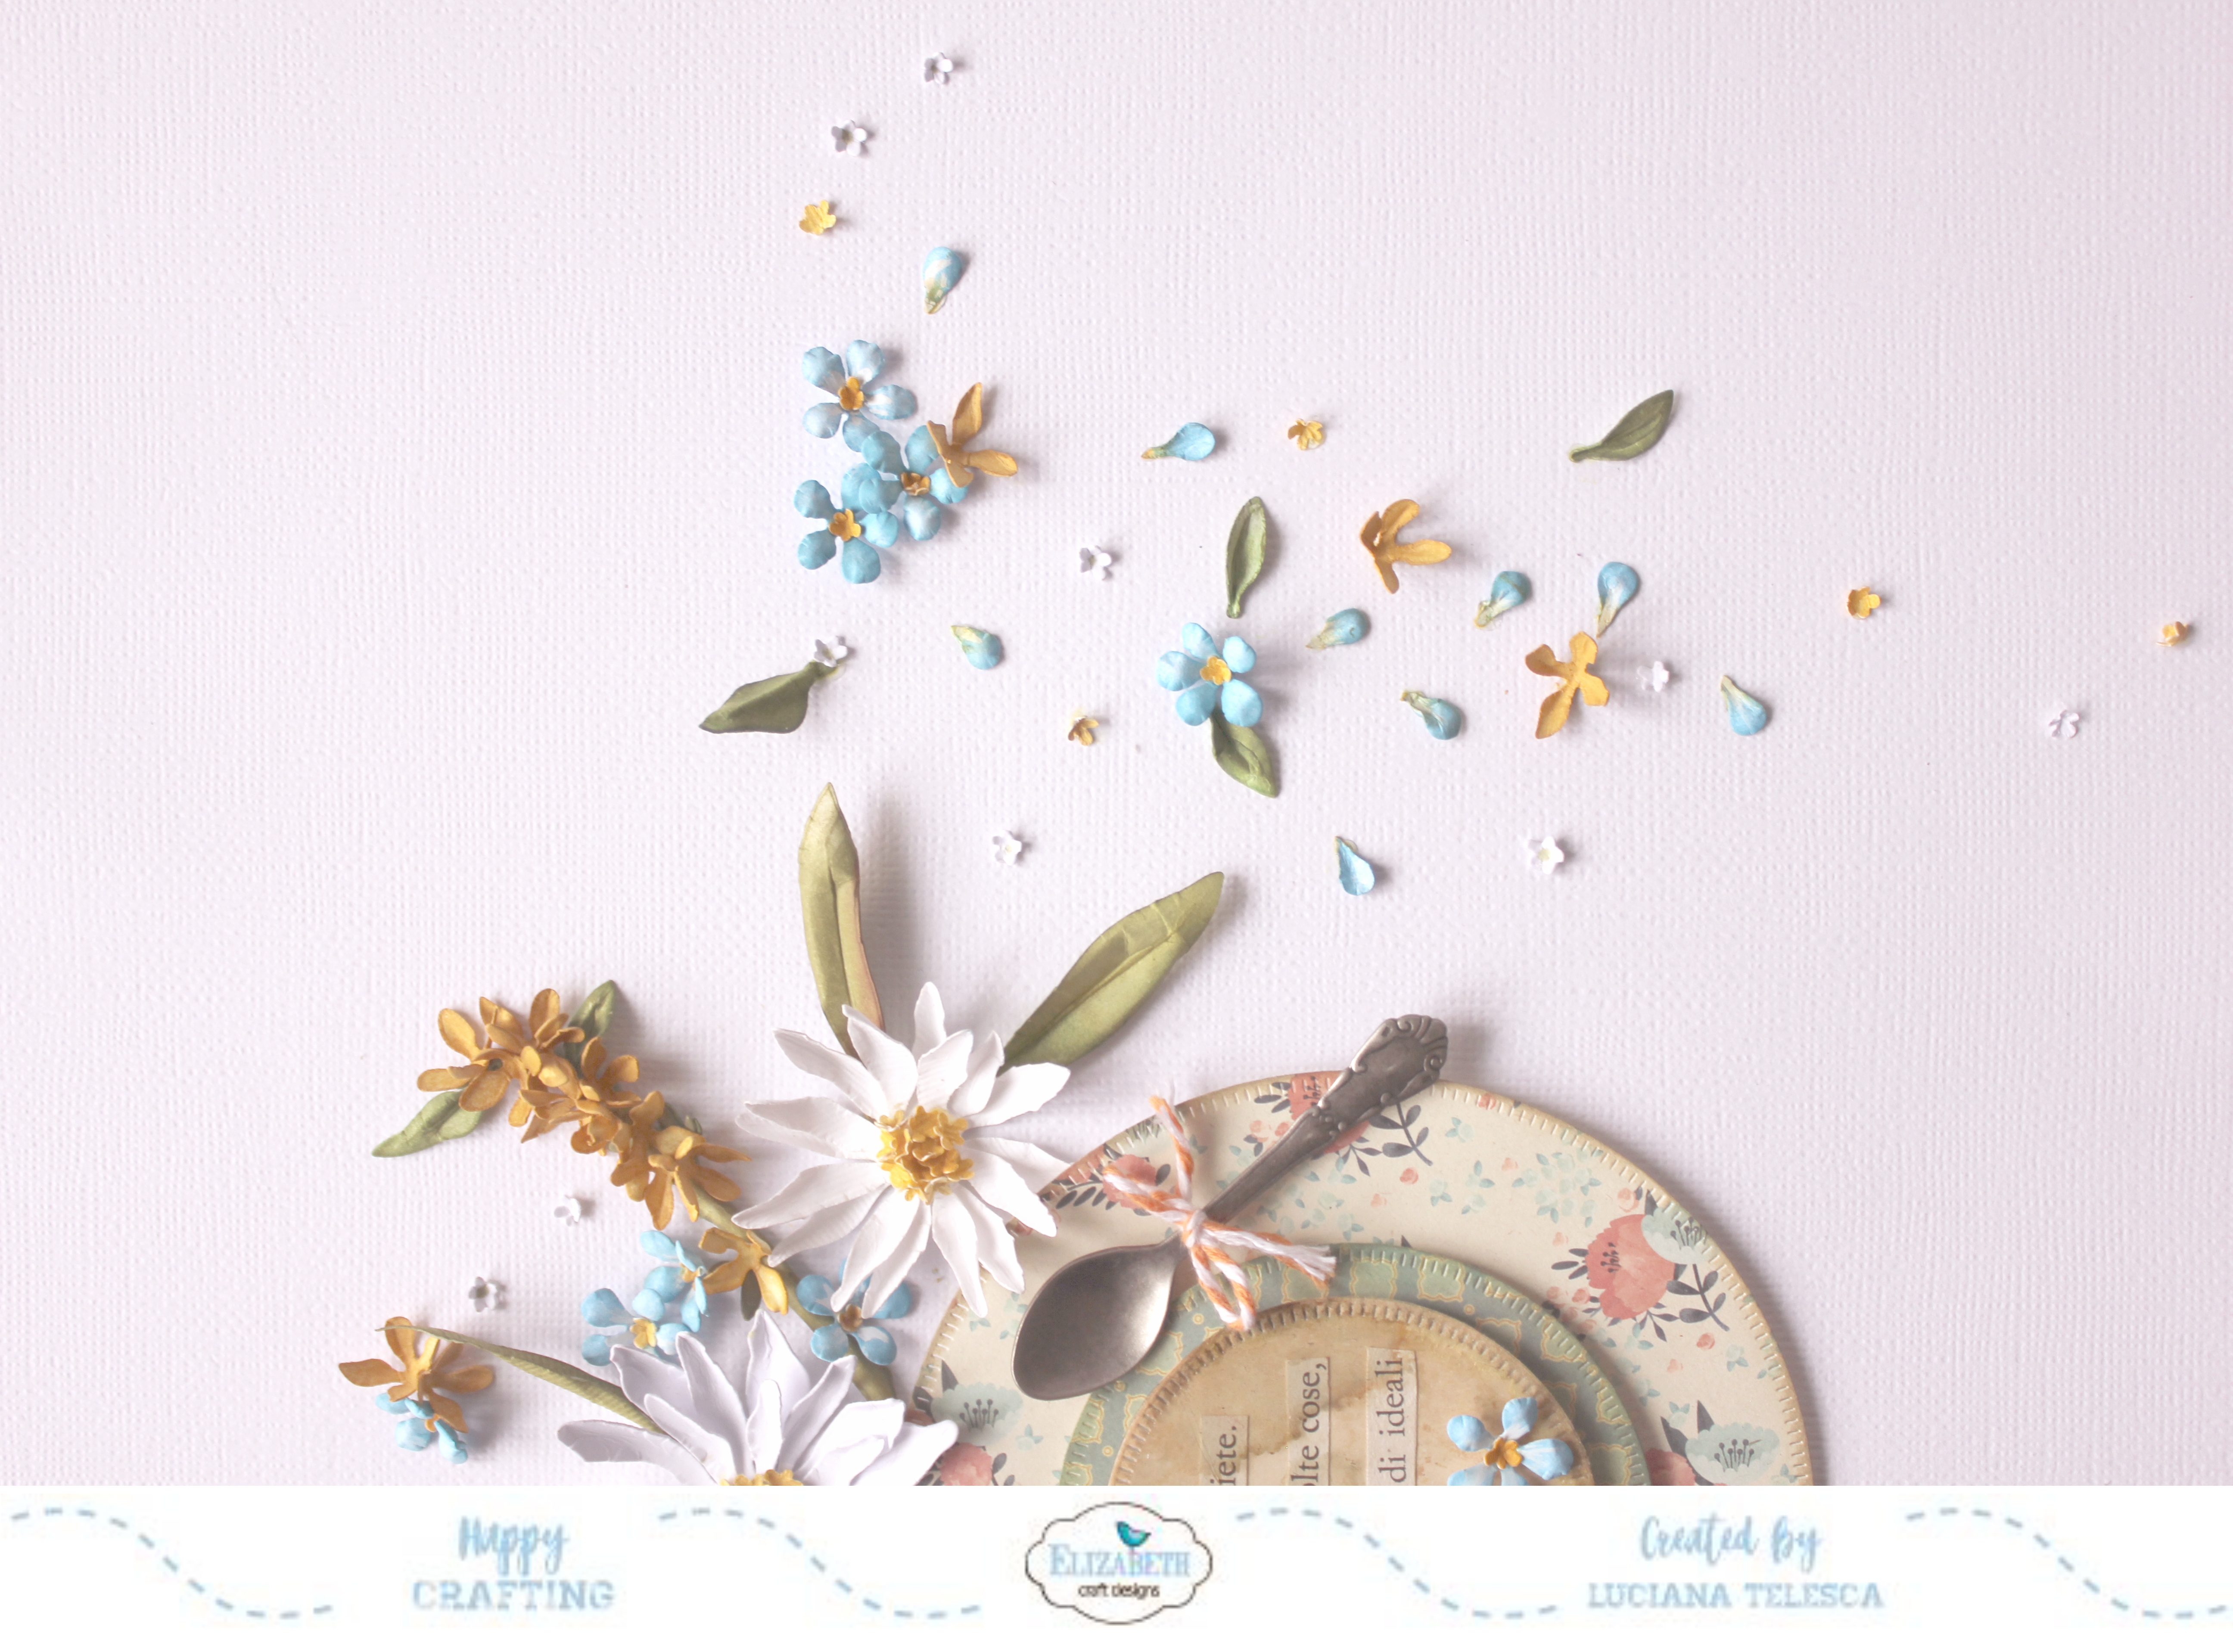
Taglia alcuni pezzi extra delle corolle per realizzare i petali sparsi sul piano.
(Consiglio: taglia i pezzi in modo che sembrino petali appassiti caduti dai fiori).
_ _
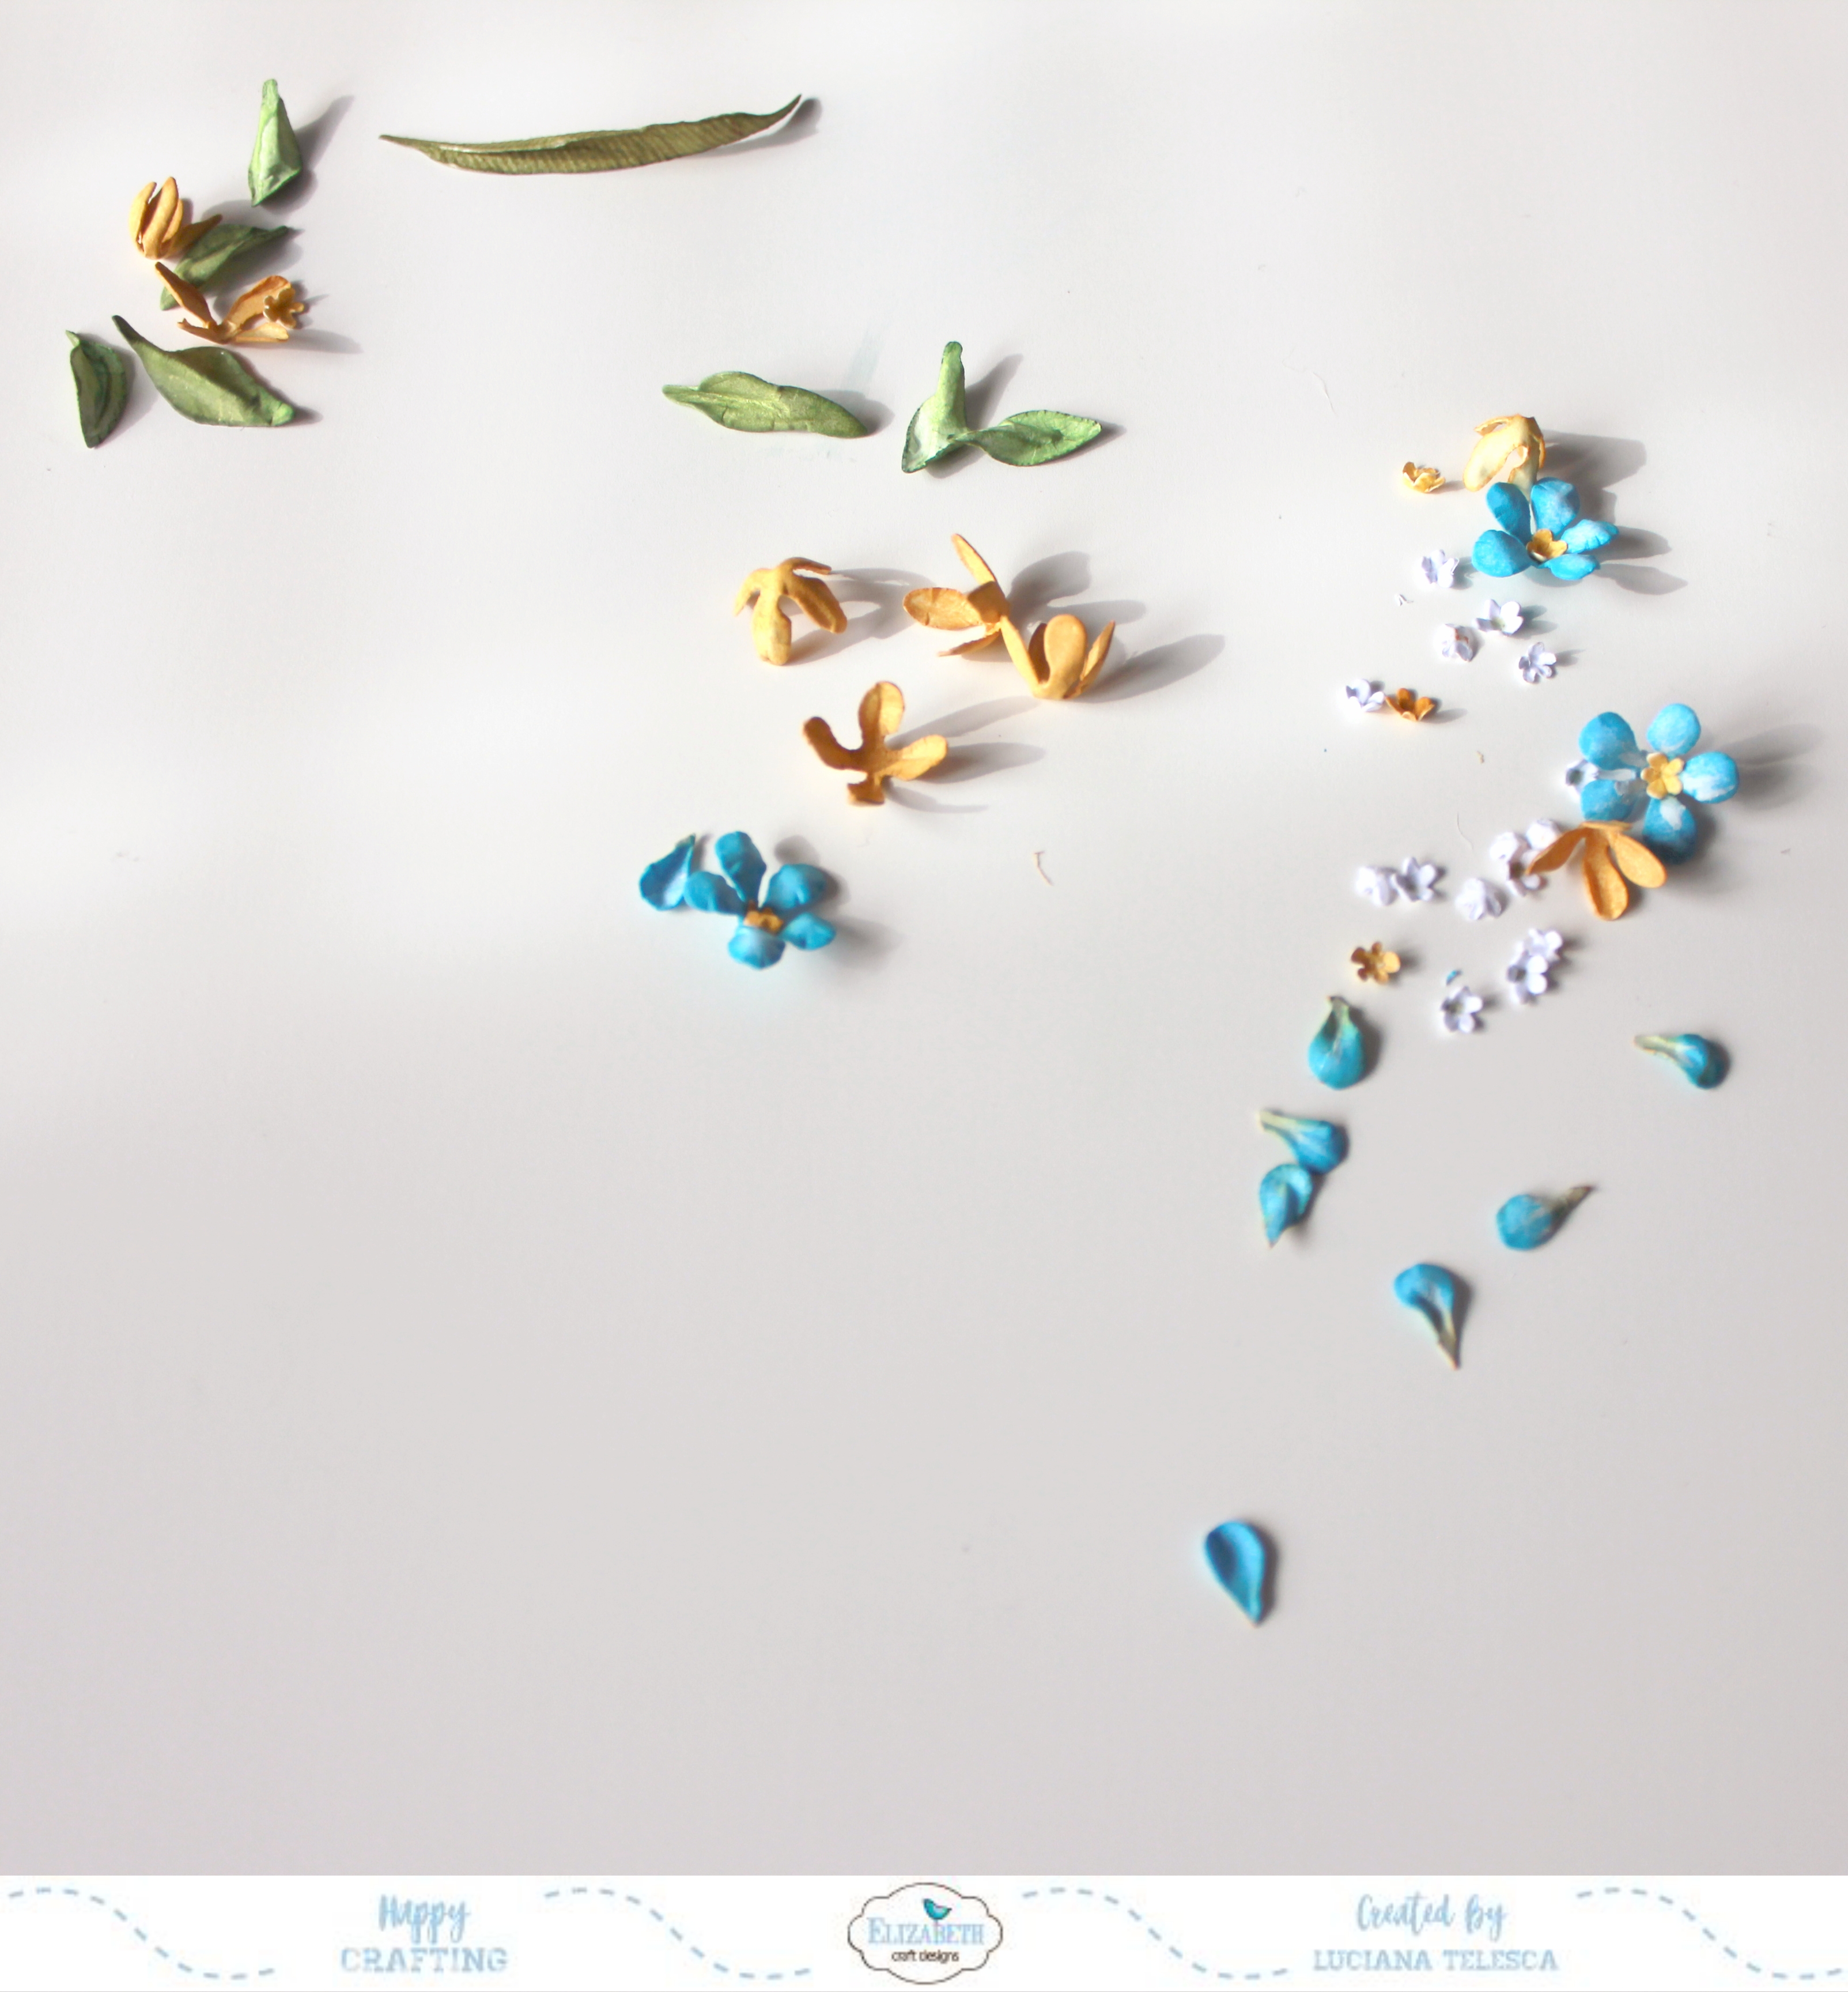
Cut some extra pieces of the corollas to scatter on the table. (Tip: Cut the petals so they look like faded petals that have fallen off the flowers.)
Usa i set di strumenti Susan's Garden tools per modellare gli elementi. Incolla i fiori intorno alla tazza da tea.
_ _
Use the Susan's Garden tools set to shape the elements. Glue the flowers around the tea cup.
Step 3. Photo and title.
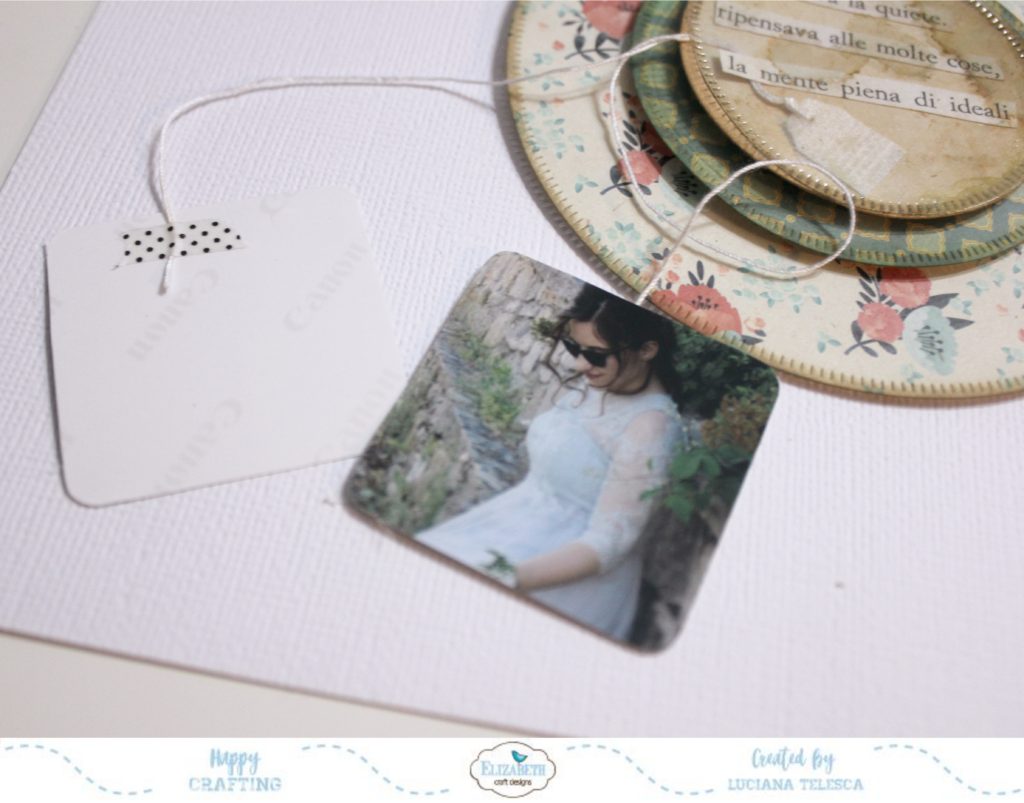
taglia due foto quadrate di circa 1,5" .Usando del nastro adesivo dietro le foto, incollale una per ogni filo della bustina da tea.
_ _
Cut 2 squared photos of about 1,5" for each side.
Using Clear Double Sided Adhesive Tape on the back of the photos, adhere them, one for each wire of the tea bag.
Aggiungi un titolo al progetto.
_ _
Add a title to the layout.
 inserisci ulteriori abbellimenti come mostrato nelle foto o di tua scelta.
_ _
Further embellish as shown or as you choose.
 I
ISpero di averti inspirato con questo progetto o con ogni altro set di fustelle della Susan's Garden.
Alla prossima
_ _
I hope you get inspired to create your own Tea Time Layout with these or any of the other wonderful Susan’s Garden die sets. Thank you for stopping by.
Lucy Wonderland
Supplies: Elizabeth Craft Designs:


Other:
Nessun commento:
Posta un commento