_ _
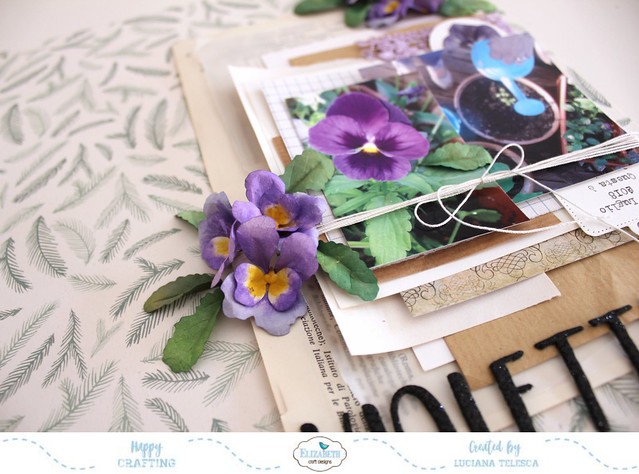
Hello everyone!! I’m here again to share with you a layout project. I never be good to grow real plants and flowers, that is one of the reasons of my passion for paper flowers. But this year I was able to grow a pansy from the seed to a florish plant. I had to celebrete the event with a Layout!
Step 1
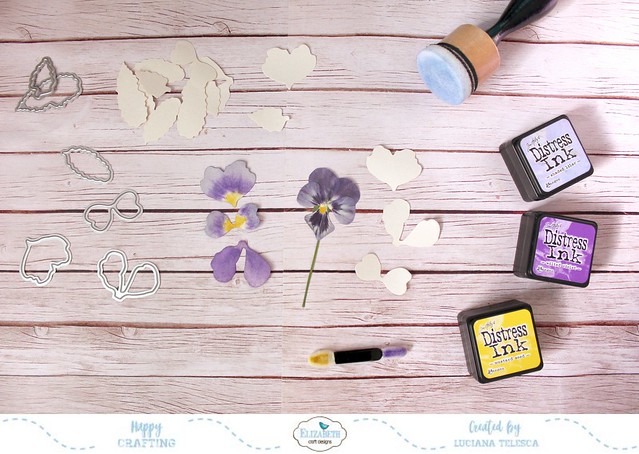
taglia die volte il set Garden Notes - Pansy 2 (tutti i pezzi tranne lo stelo) usando il cartoncino bianco White Soft Finish Cardstock.
_ _
Die cut 10 set of Garden Notes - Pansy 2 ( all the pieces except the stem) from White Soft Finish Cardstock.
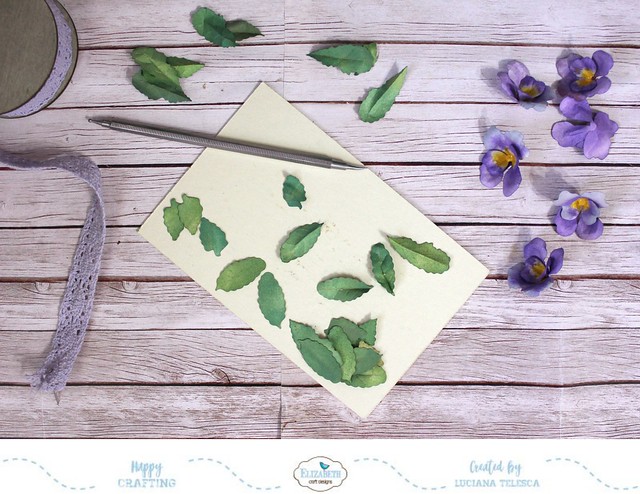
Colora tutte le parti del fiore usando i colori che preferisci, a poi modella e assembla il fiore utilizzando il set Susan’s Garden All Metal Tool. Aggiungere molti dettagli aiuta ad ottenere un aspetto più realistico.
_ _
Color all parts of the flower using your prefered coloring media, then shape and assemble flowers using Susan’s Garden All Metal Tool set. Add little Add more details to more realistic aspect
Step 2
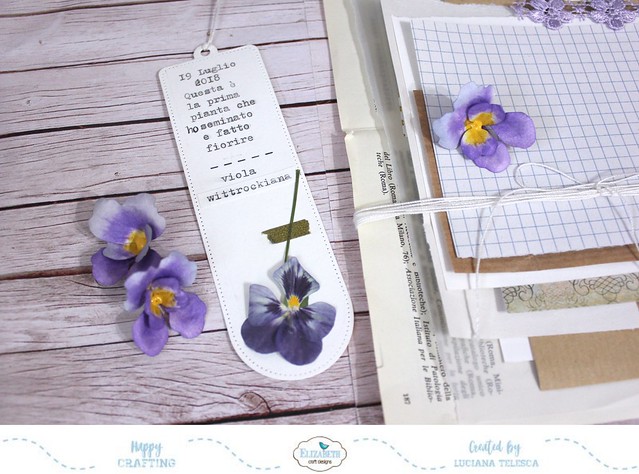
crea una tag dal set Love, Life Tag, scegliendo quella più lunga.
Io ho scritto del journaling con la macchina da scrivere e aggiungendo uno dei miei fiori sbocciati, e che ho fatto seccare.
_ _
create a tag from the Love, Life Tag set, cutting the longest one.I wrote journaling with my typewriter and added the first flower that bloomed, which I dried.
Step 3
Io ho usato un foglio dalla collezione Christmas Holidays ccome base per il mio Layout. Ho sovrapposto diverse pagine di carta vintage, vecchie pagine di libri, fogli da disegno, carta di quaderno, carta da imballaggio e così via.
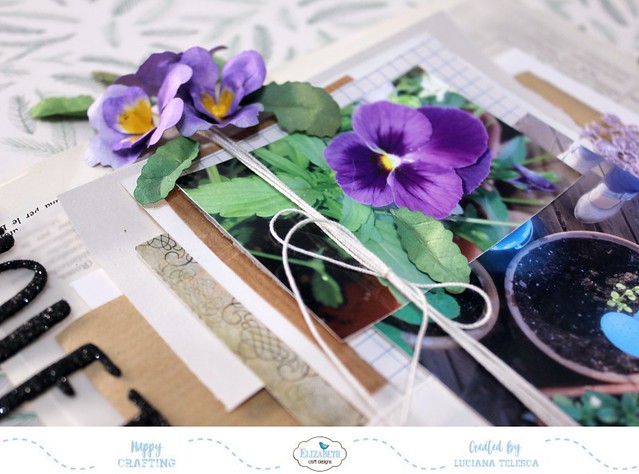
Nello strato superiore ho messo due foto dal mio piccolo giardino, ed ho chiuso tutto girando dello spago sottile attorno a tutto il set.
_ _
I used a sheet from the Christmas Holidays collection of papers as base of my layout
I overlapped and layered several vintage pages of paper, old book pages, drawing sheets, notebook pages, wrapping paper and so on.
On the top I put two pictures from my little garden, and I turned the white string around all the set.
Step 4
ho tagliato la parola "violetta" da un pezzo di gomma glitterata, usando il set di fustelle Blackboard Alphabet.
_ _
I cut the word "violetta" from a piece of glitterd foam, using the Blackboard Alphabet set
Step 5
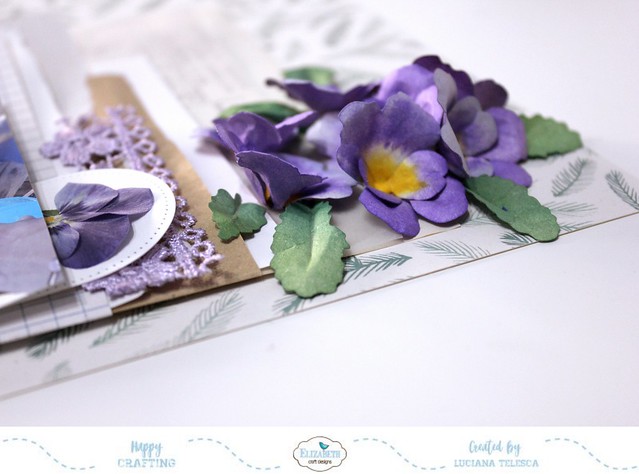
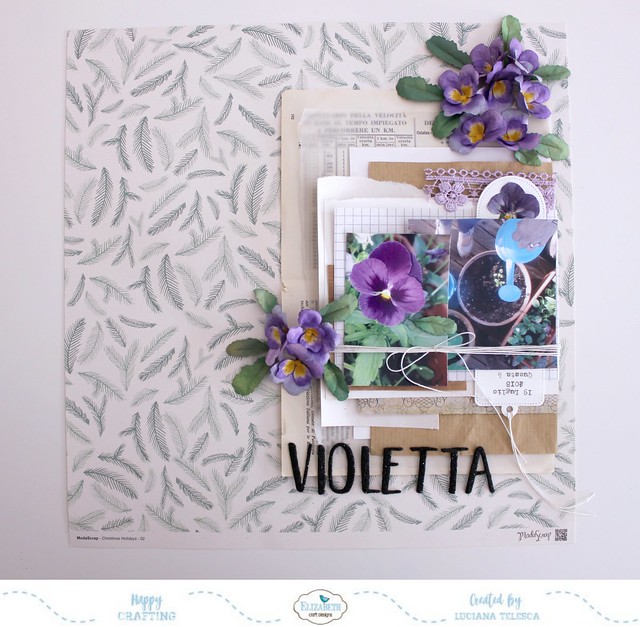
incolla le violette al tuo layout in modo da avere un cespuglio di sette violette in alto a destra del layout, e le rimanenti 3 sul lato sinistro. Utilizza le foto sotto come riferimento per il posizionamento.
_ _
Adhere the pansies onto the layout so that you have a bunch of 7 pansies at the top right side of the layout and the remaining three pansies at the left side of the layered papers. Refer to photo below for placement.
Spero di avervi inspirato a creare il vostro Layout con i fiori di carta di Susan's Garden.
grazie per esserti fermata qui! alla prossima
_ _
I hope you get inspired to create your own Layout with the Susan's Garden paper flowers. Thank you for stopping by.
Lucy-Wonderland


Nessun commento:
Posta un commento